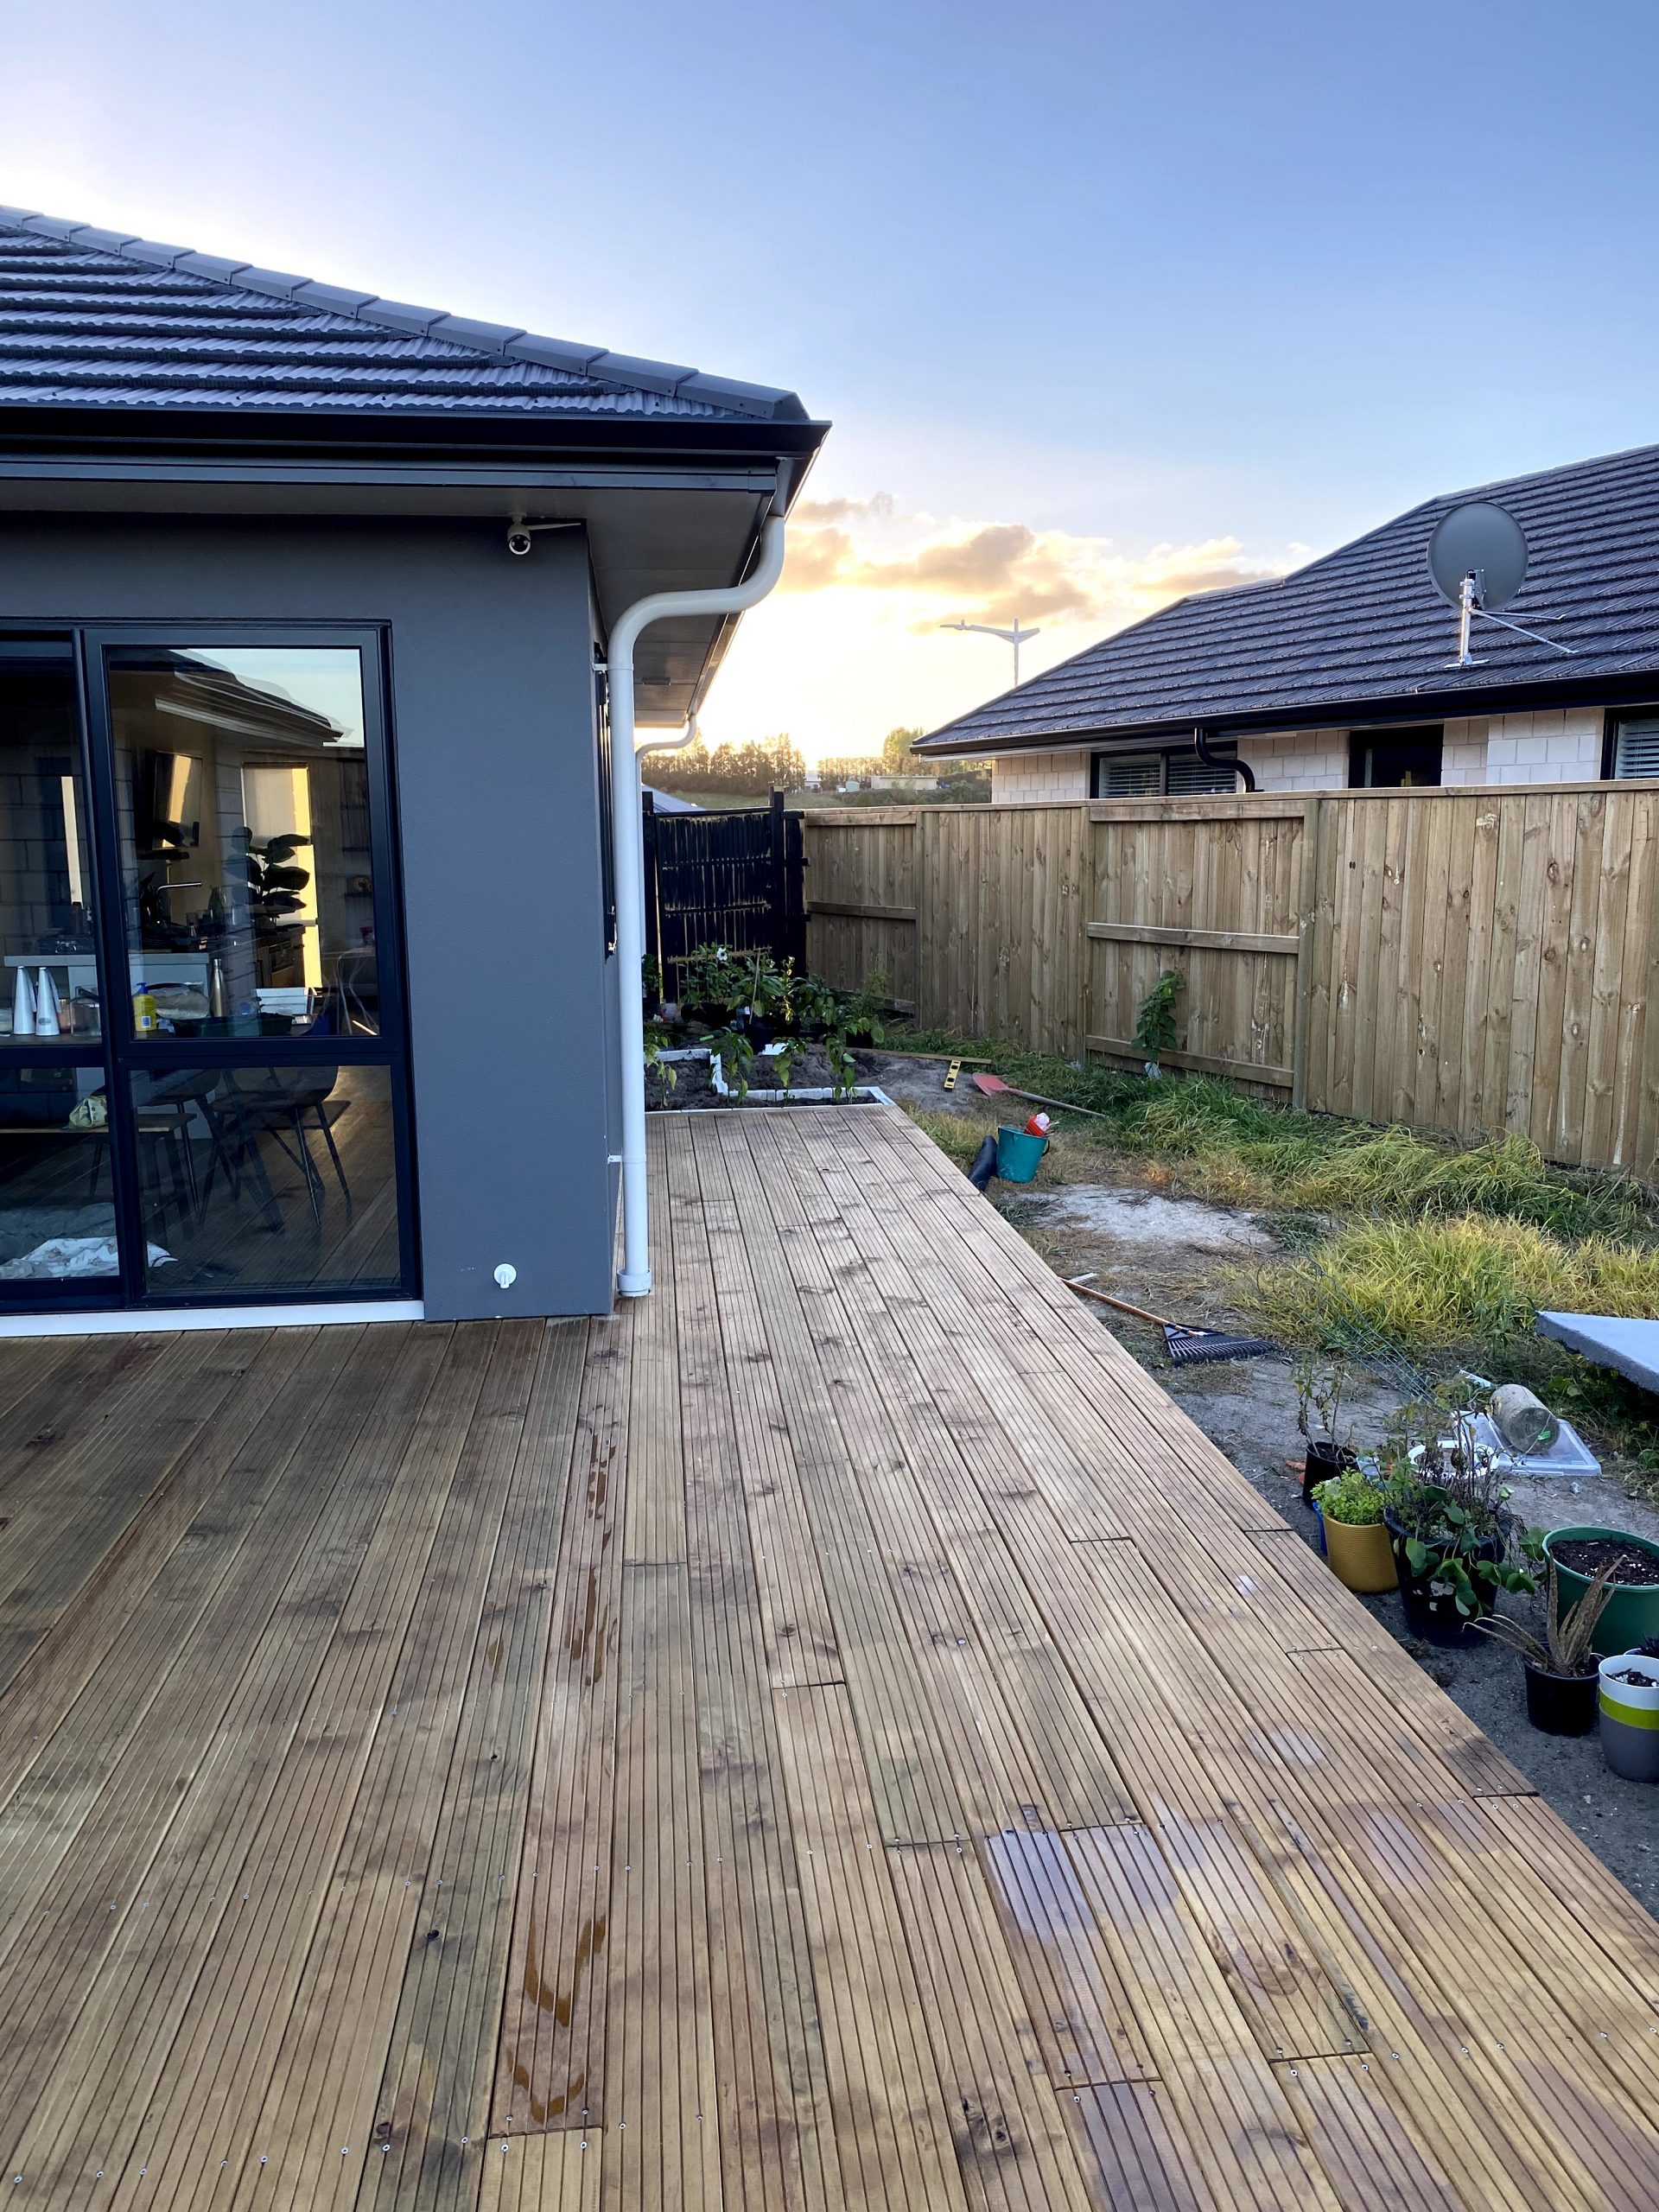
If you have been following along our home building process for the last two years on Instagram (@its.mary.taylor), you probably know that we finally moved it! Although we moved into a brand new home, there were some things we just didn’t have the budget for. This included all of the landscaping and our deck! From building the deck to staining the deck, it’s taken us over a month of everyday work to get it to where we want it to be.
The good news is, the deck is stained! We’re so thrilled that the deck is finally stained to match our flooring inside. We LOVE the color! But much like everything in our building, home buying, and DIY experiences this far, we have learned a lot!
Bad news, it’s not perfect. And, that’s okay. DIY projects are a learning process so if you’re wondering how to stain a deck or how to fix a deck that you stained wrong, we have some tips for you!
If this is your first time staining a deck, check out these tips below to learn from our deck staining mistakes!
Stain entire rows of wood, rather than in sections
Mix the container as much as possible before starting (if the container says not to create bubbles, do not just roll the container on its side – turn it upside down, mix it by hand, anything to get it to fully mix.
Clear the deck 24 hours before you start to let it fully dry out e.g. under pot plants
Sweep the deck before you start to remove any extra debri
When staining wood that’s next to something (against your house for example) use some cardboard or painters tape or something so that no stain gets on the house
If the stain is turps based, have plenty of bottles of extra turps nearby in case there an accident (stain gets on your house, the tin tips over, etc) so if you need to, you can dilute/clean off the stain
If your stain is too dark in some areas (and your stain is turpentine based), you can rub extra turps onto the stained area with a lint-free rag/cloth or your cleaned (not filled with stain) staining brush
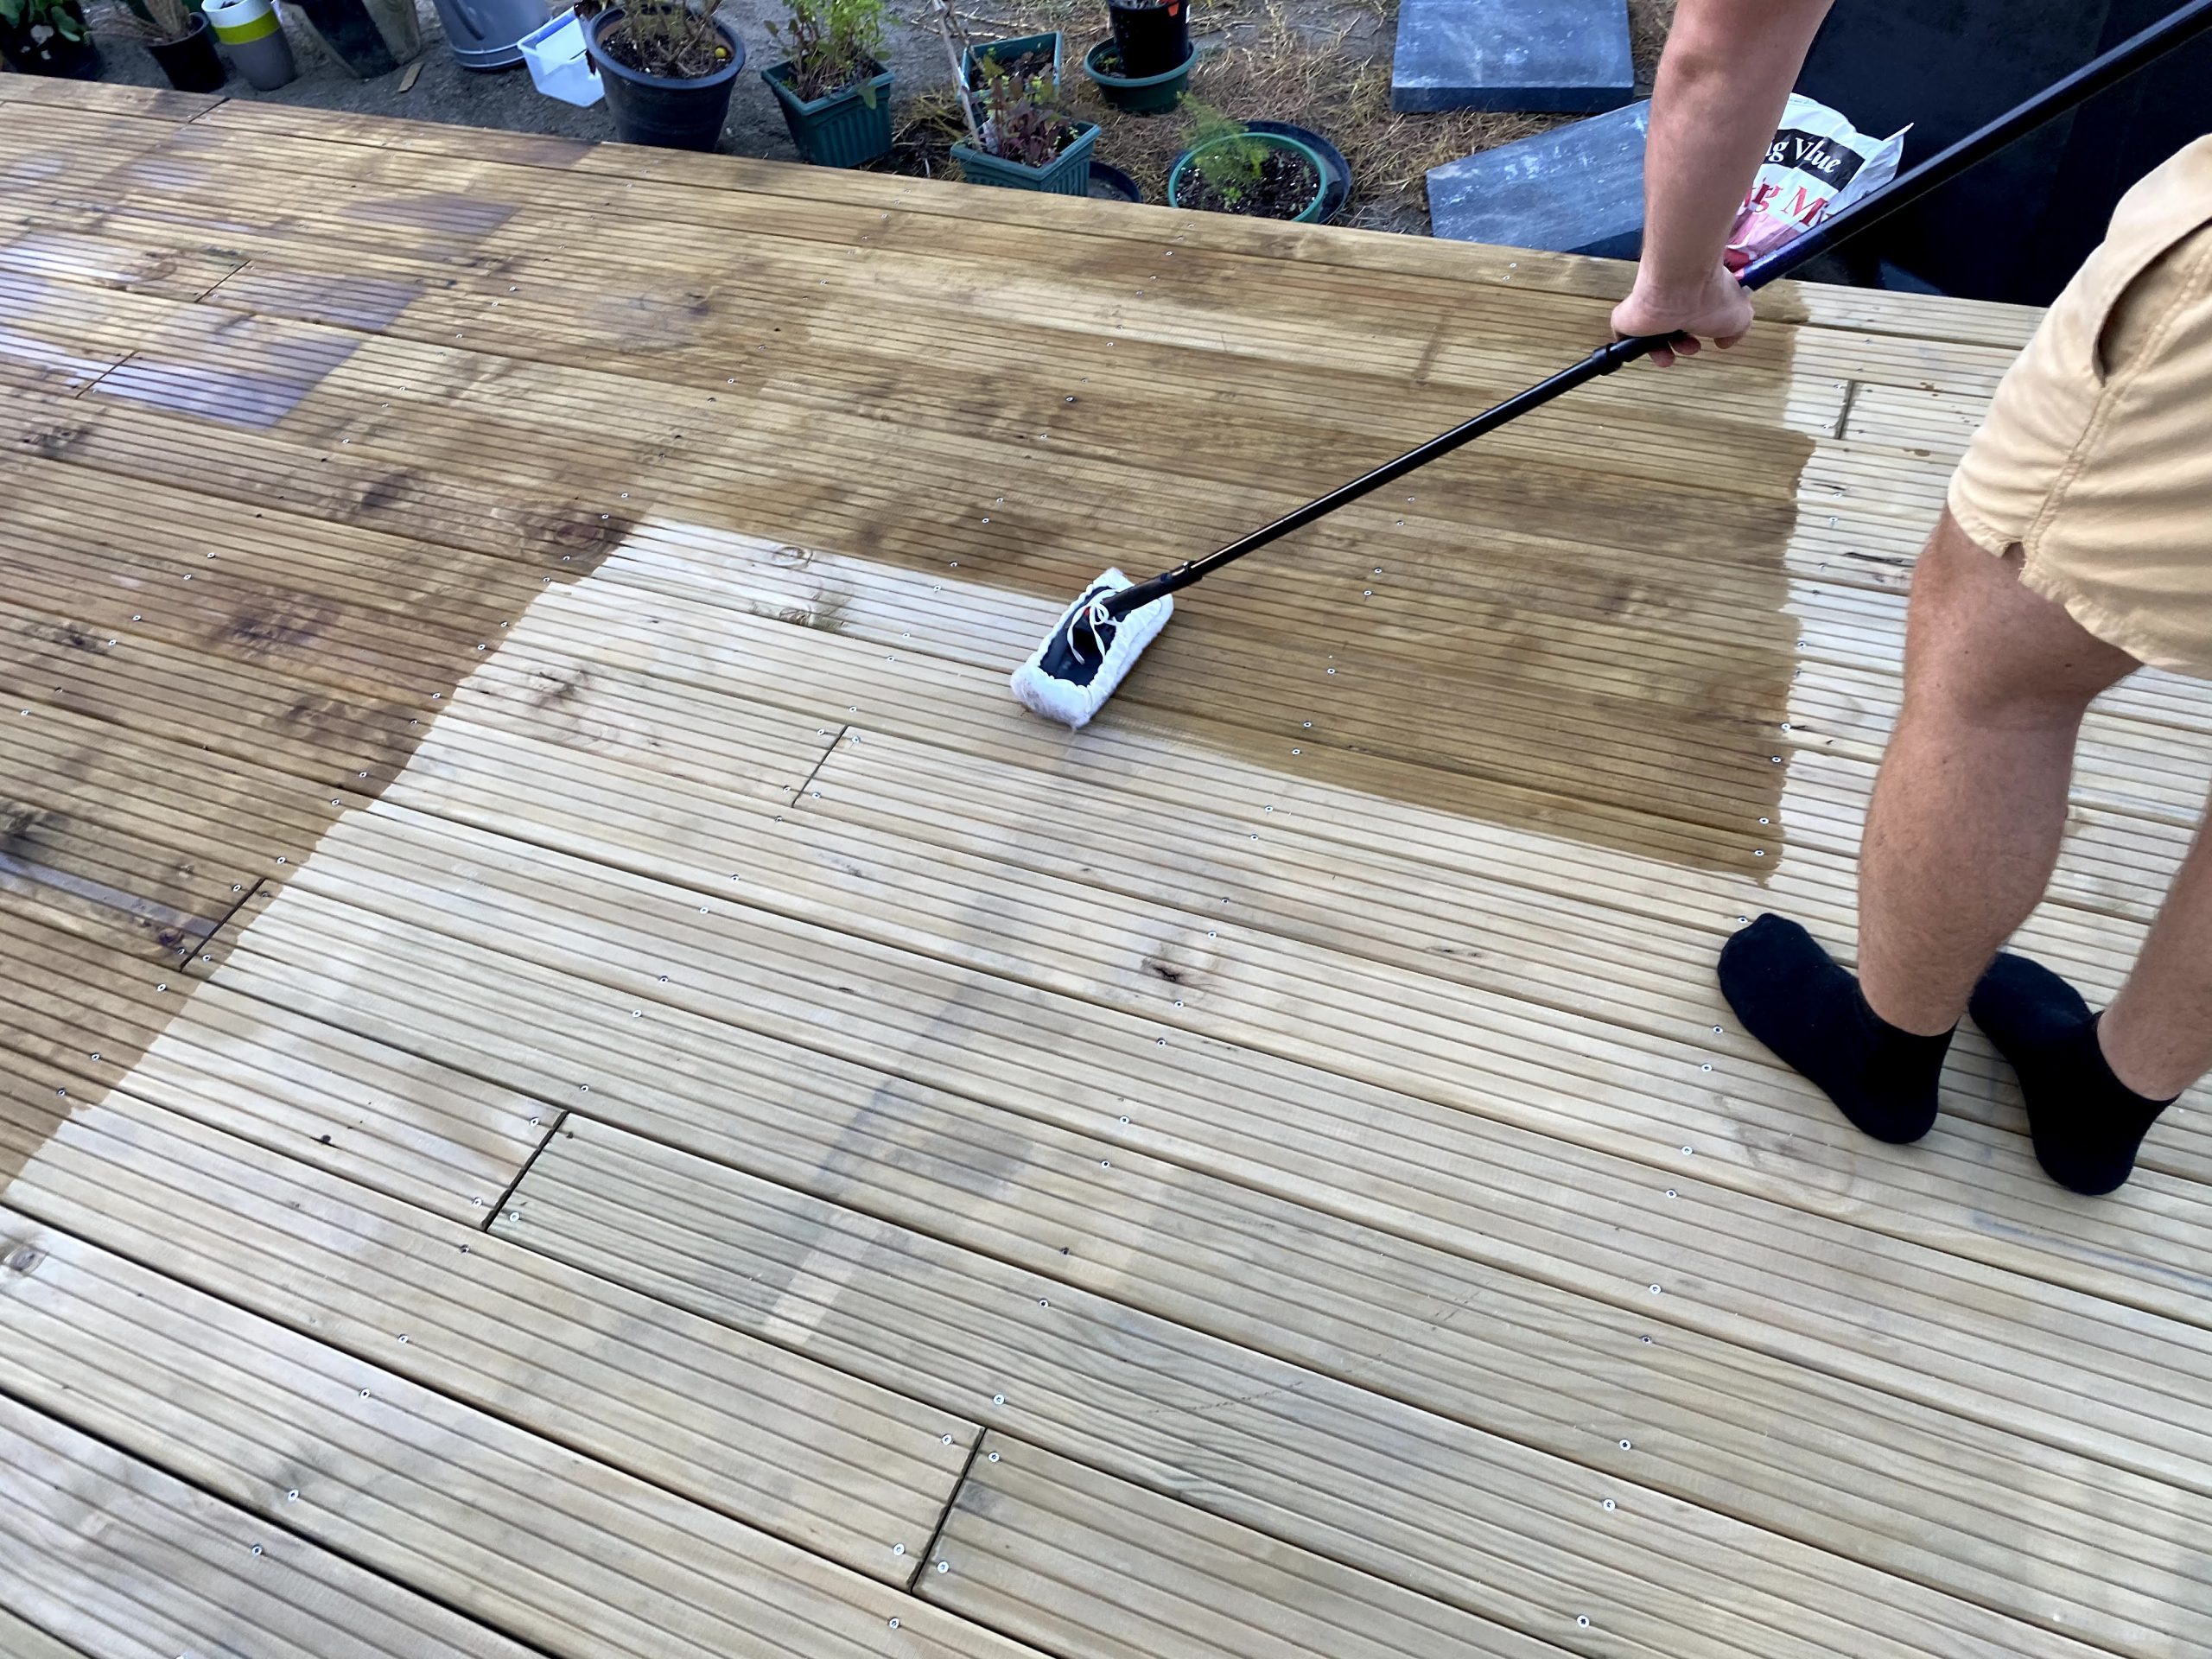
You can see two things in the above image:
There’s a water mark where our umbrella was beforehand (we did not remove items the day before staining).
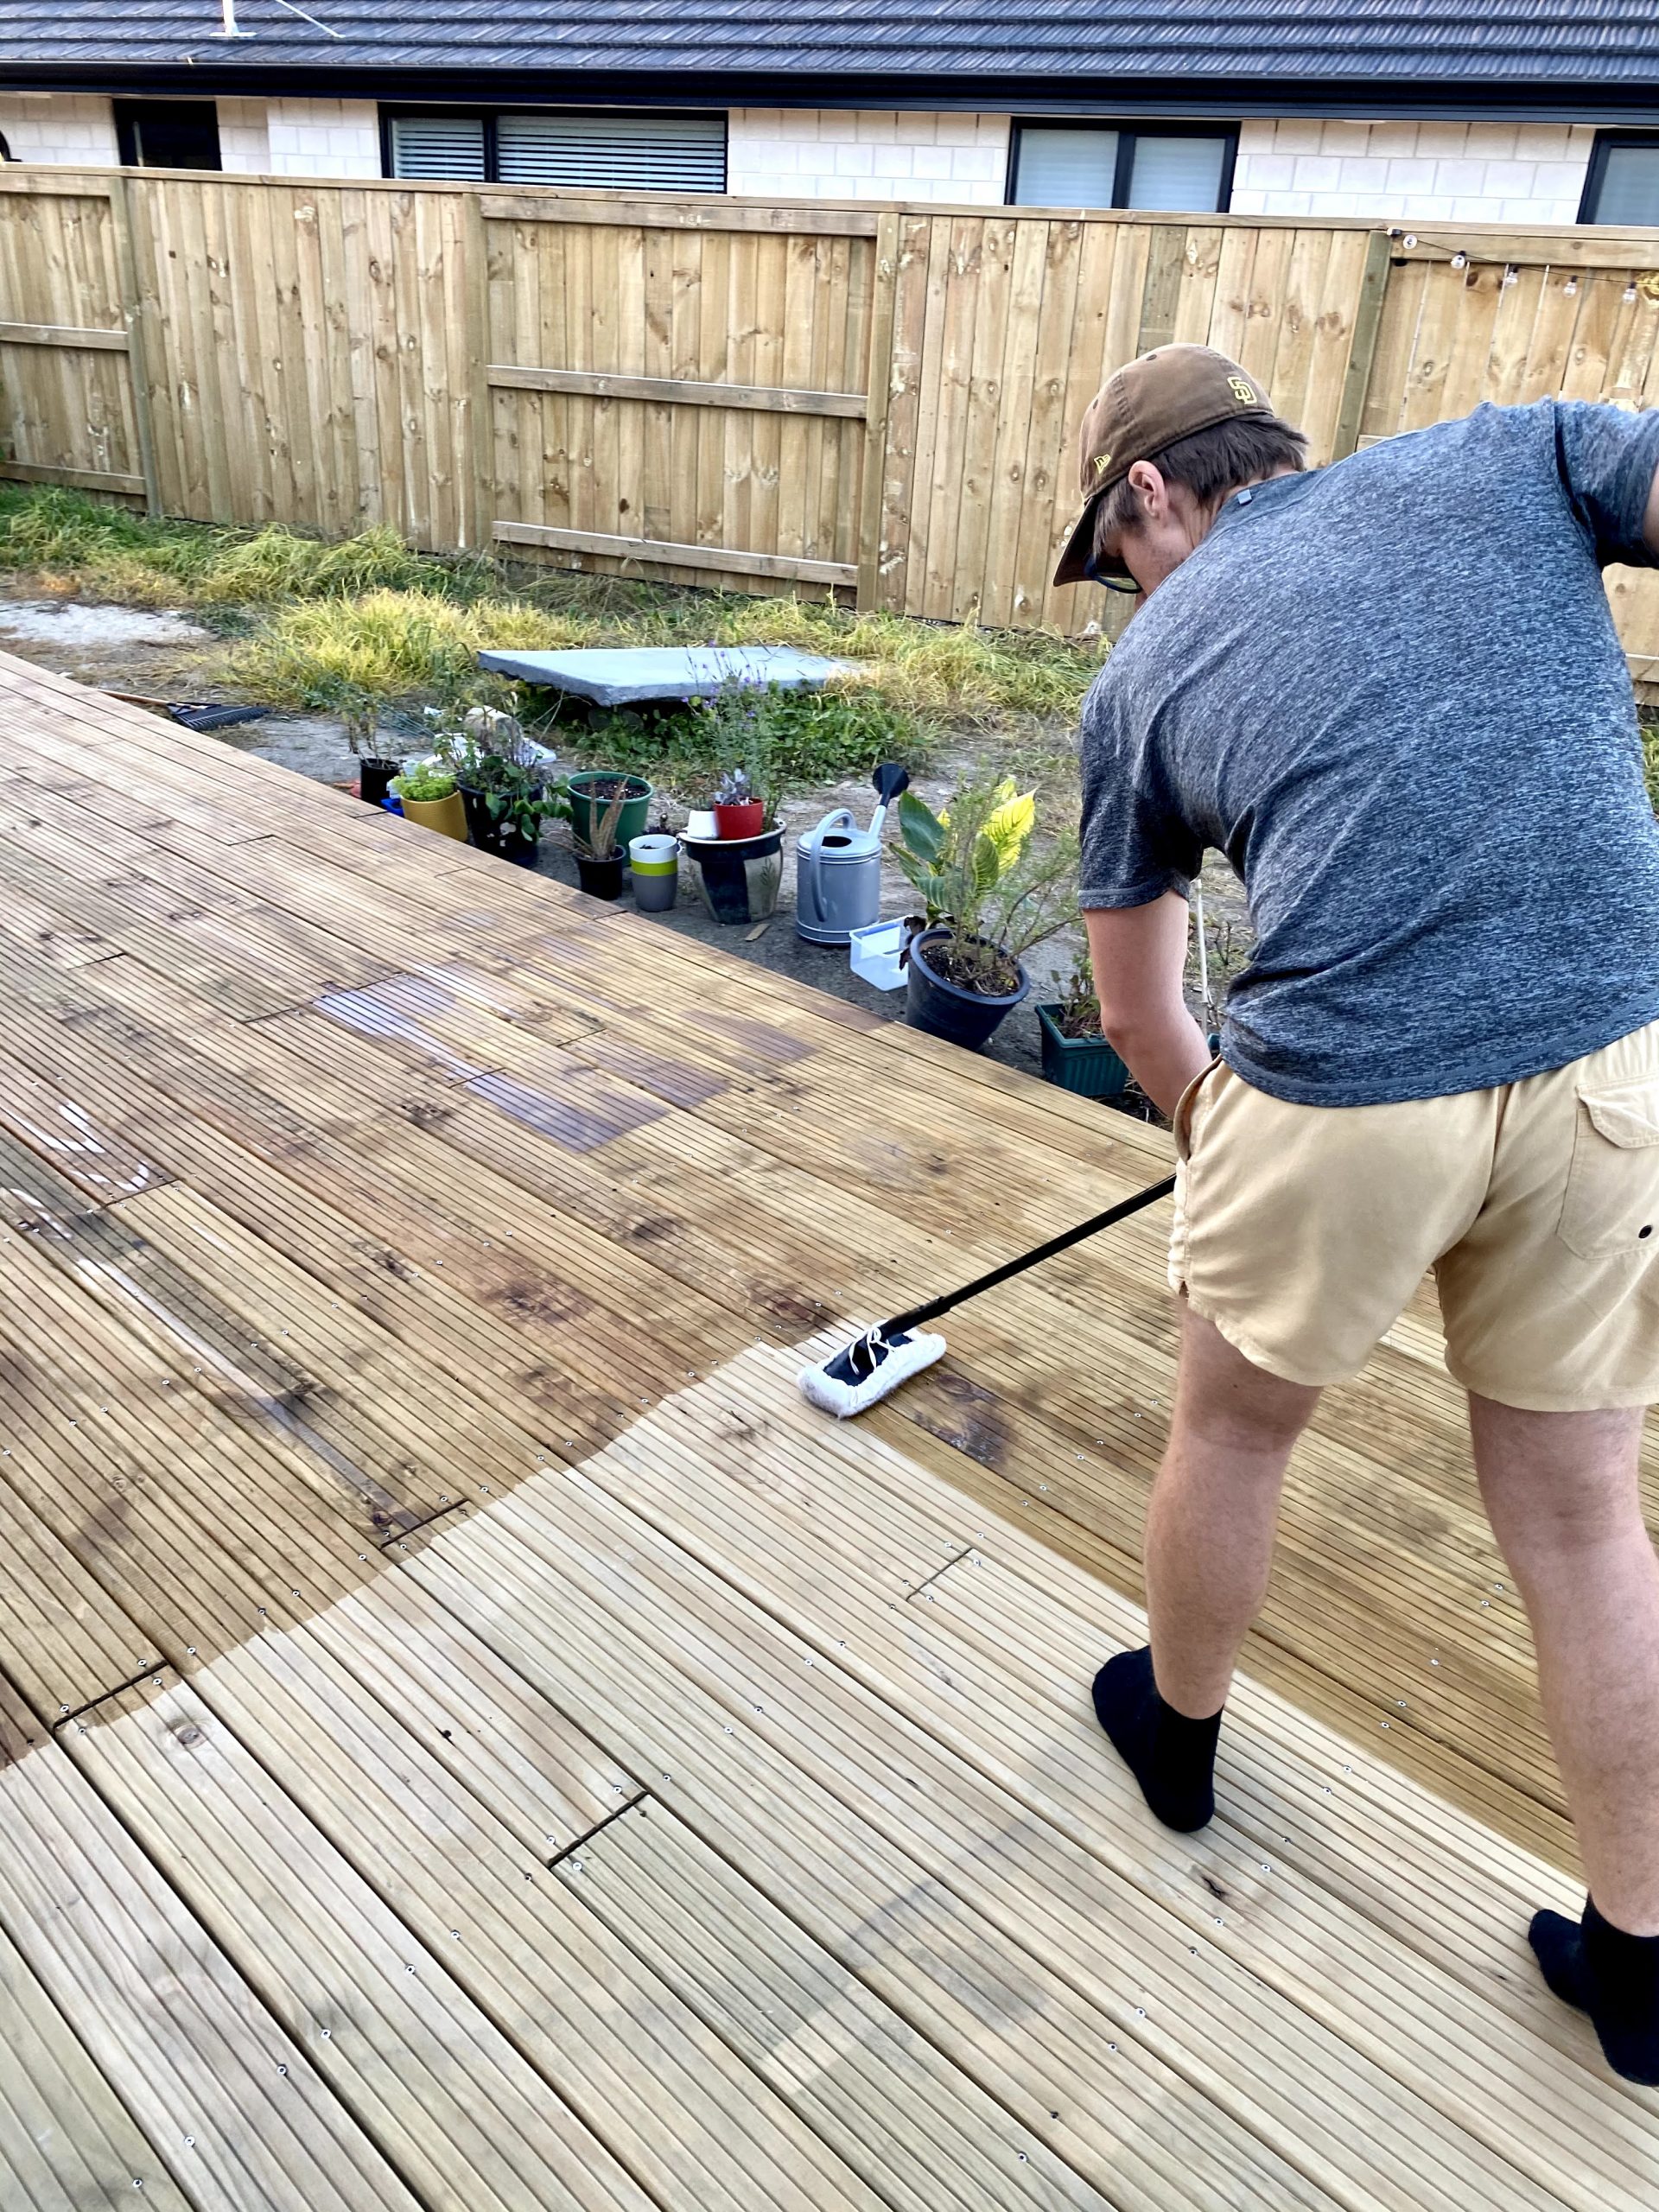
Robbie stained by section not by board. If you scroll above, you’ll see where there are clear sectioned-off marks of stain and we are now having trouble fixing. Don’t be us. Learn from our mistakes!
The water mark has fixed itself by drying out before we applied the second coat of stain. We can try to fix the other mistake by re-staining the parts of the deck that are a bit lighter with a light coat of extra deck stain.
Are you DIYing parts of your home too? I would love to see what you’re doing! Let’s connect on Instagram!
If you enjoyed reading this and would like more information on home, lifestyle, advice, tips, tricks, and more, follow me on Instagram @Its.Mary.Taylor and on Facebook at Mary Taylor! I can’t wait to see you there!