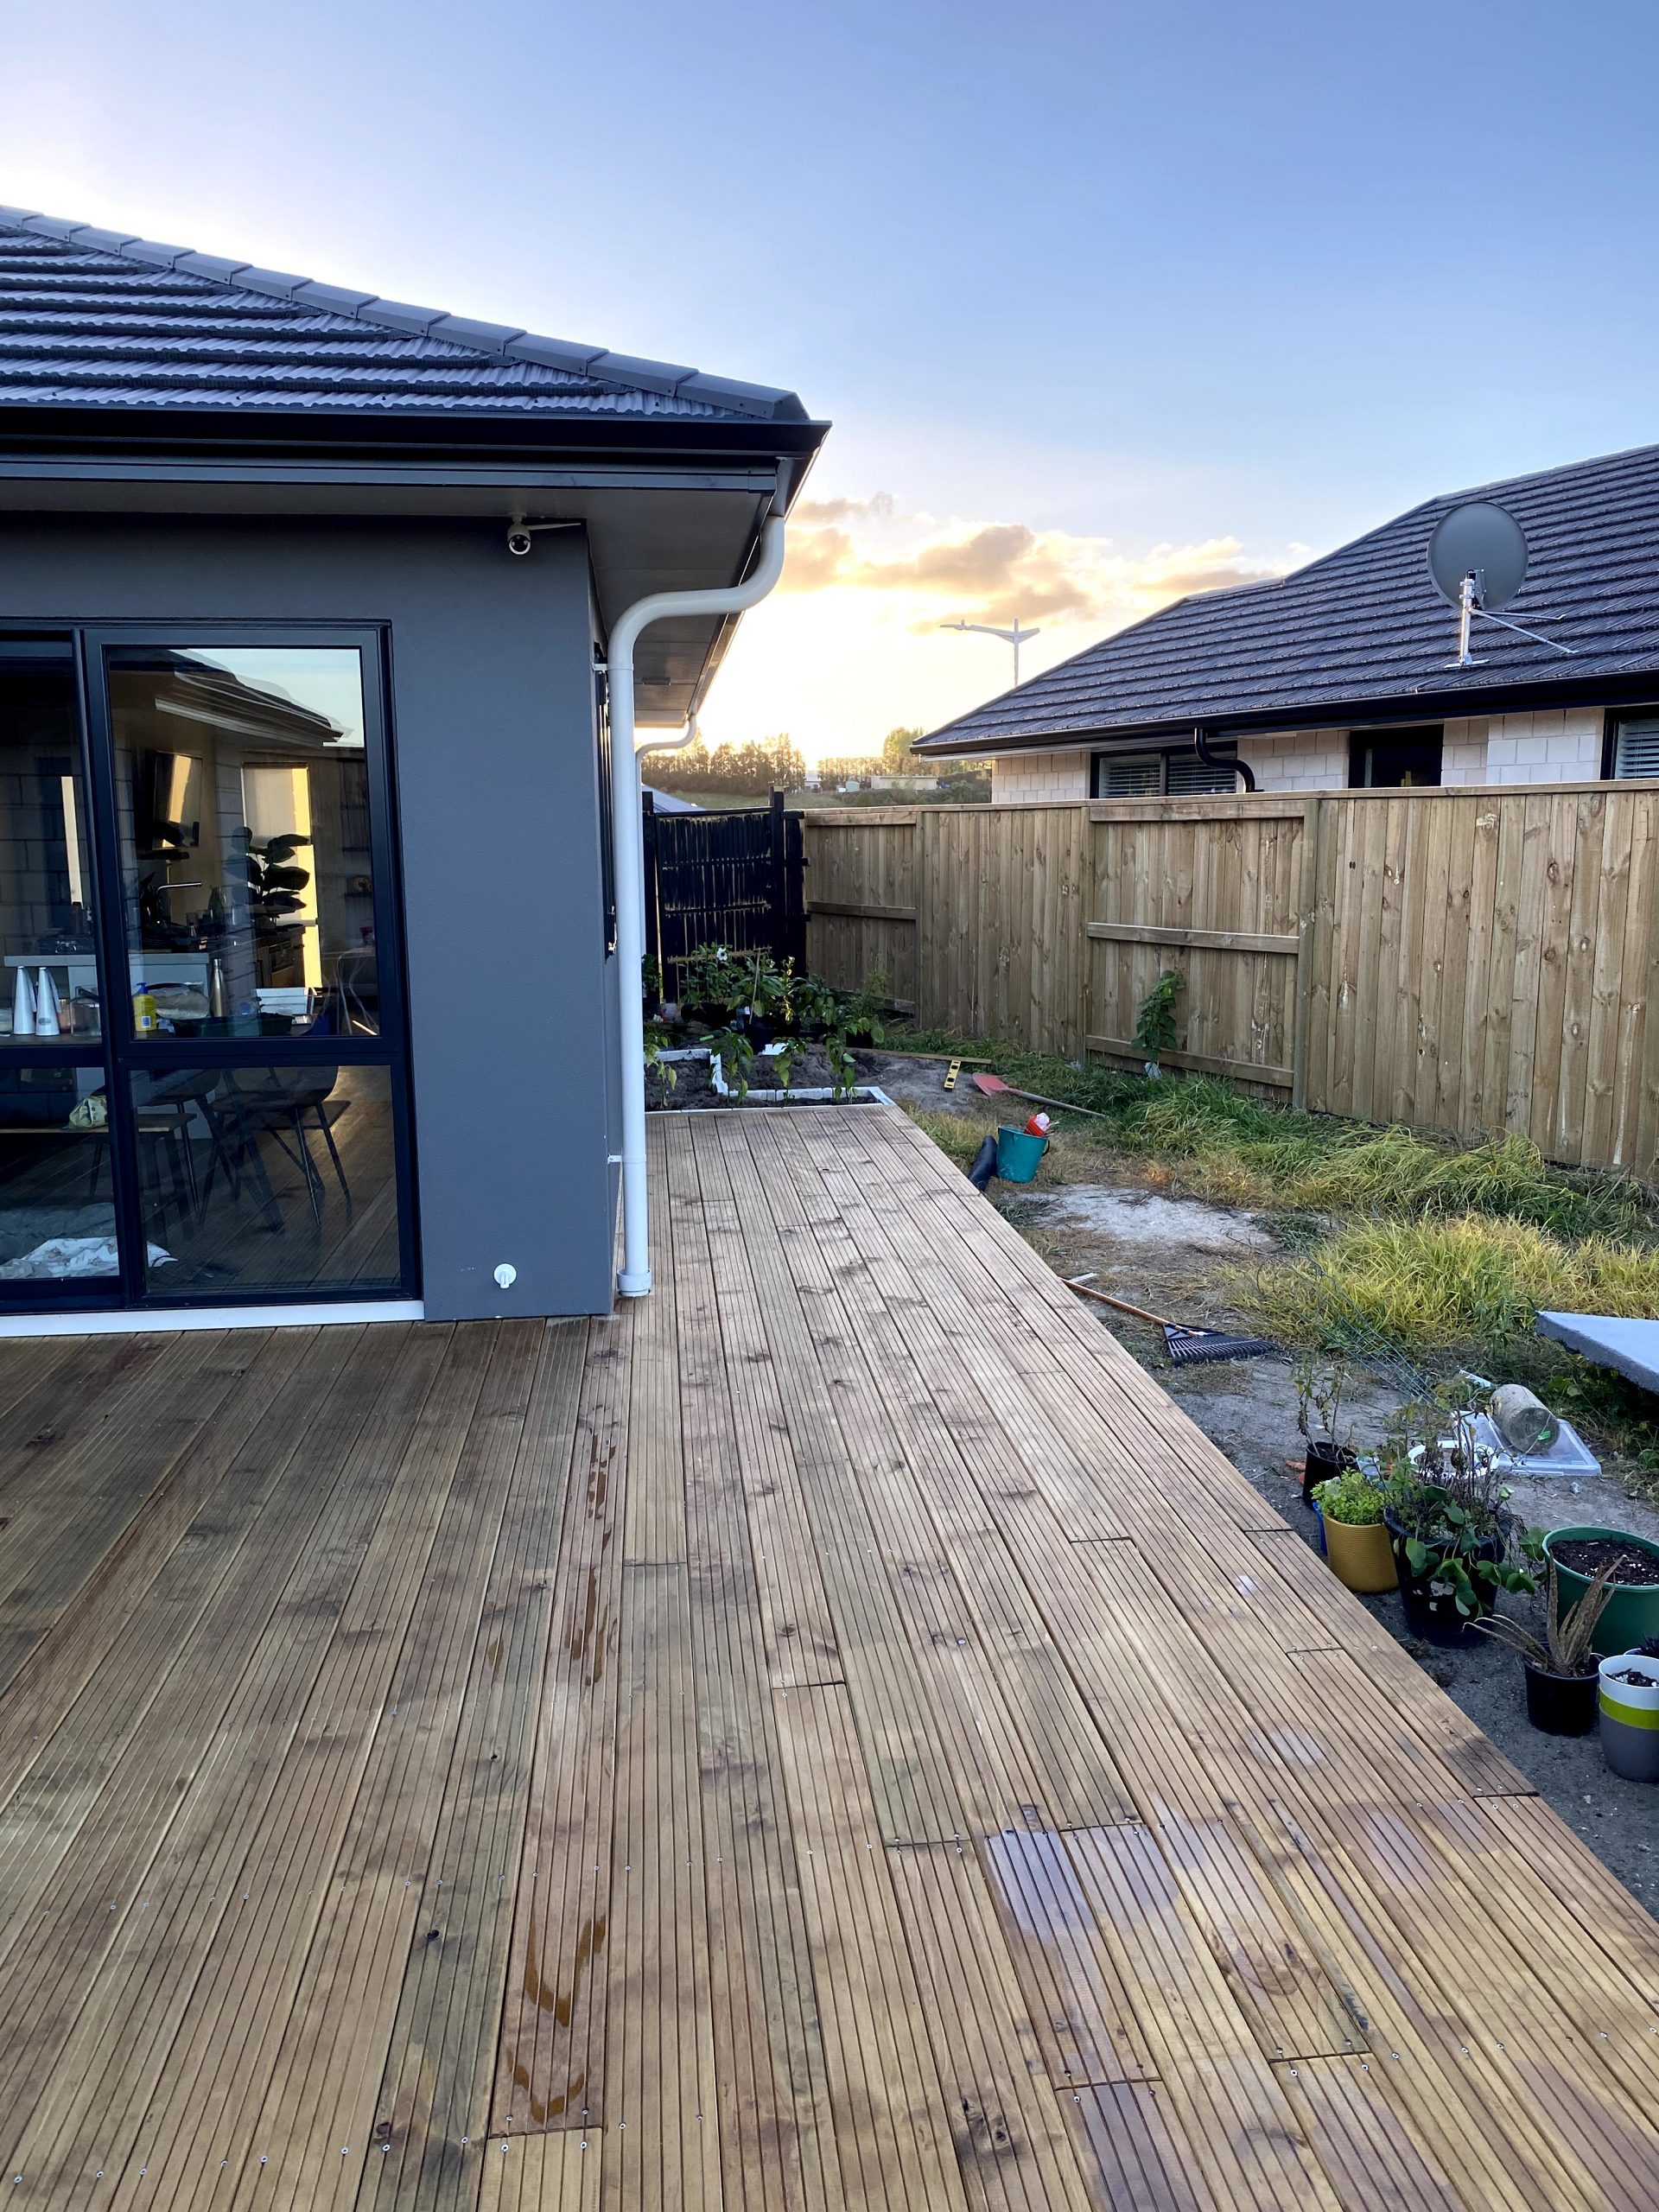
If you have been following along our home building process for the last two years on Instagram (@its.mary.taylor), you probably know that we finally moved it! Although we moved into a brand new home, there were some things we just didn’t have the budget for. This included all of the landscaping and our deck! From building the deck to staining the deck, it’s taken us over a month of everyday work to get it to where we want it to be.
The good news is, the deck is stained! We’re so thrilled that the deck is finally stained to match our flooring inside. We LOVE the color! But much like everything in our building, home buying, and DIY experiences this far, we have learned a lot!
Bad news, it’s not perfect. And, that’s okay. DIY projects are a learning process so if you’re wondering how to stain a deck or how to fix a deck that you stained wrong, we have some tips for you!
If this is your first time staining a deck, check out these tips below to learn from our deck staining mistakes!
Stain entire rows of wood, rather than in sections
Mix the container as much as possible before starting (if the container says not to create bubbles, do not just roll the container on its side – turn it upside down, mix it by hand, anything to get it to fully mix.
Clear the deck 24 hours before you start to let it fully dry out e.g. under pot plants
Sweep the deck before you start to remove any extra debri
When staining wood that’s next to something (against your house for example) use some cardboard or painters tape or something so that no stain gets on the house
If the stain is turps based, have plenty of bottles of extra turps nearby in case there an accident (stain gets on your house, the tin tips over, etc) so if you need to, you can dilute/clean off the stain
If your stain is too dark in some areas (and your stain is turpentine based), you can rub extra turps onto the stained area with a lint-free rag/cloth or your cleaned (not filled with stain) staining brush
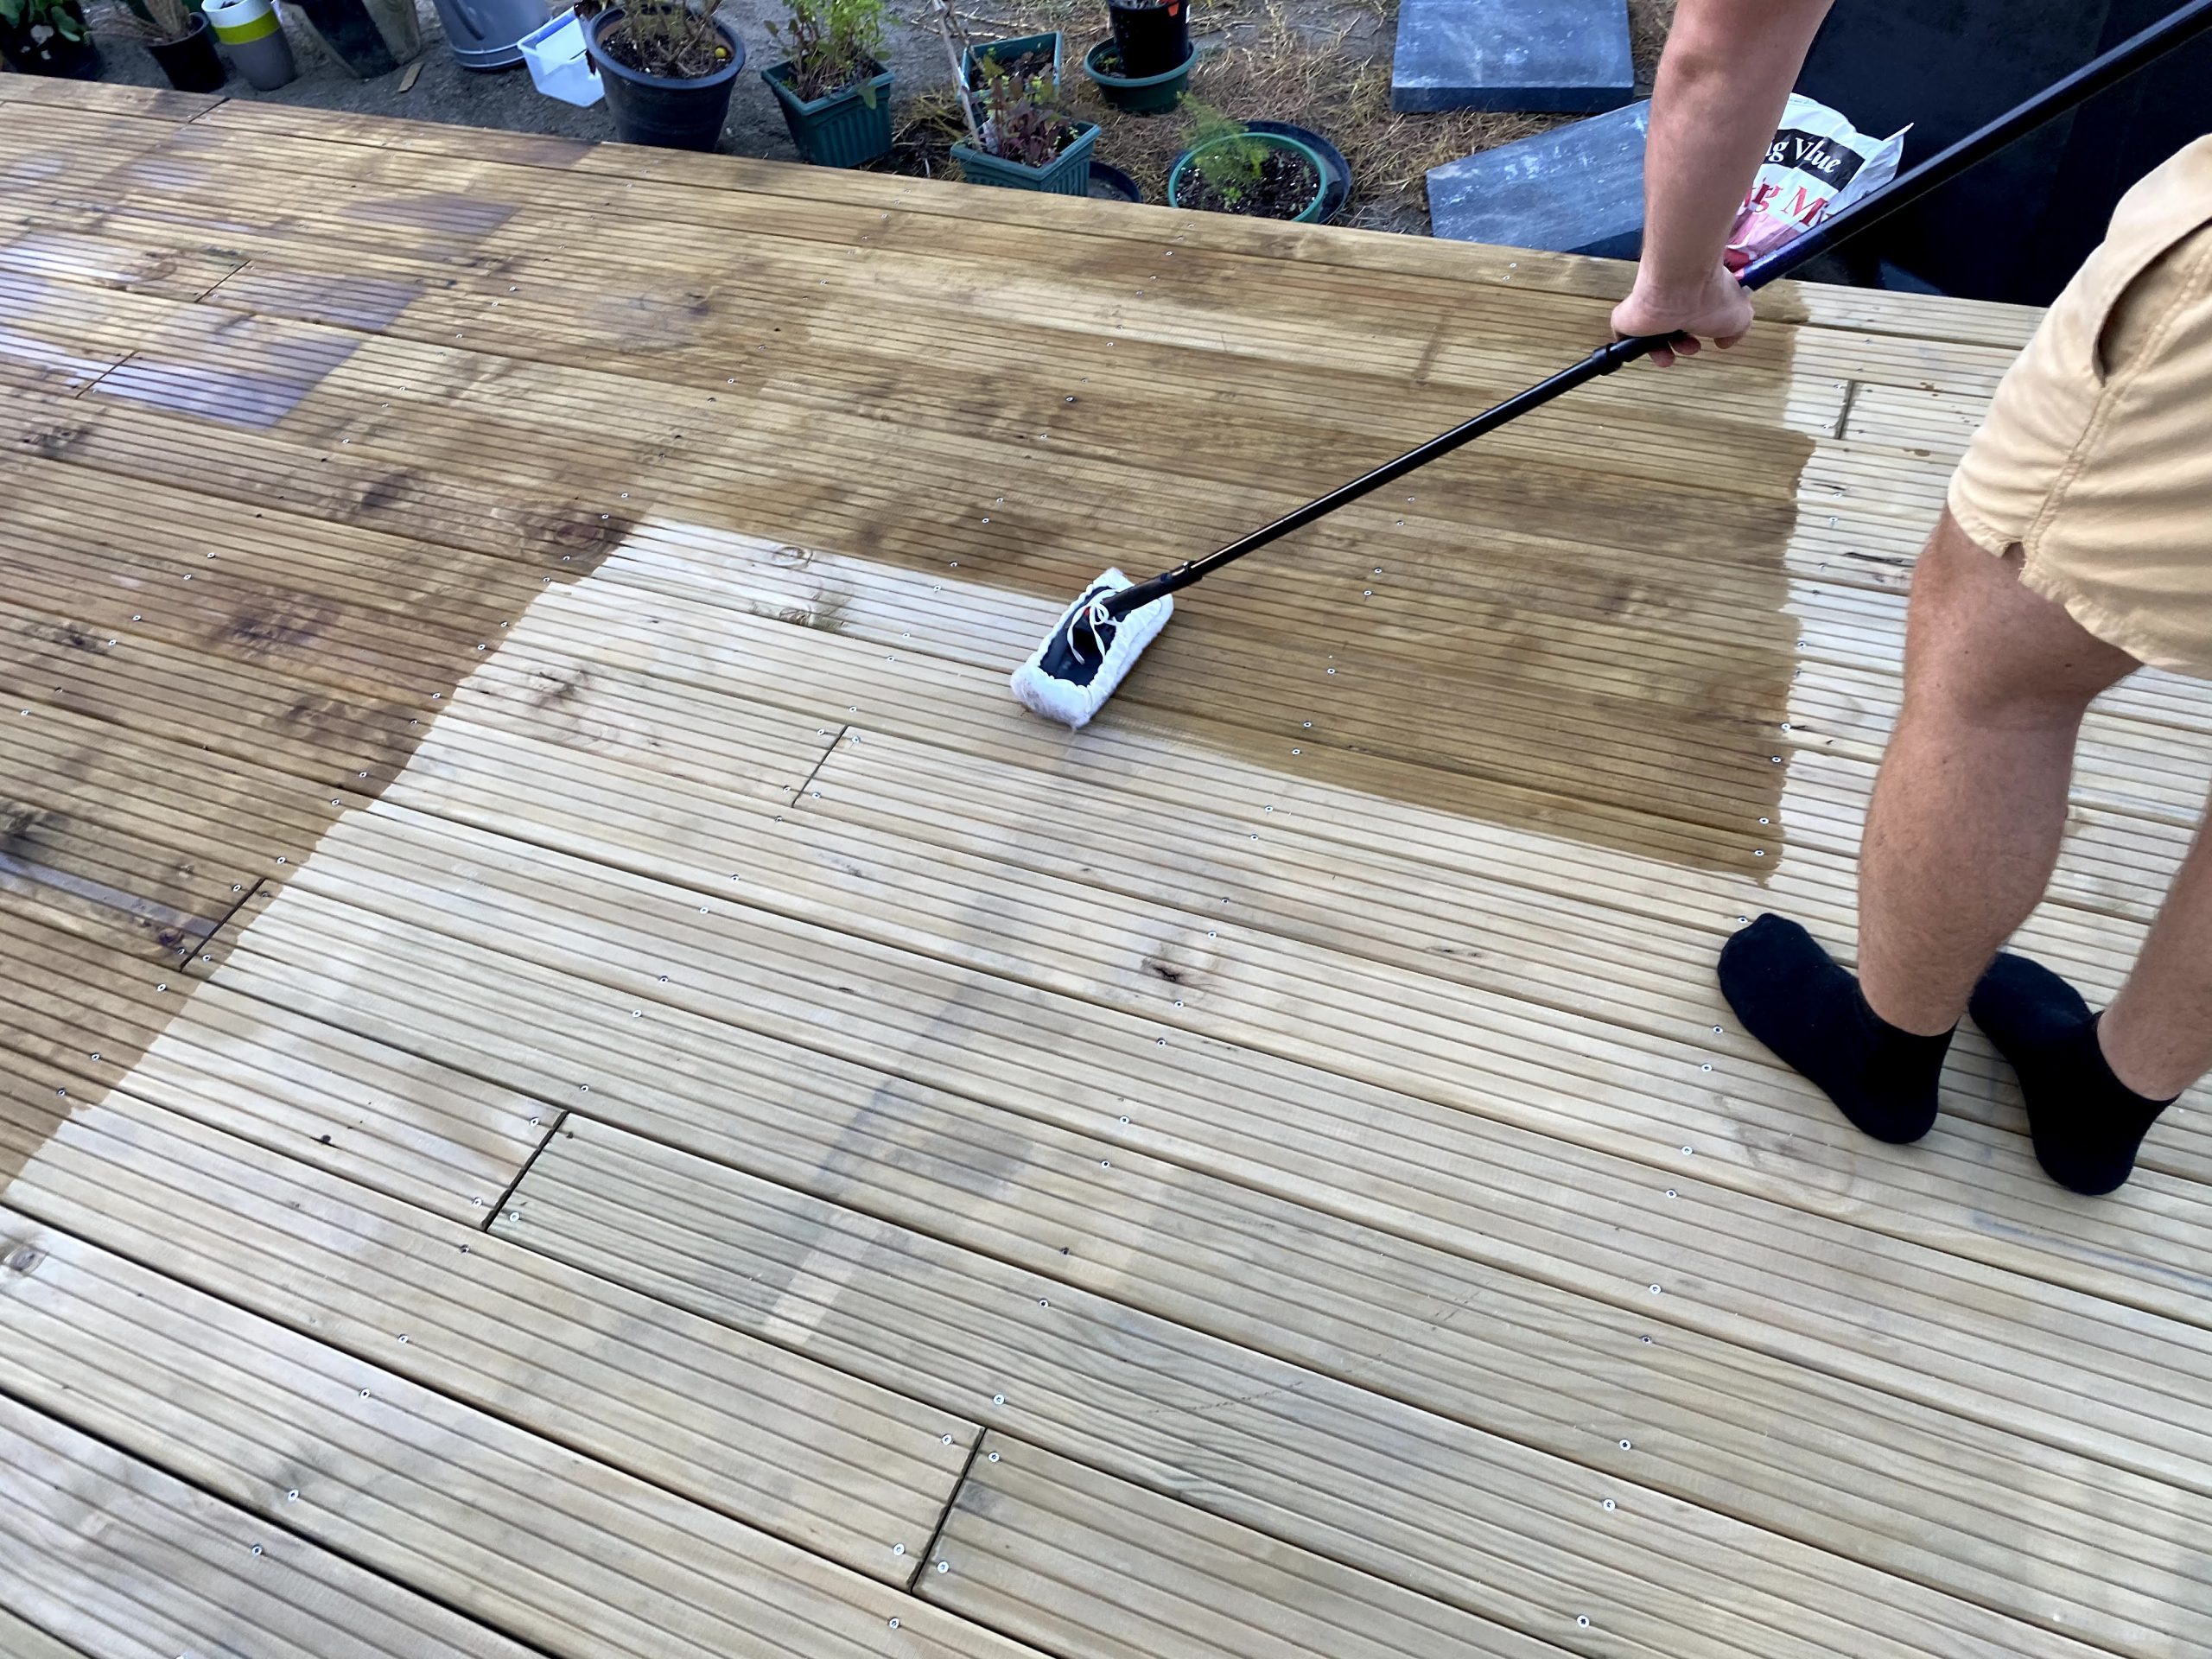
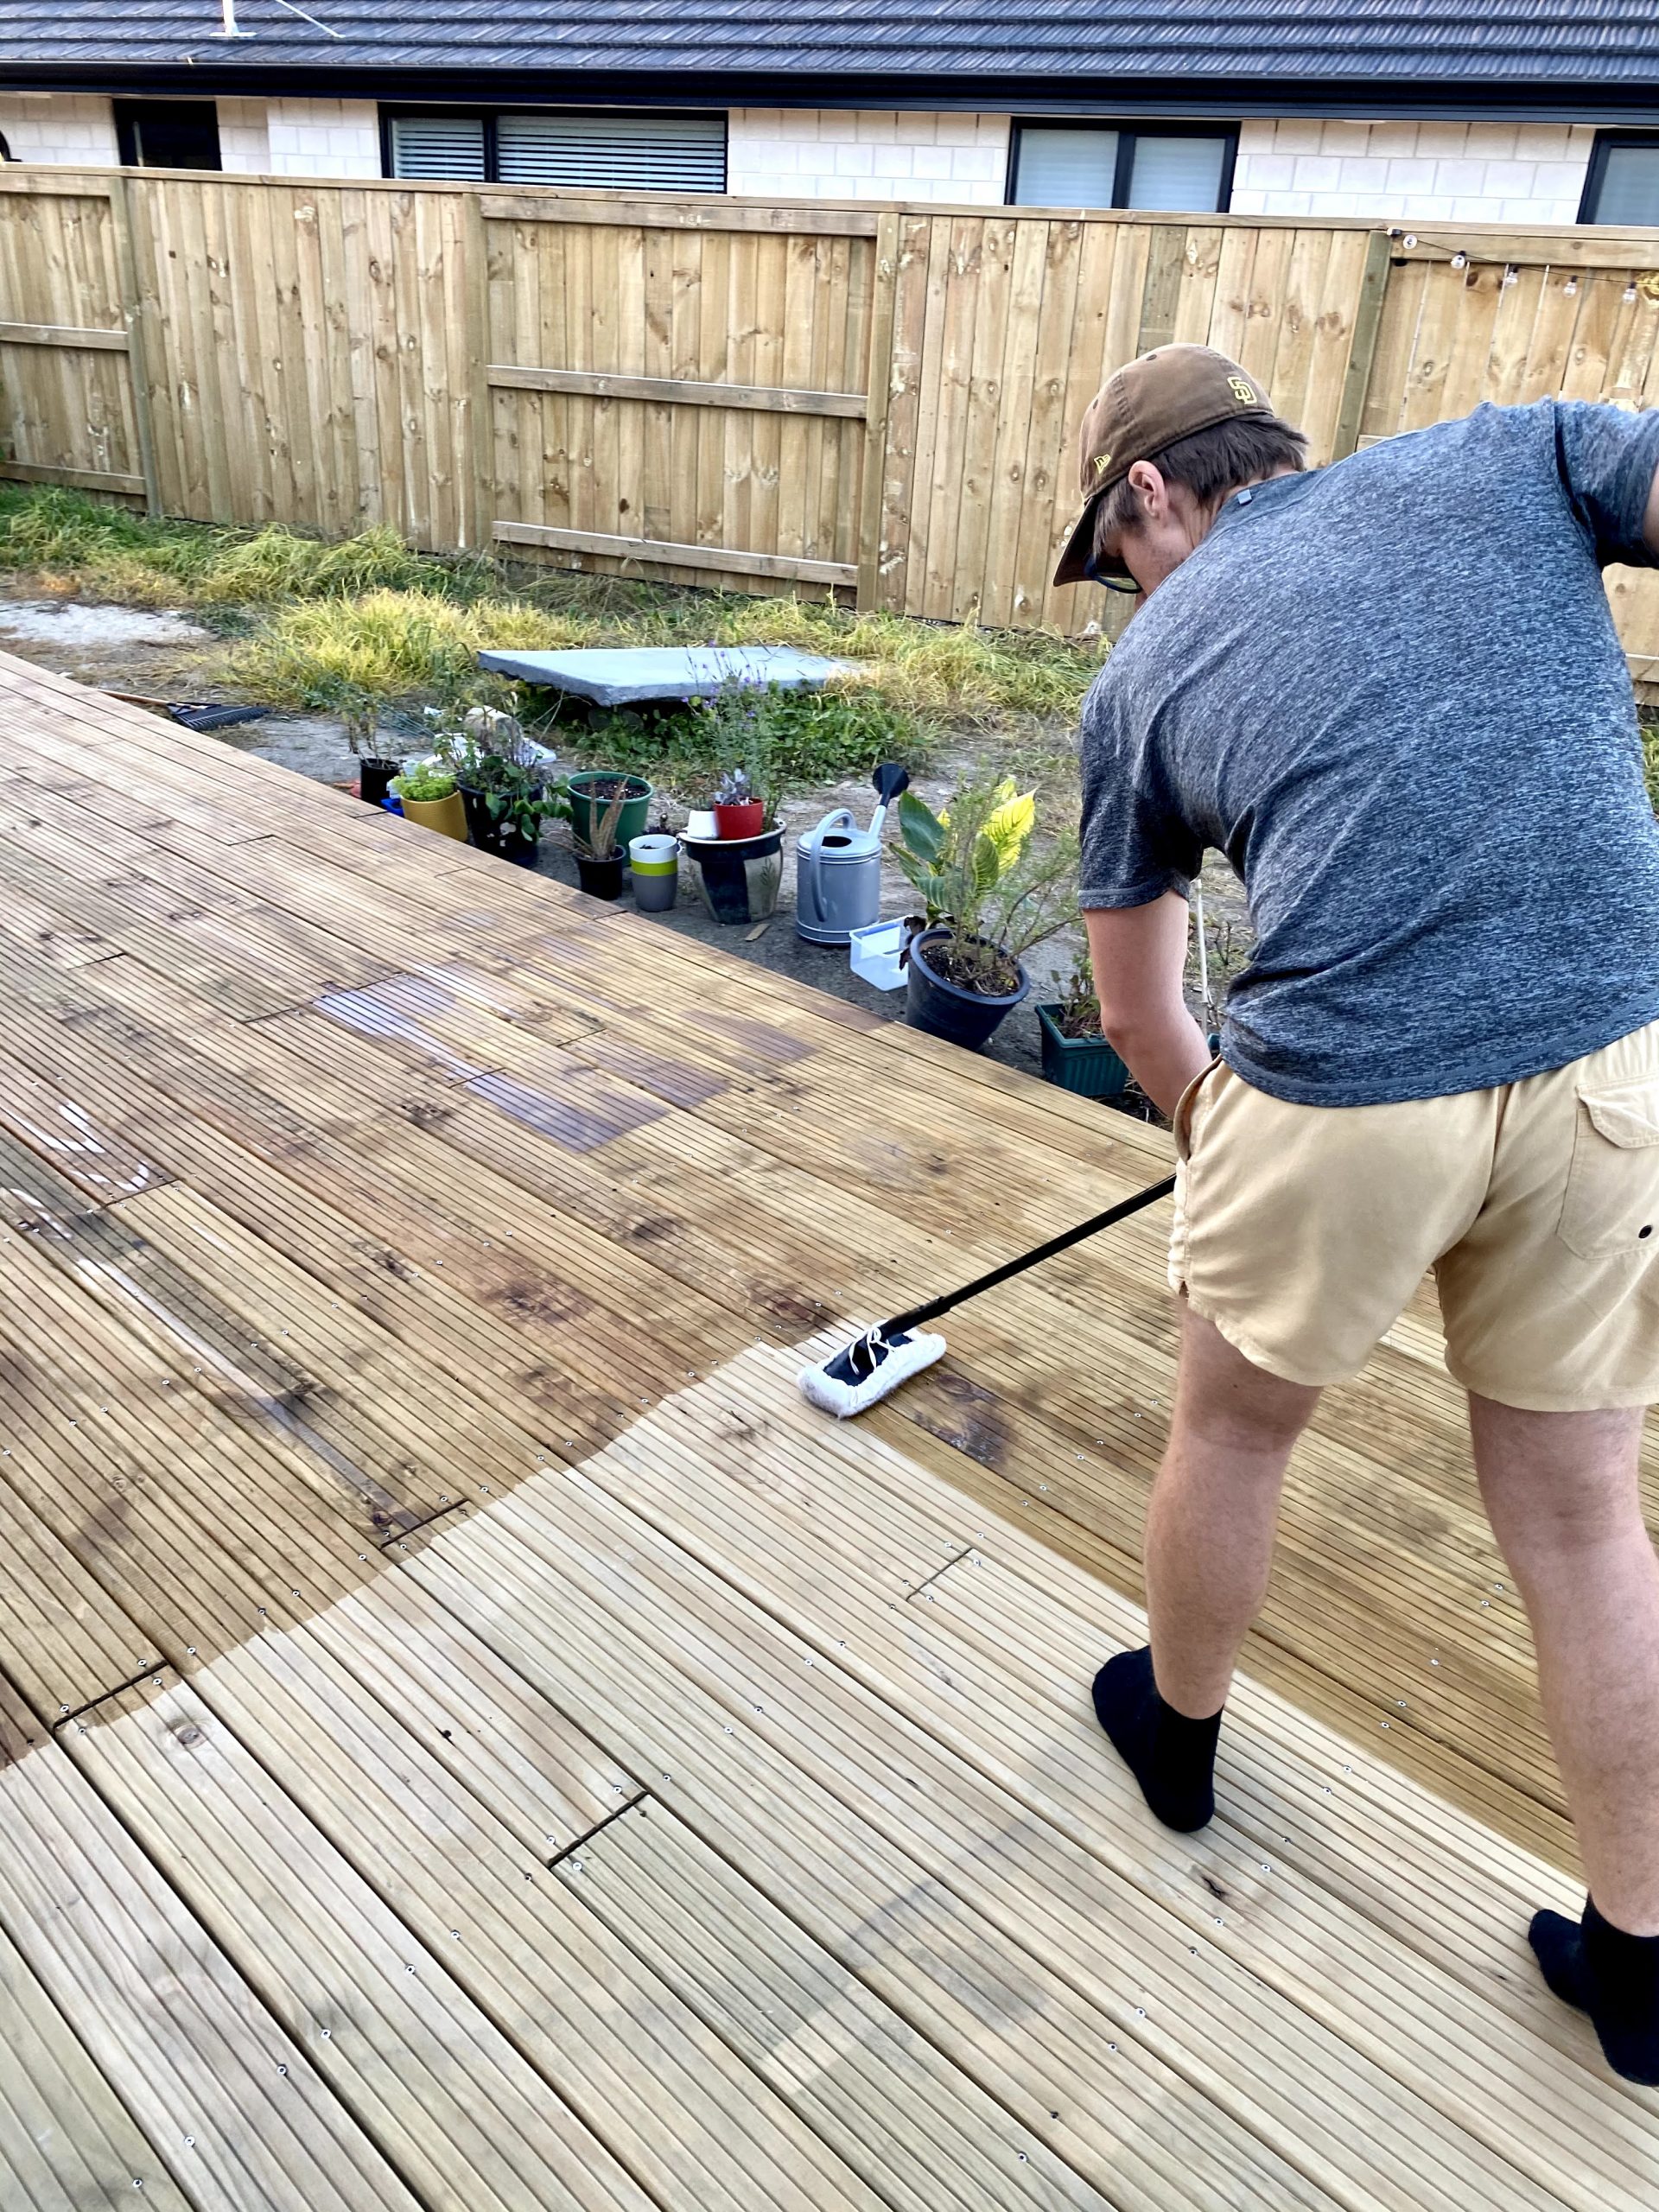
You can see two things in the above image:
There’s a water mark where our umbrella was beforehand (we did not remove items the day before staining).
Robbie stained by section not by board. If you scroll above, you’ll see where there are clear sectioned-off marks of stain and we are now having trouble fixing. Don’t be us. Learn from our mistakes!
The water mark has fixed itself by drying out before we applied the second coat of stain. We can try to fix the other mistake by re-staining the parts of the deck that are a bit lighter with a light coat of extra deck stain.
Are you DIYing parts of your home too? I would love to see what you’re doing! Let’s connect on Instagram!
If you enjoyed reading this and would like more information on home, lifestyle, advice, tips, tricks, and more, follow me on Instagram @Its.Mary.Taylor and on Facebook at Mary Taylor! I can’t wait to see you there!
I’m so excited to dive into our visions for our laundry room! If you’re looking for laundry room inspiration or garage conversions for your laundry area, this is the right place. If you’re new here, welcome! My husband, Robbie, and I are building our very first home together. You can read about our experience so far and see more of our home inspiration here. To see where you can buy similar (or the same) products that are featured in all of my home inspiration posts as well as all credits on images, head to my inspiration shop here. View and purchase ALL of my Amazon home decor inspiration and ideas here!
Some of the links included in this blog are commissioned links. This means I may earn a small commission when you use them. I cannot see who purchases what and it doesn’t cost you anything to click on them.
Now, our laundry room is actually just part of our garage but I want to focus on the things we want to do to make a laundry area within it. I even have some tips and tricks to creating a modern and stylish laundry room space in your garage! First of all, take a look at our inspiration board below:
View credits for the images by clicking on this image
Here are some of my ideas on how to make your garage into a laundry room:
Multi-functional organization – what I mean by this is to create an area that can serve multiple purposes such as having a countertop on top of your washer and dryer so that when you have extra space for folding, washing, etc.
Click this image to shop my inspiration board
2. Positioning – place your washer and dryer in a place that will not only be functional when it’s used but also when it’s not in use. Will you stack your washer and dryer or have them placed side-by-side? Do you want them tucked away or out in the open? Think how and where your doors open up and close. You want to make sure that you don’t place your washer/dryer where you’ll need to move, close, or open something else in order to use it.
3. Design & style – if you choose to keep some of your washing products on display, make them pretty! Here’s a list of beautiful laundry room ideas on Amazon!
4. Display when not in use – It’s important to think about what else you’ll be using your garage for. If you’re storing a car in your garage, you probably don’t need to worry too much (or at all) about hiding your washer and dryer when it’s not in use. But, if you’re using your garage as a hang out room (or a brewery/movie theater like us), you might want to consider covering them up. This should play into the design and style! Check out the ideas below that I have found for covering up a washer and dryer that are actually cute!
If you enjoyed reading this and would like more information on home, lifestyle, advice, tips, tricks, and more, follow me on Instagram @Its.Mary.Taylor and on Facebook at Mary Taylor! I can’t wait to see you there!
I am so excited to share our master bedroom inspiration for our new house! If you’re new here, welcome! My husband, Robbie, and I are building our very first home together. You can read about our experience so far and see more of our home inspiration here. To see where you can buy similar (or the same) products that are featured in all of my home inspiration posts as well as all credits on images, head to my inspiration shop here. View and purchase ALL of my Amazon home decor inspiration and ideas here!
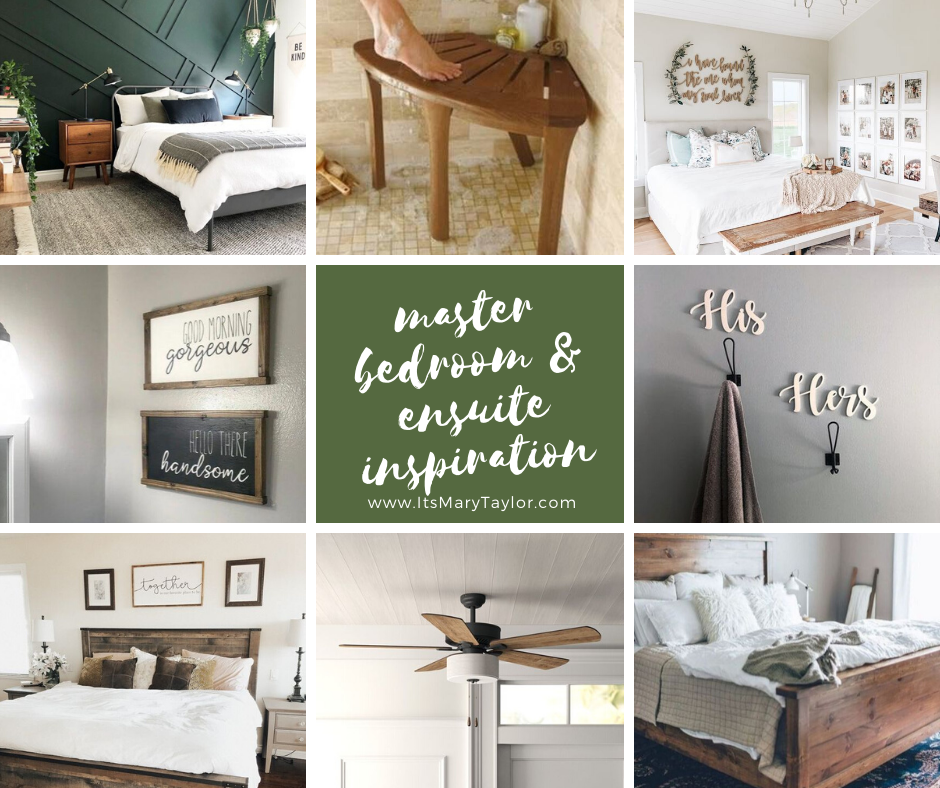
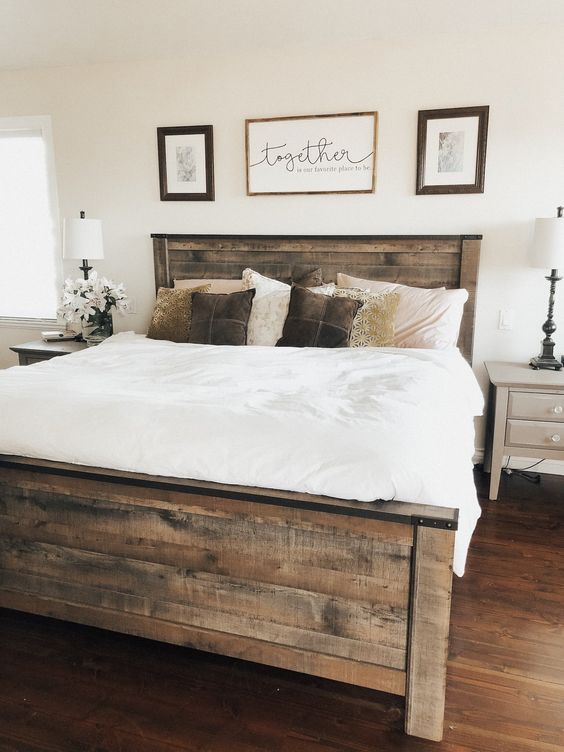
When you think of your master bedroom what kind of feeling does it give you? To me, I want to think of our master bedroom as a clean, organized, and clutter free space to relax. We have decided (not just in this home but all of the homes we have lived in together), to not have TV in our bedroom. Check out our inspiration board below.
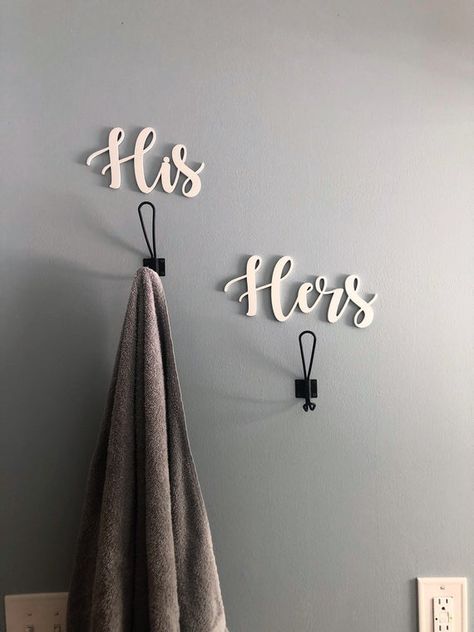
We want to create a relaxing place for us to enjoy in the evenings and sleep in on the weekends. We’re lucky because we get to have an ensuite and walk in closet! I am excited about adding in all of our own little touches like his and her towel hangers and of course a shower stool!
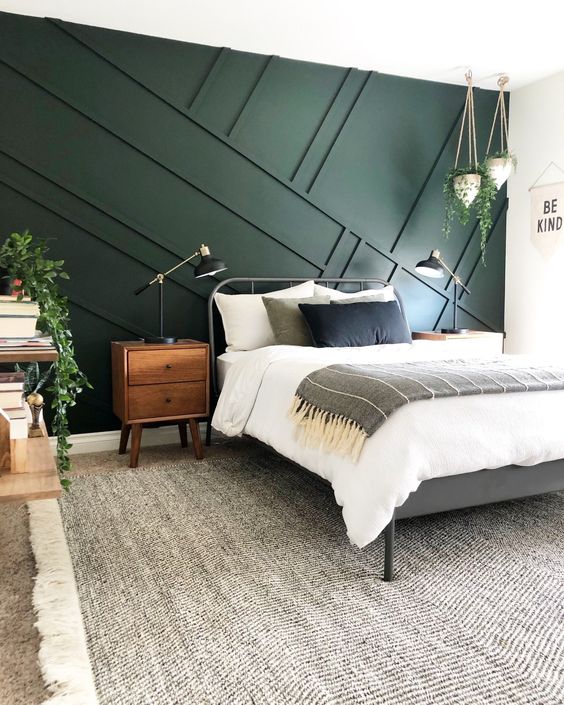
Some ideas we have for our room is painting the back wall a sage/spanish green color and maybe even adding a linear wood element to the wall. Do you think we should keep it white, paint it green, or paint it green and add the wood element pictured below?
We’re keeping our existing bedroom furniture which is large and wood. However, we are unsure if we will have the space to put the matching tall dresser! I have never had a walk in wardrobe so I need organization ideas! What have you done to save you time and space?!
Although the room is quite simple, we’re looking forward to having big, glass sliding doors that lead onto our large deck! Robbie mentioned adding a bench seat to the right hand side of the deck (at the end).
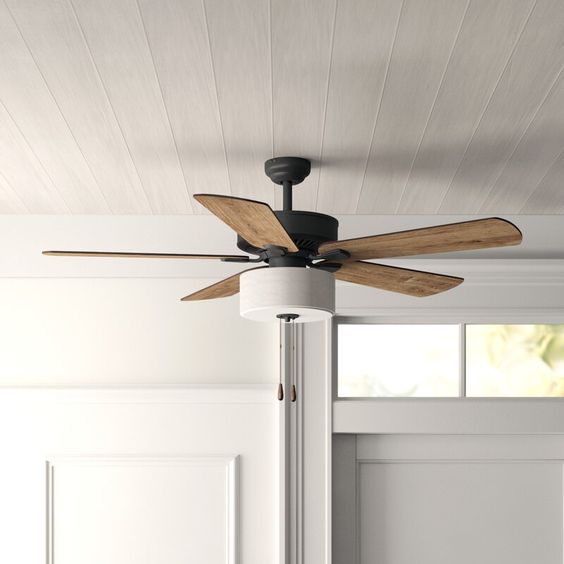
One thing that I miss about our old rental home, is that the master bedroom had a ceiling fan! It’s definitely on our to-buy list. I am thinking of getting a wood and black fan like pictured in our master bedroom inspiration board.
If you enjoyed reading this and would like more information on home, lifestyle, advice, tips, tricks, and more, follow me on Instagram @Its.Mary.Taylor and on Facebook at Mary Taylor! I can’t wait to see you there!