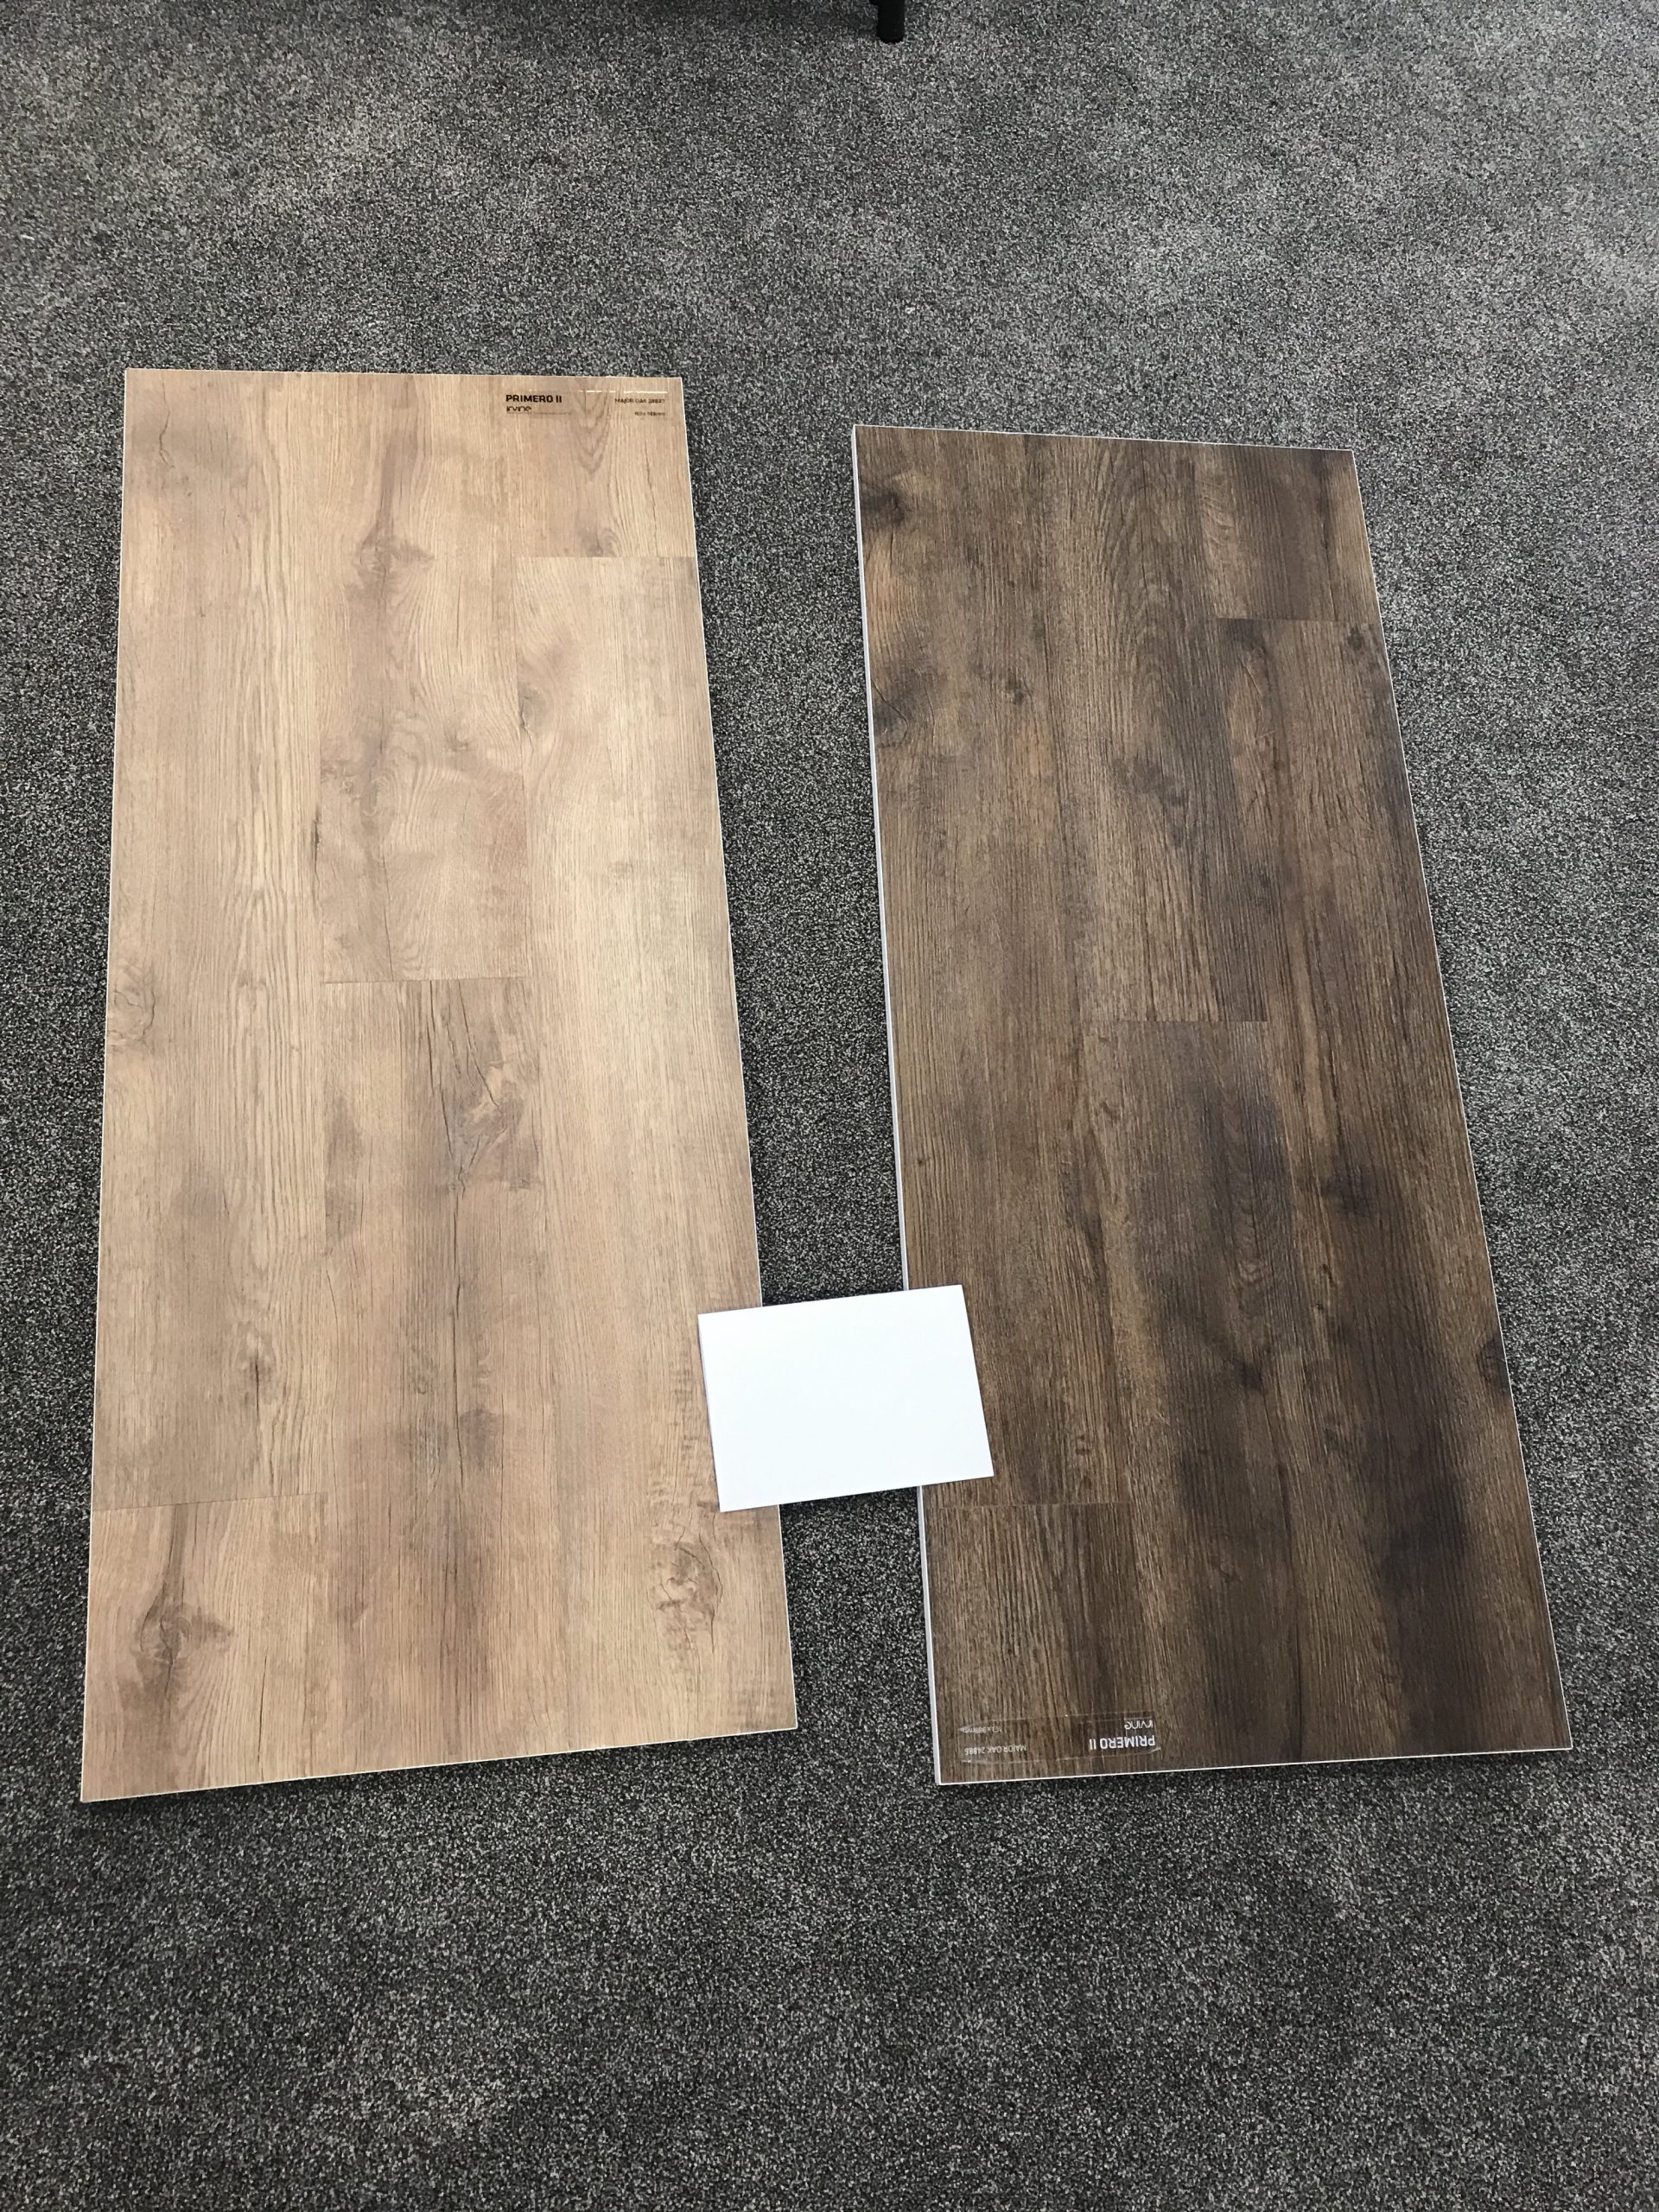
If you have been following along our home building process for the last two years on Instagram (@its.mary.taylor), you probably know that we finally moved it! Although we moved into a brand new home, there were some things we just didn’t have the budget for. This included all of the landscaping and our deck! From building the deck to staining the deck, it’s taken us over a month of everyday work to get it to where we want it to be.
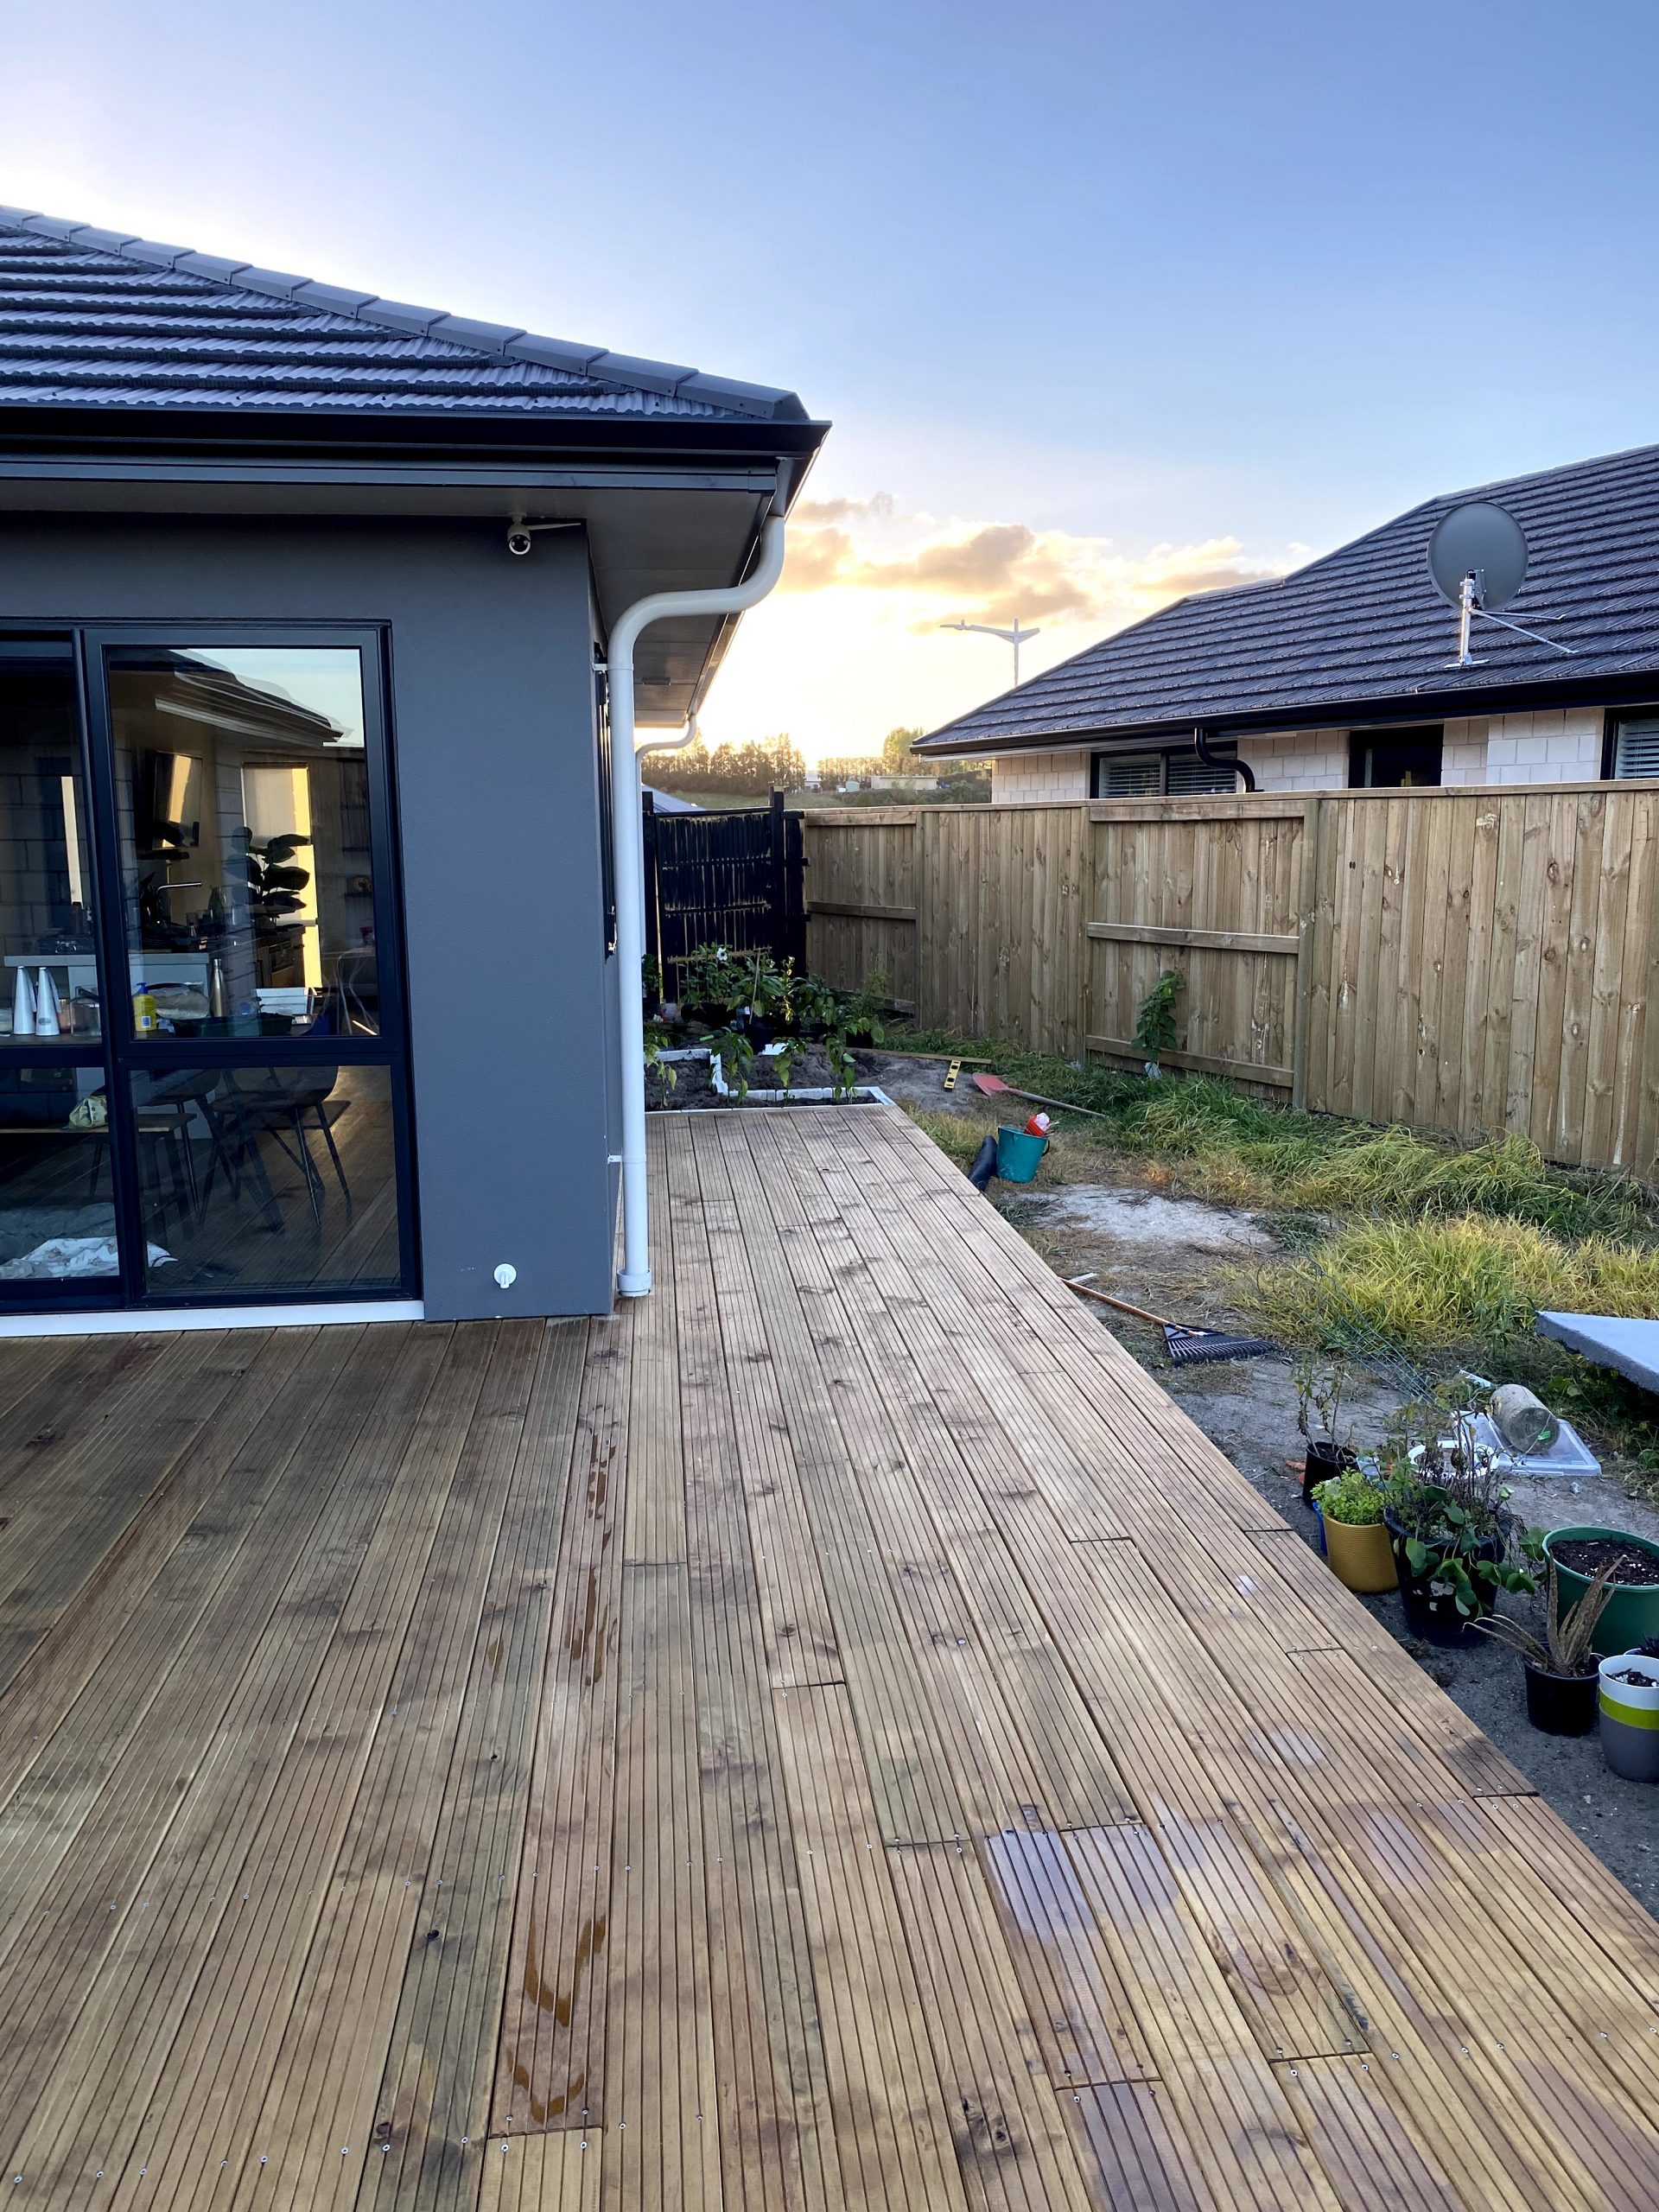
The good news is, the deck is stained! We’re so thrilled that the deck is finally stained to match our flooring inside. We LOVE the color! But much like everything in our building, home buying, and DIY experiences this far, we have learned a lot!
Bad news, it’s not perfect. And, that’s okay. DIY projects are a learning process so if you’re wondering how to stain a deck or how to fix a deck that you stained wrong, we have some tips for you!
If this is your first time staining a deck, check out these tips below to learn from our deck staining mistakes!
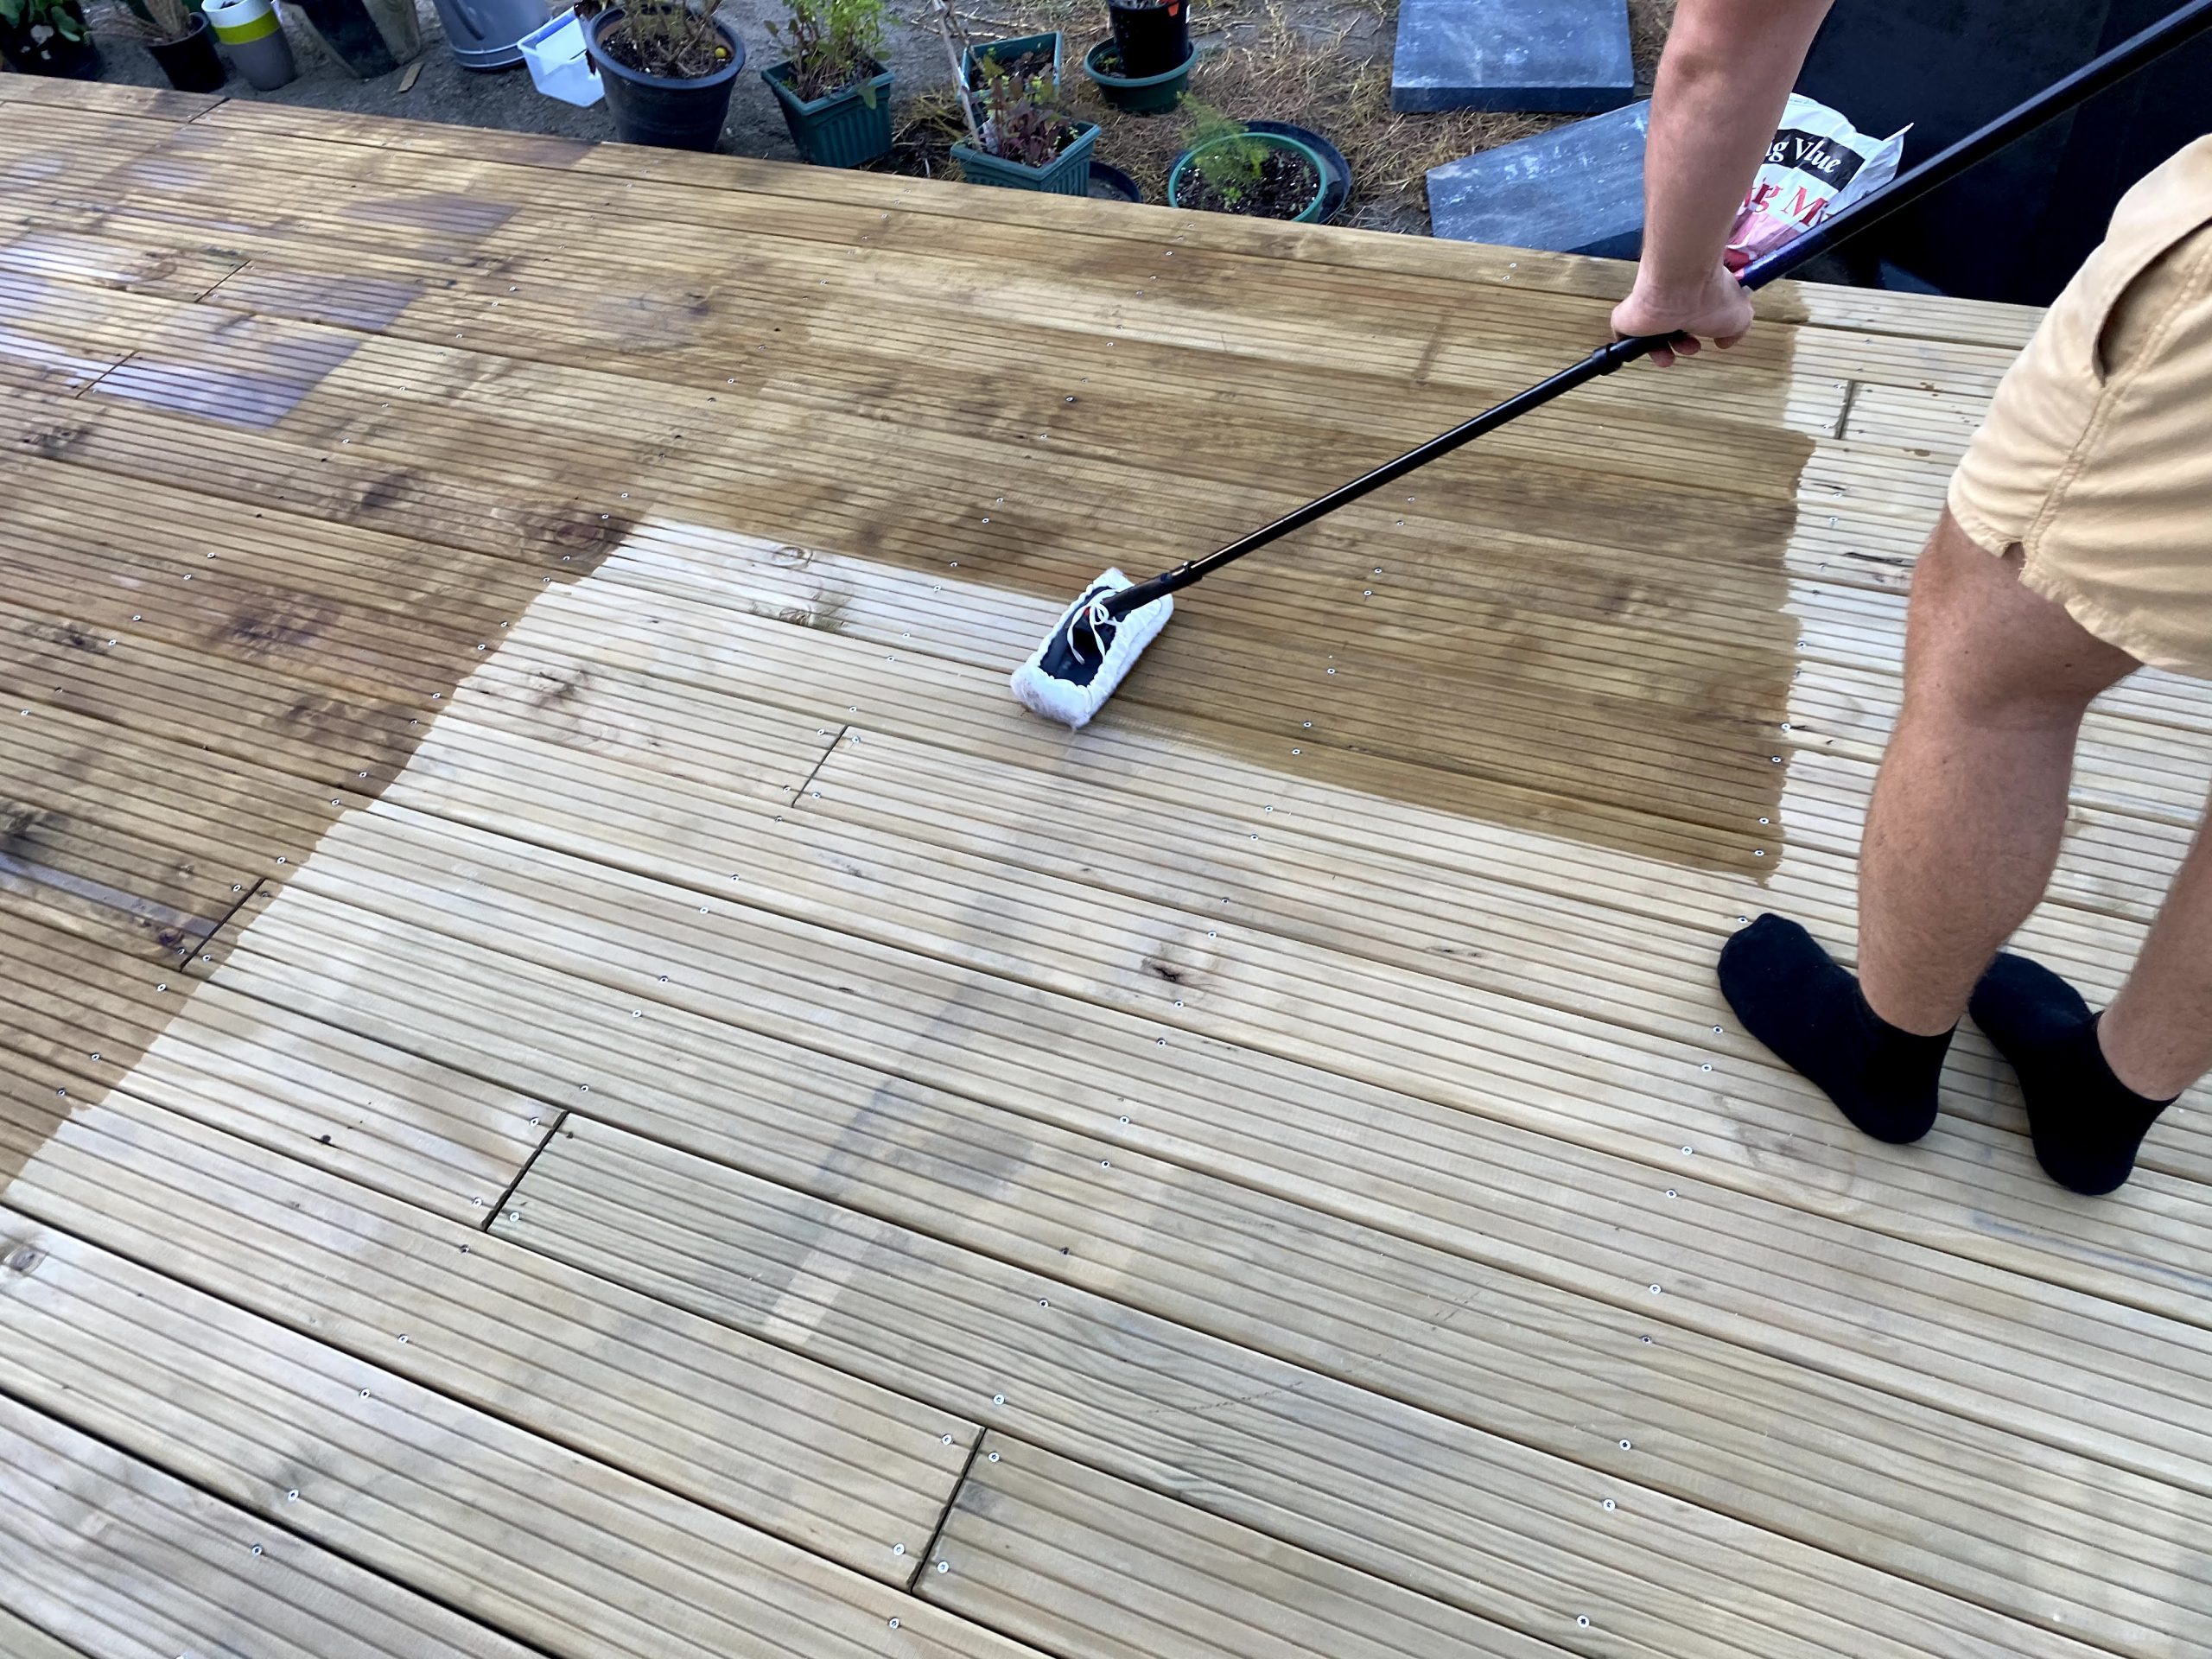
Stain entire rows of wood, rather than in sections
Mix the container as much as possible before starting (if the container says not to create bubbles, do not just roll the container on its side – turn it upside down, mix it by hand, anything to get it to fully mix.
Clear the deck 24 hours before you start to let it fully dry out e.g. under pot plants
Sweep the deck before you start to remove any extra debri
When staining wood that’s next to something (against your house for example) use some cardboard or painters tape or something so that no stain gets on the house
If the stain is turps based, have plenty of bottles of extra turps nearby in case there an accident (stain gets on your house, the tin tips over, etc) so if you need to, you can dilute/clean off the stain
If your stain is too dark in some areas (and your stain is turpentine based), you can rub extra turps onto the stained area with a lint-free rag/cloth or your cleaned (not filled with stain) staining brush
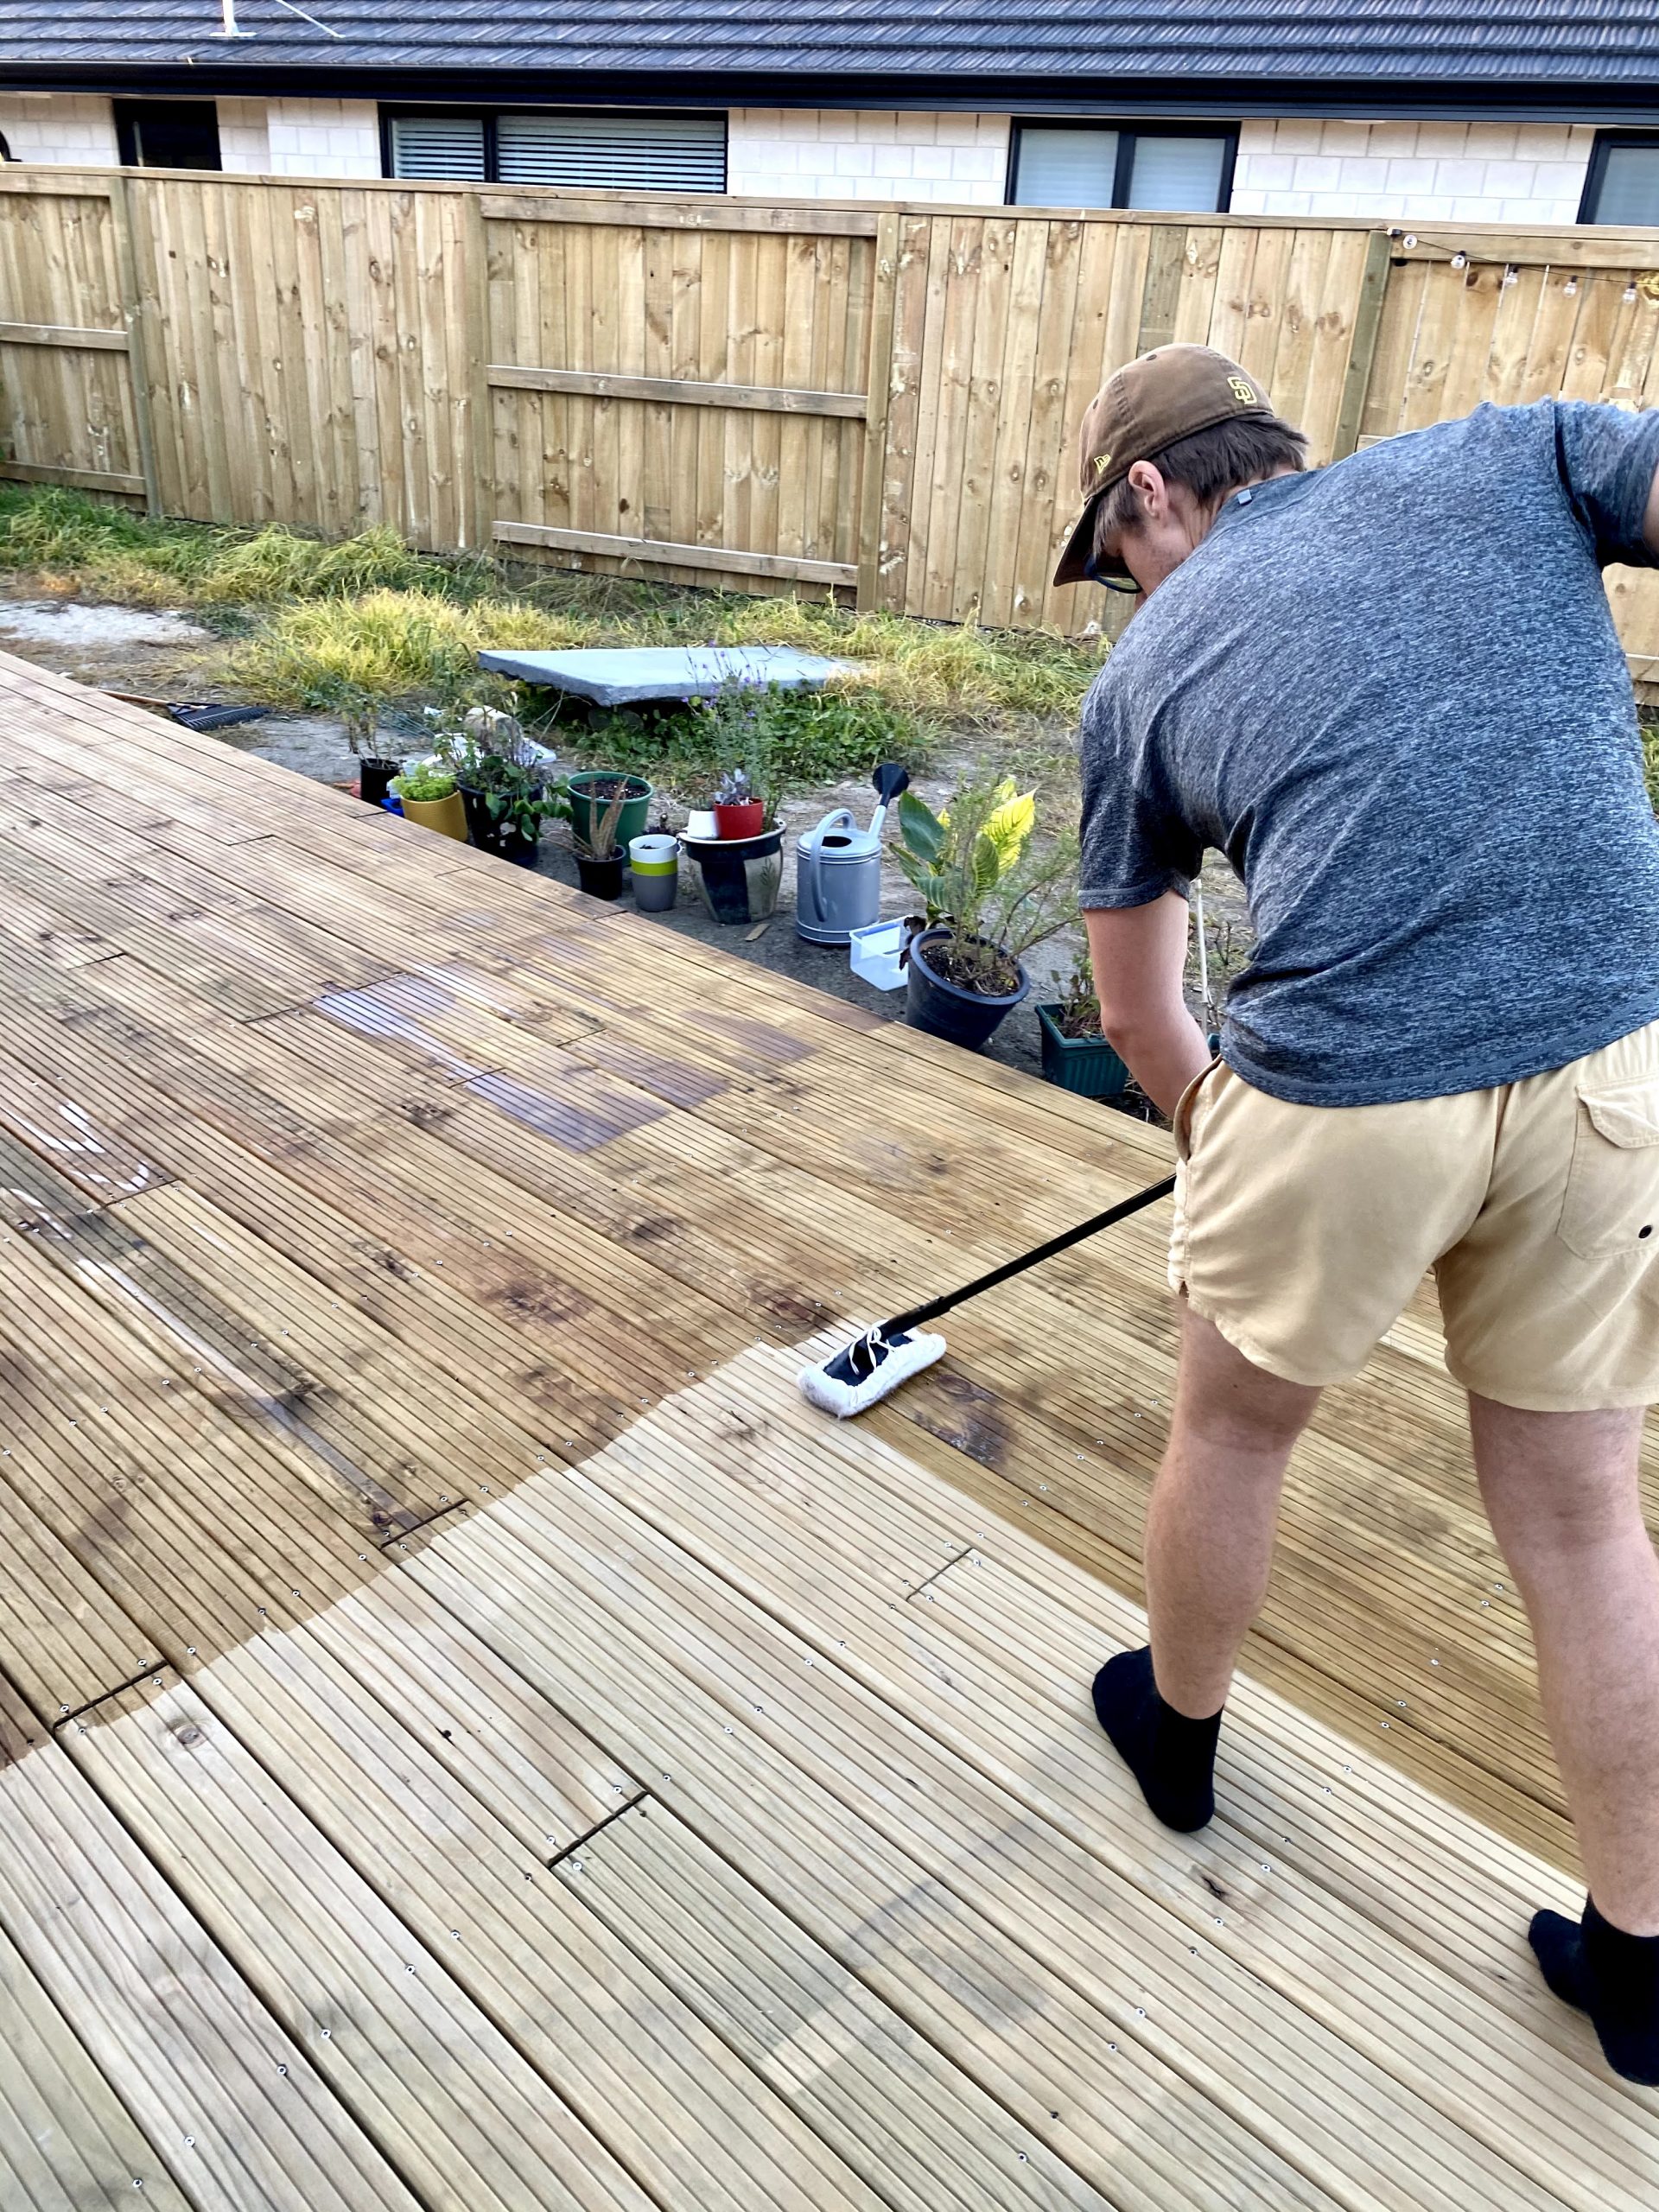
You can see two things in the above image:
There’s a water mark where our umbrella was beforehand (we did not remove items the day before staining).
Robbie stained by section not by board. If you scroll above, you’ll see where there are clear sectioned-off marks of stain and we are now having trouble fixing. Don’t be us. Learn from our mistakes!
The water mark has fixed itself by drying out before we applied the second coat of stain. We can try to fix the other mistake by re-staining the parts of the deck that are a bit lighter with a light coat of extra deck stain.
Are you DIYing parts of your home too? I would love to see what you’re doing! Let’s connect on Instagram!
If you enjoyed reading this and would like more information on home, lifestyle, advice, tips, tricks, and more, follow me on Instagram @Its.Mary.Taylor and on Facebook at Mary Taylor! I can’t wait to see you there!
I’m so excited to dive into our visions for our laundry room! If you’re looking for laundry room inspiration or garage conversions for your laundry area, this is the right place. If you’re new here, welcome! My husband, Robbie, and I are building our very first home together. You can read about our experience so far and see more of our home inspiration here. To see where you can buy similar (or the same) products that are featured in all of my home inspiration posts as well as all credits on images, head to my inspiration shop here. View and purchase ALL of my Amazon home decor inspiration and ideas here!
Some of the links included in this blog are commissioned links. This means I may earn a small commission when you use them. I cannot see who purchases what and it doesn’t cost you anything to click on them.
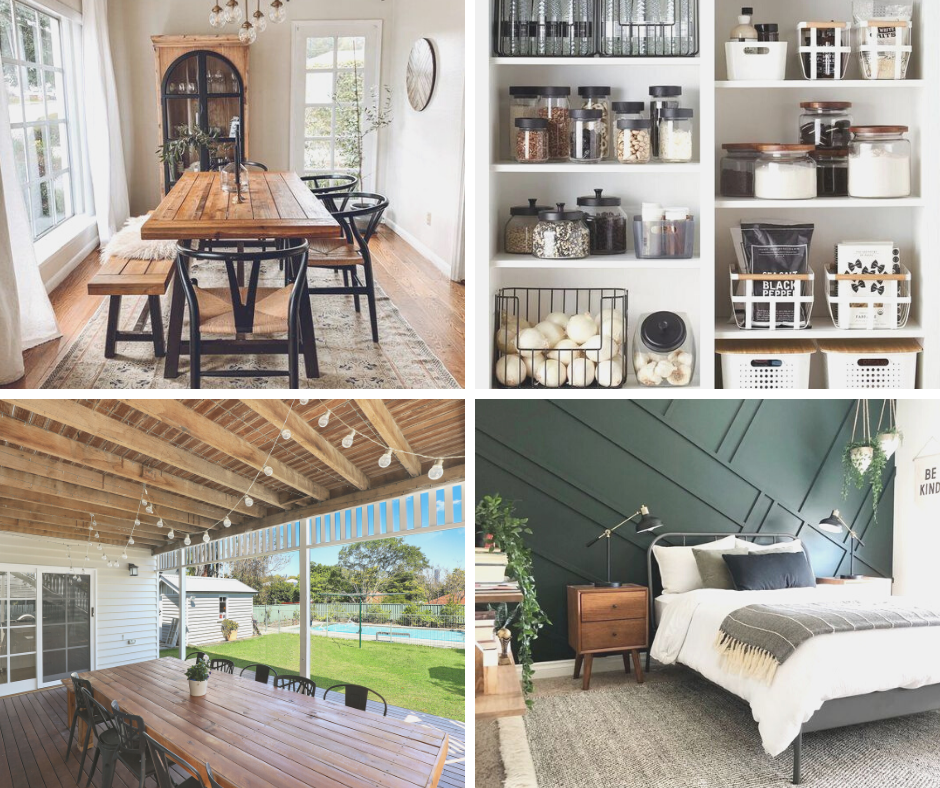
Now, our laundry room is actually just part of our garage but I want to focus on the things we want to do to make a laundry area within it. I even have some tips and tricks to creating a modern and stylish laundry room space in your garage! First of all, take a look at our inspiration board below:
View credits for the images by clicking on this image
Here are some of my ideas on how to make your garage into a laundry room:
Multi-functional organization – what I mean by this is to create an area that can serve multiple purposes such as having a countertop on top of your washer and dryer so that when you have extra space for folding, washing, etc.
Click this image to shop my inspiration board
2. Positioning – place your washer and dryer in a place that will not only be functional when it’s used but also when it’s not in use. Will you stack your washer and dryer or have them placed side-by-side? Do you want them tucked away or out in the open? Think how and where your doors open up and close. You want to make sure that you don’t place your washer/dryer where you’ll need to move, close, or open something else in order to use it.
3. Design & style – if you choose to keep some of your washing products on display, make them pretty! Here’s a list of beautiful laundry room ideas on Amazon!
4. Display when not in use – It’s important to think about what else you’ll be using your garage for. If you’re storing a car in your garage, you probably don’t need to worry too much (or at all) about hiding your washer and dryer when it’s not in use. But, if you’re using your garage as a hang out room (or a brewery/movie theater like us), you might want to consider covering them up. This should play into the design and style! Check out the ideas below that I have found for covering up a washer and dryer that are actually cute!
If you enjoyed reading this and would like more information on home, lifestyle, advice, tips, tricks, and more, follow me on Instagram @Its.Mary.Taylor and on Facebook at Mary Taylor! I can’t wait to see you there!
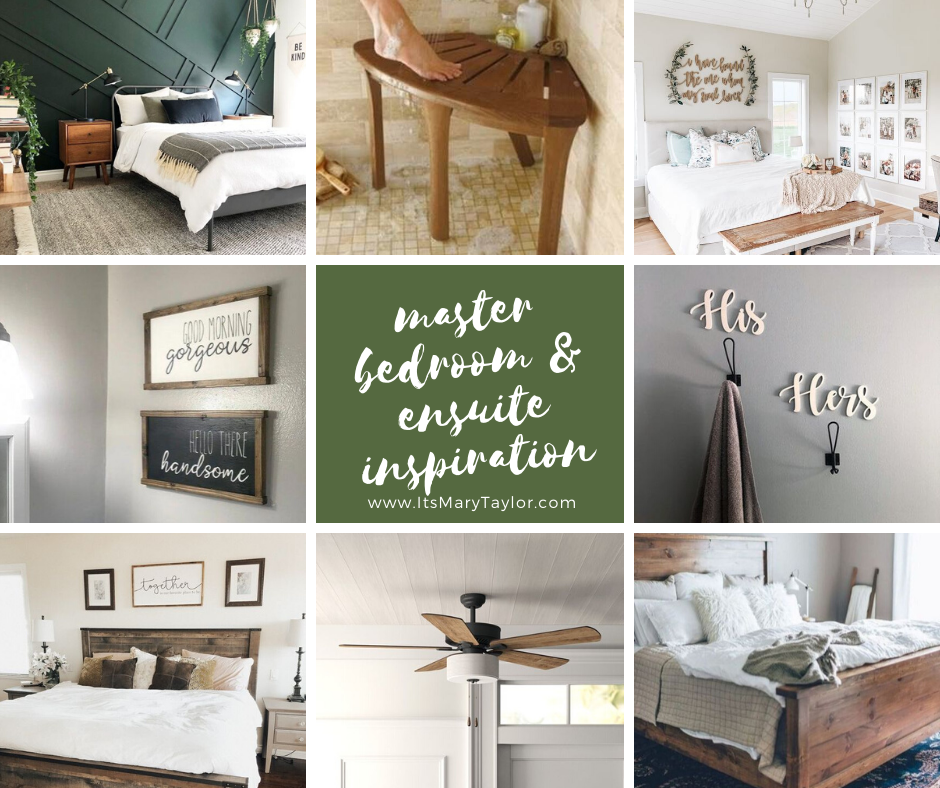
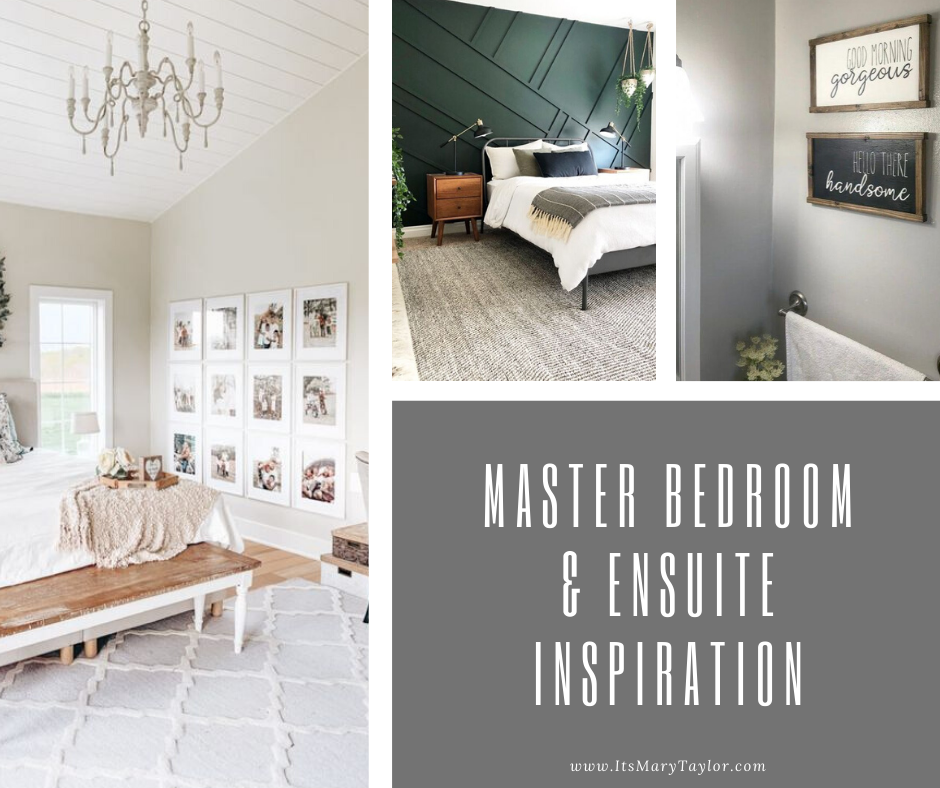
I am so excited to share our master bedroom inspiration for our new house! If you’re new here, welcome! My husband, Robbie, and I are building our very first home together. You can read about our experience so far and see more of our home inspiration here. To see where you can buy similar (or the same) products that are featured in all of my home inspiration posts as well as all credits on images, head to my inspiration shop here. View and purchase ALL of my Amazon home decor inspiration and ideas here!
When you think of your master bedroom what kind of feeling does it give you? To me, I want to think of our master bedroom as a clean, organized, and clutter free space to relax. We have decided (not just in this home but all of the homes we have lived in together), to not have TV in our bedroom. Check out our inspiration board below.
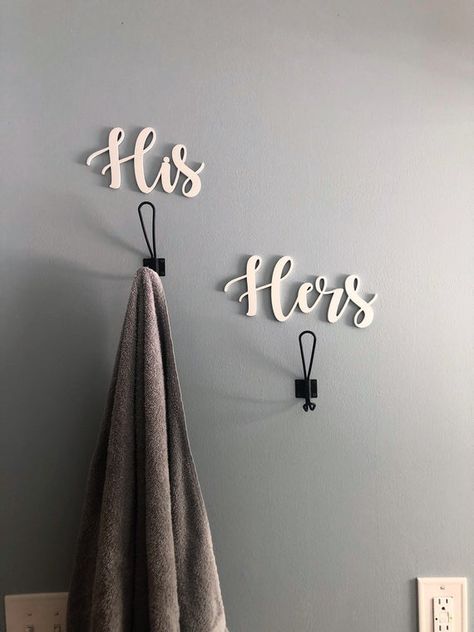
We want to create a relaxing place for us to enjoy in the evenings and sleep in on the weekends. We’re lucky because we get to have an ensuite and walk in closet! I am excited about adding in all of our own little touches like his and her towel hangers and of course a shower stool!
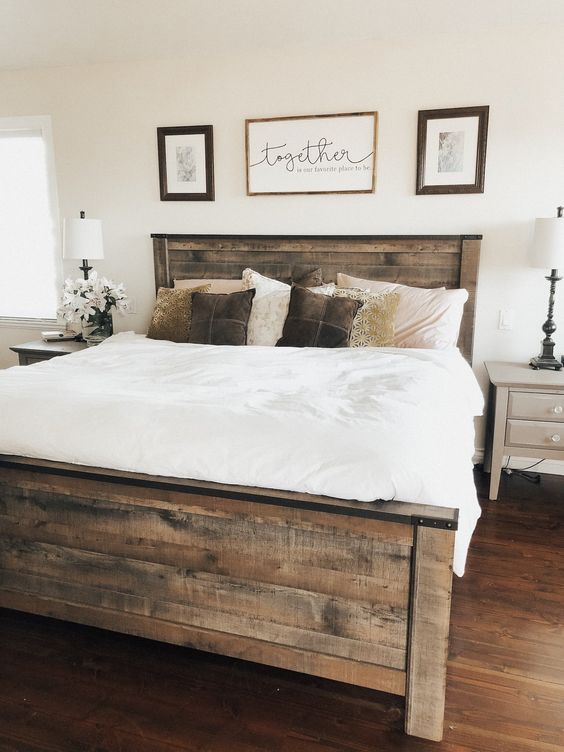
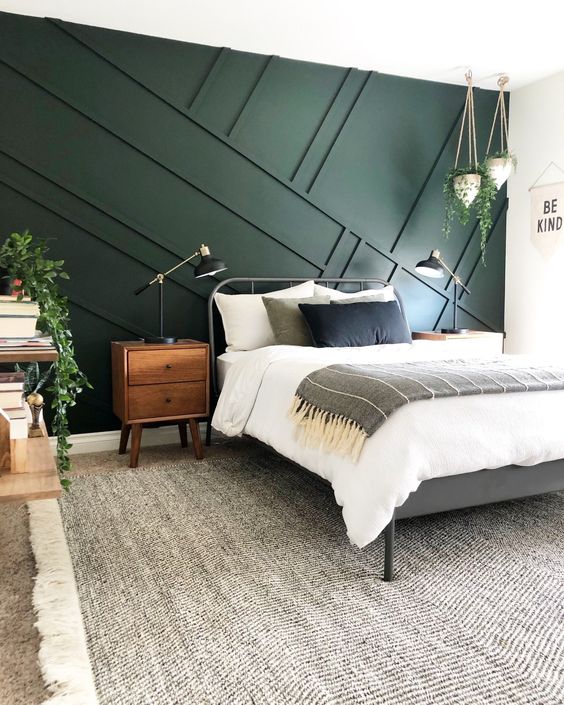
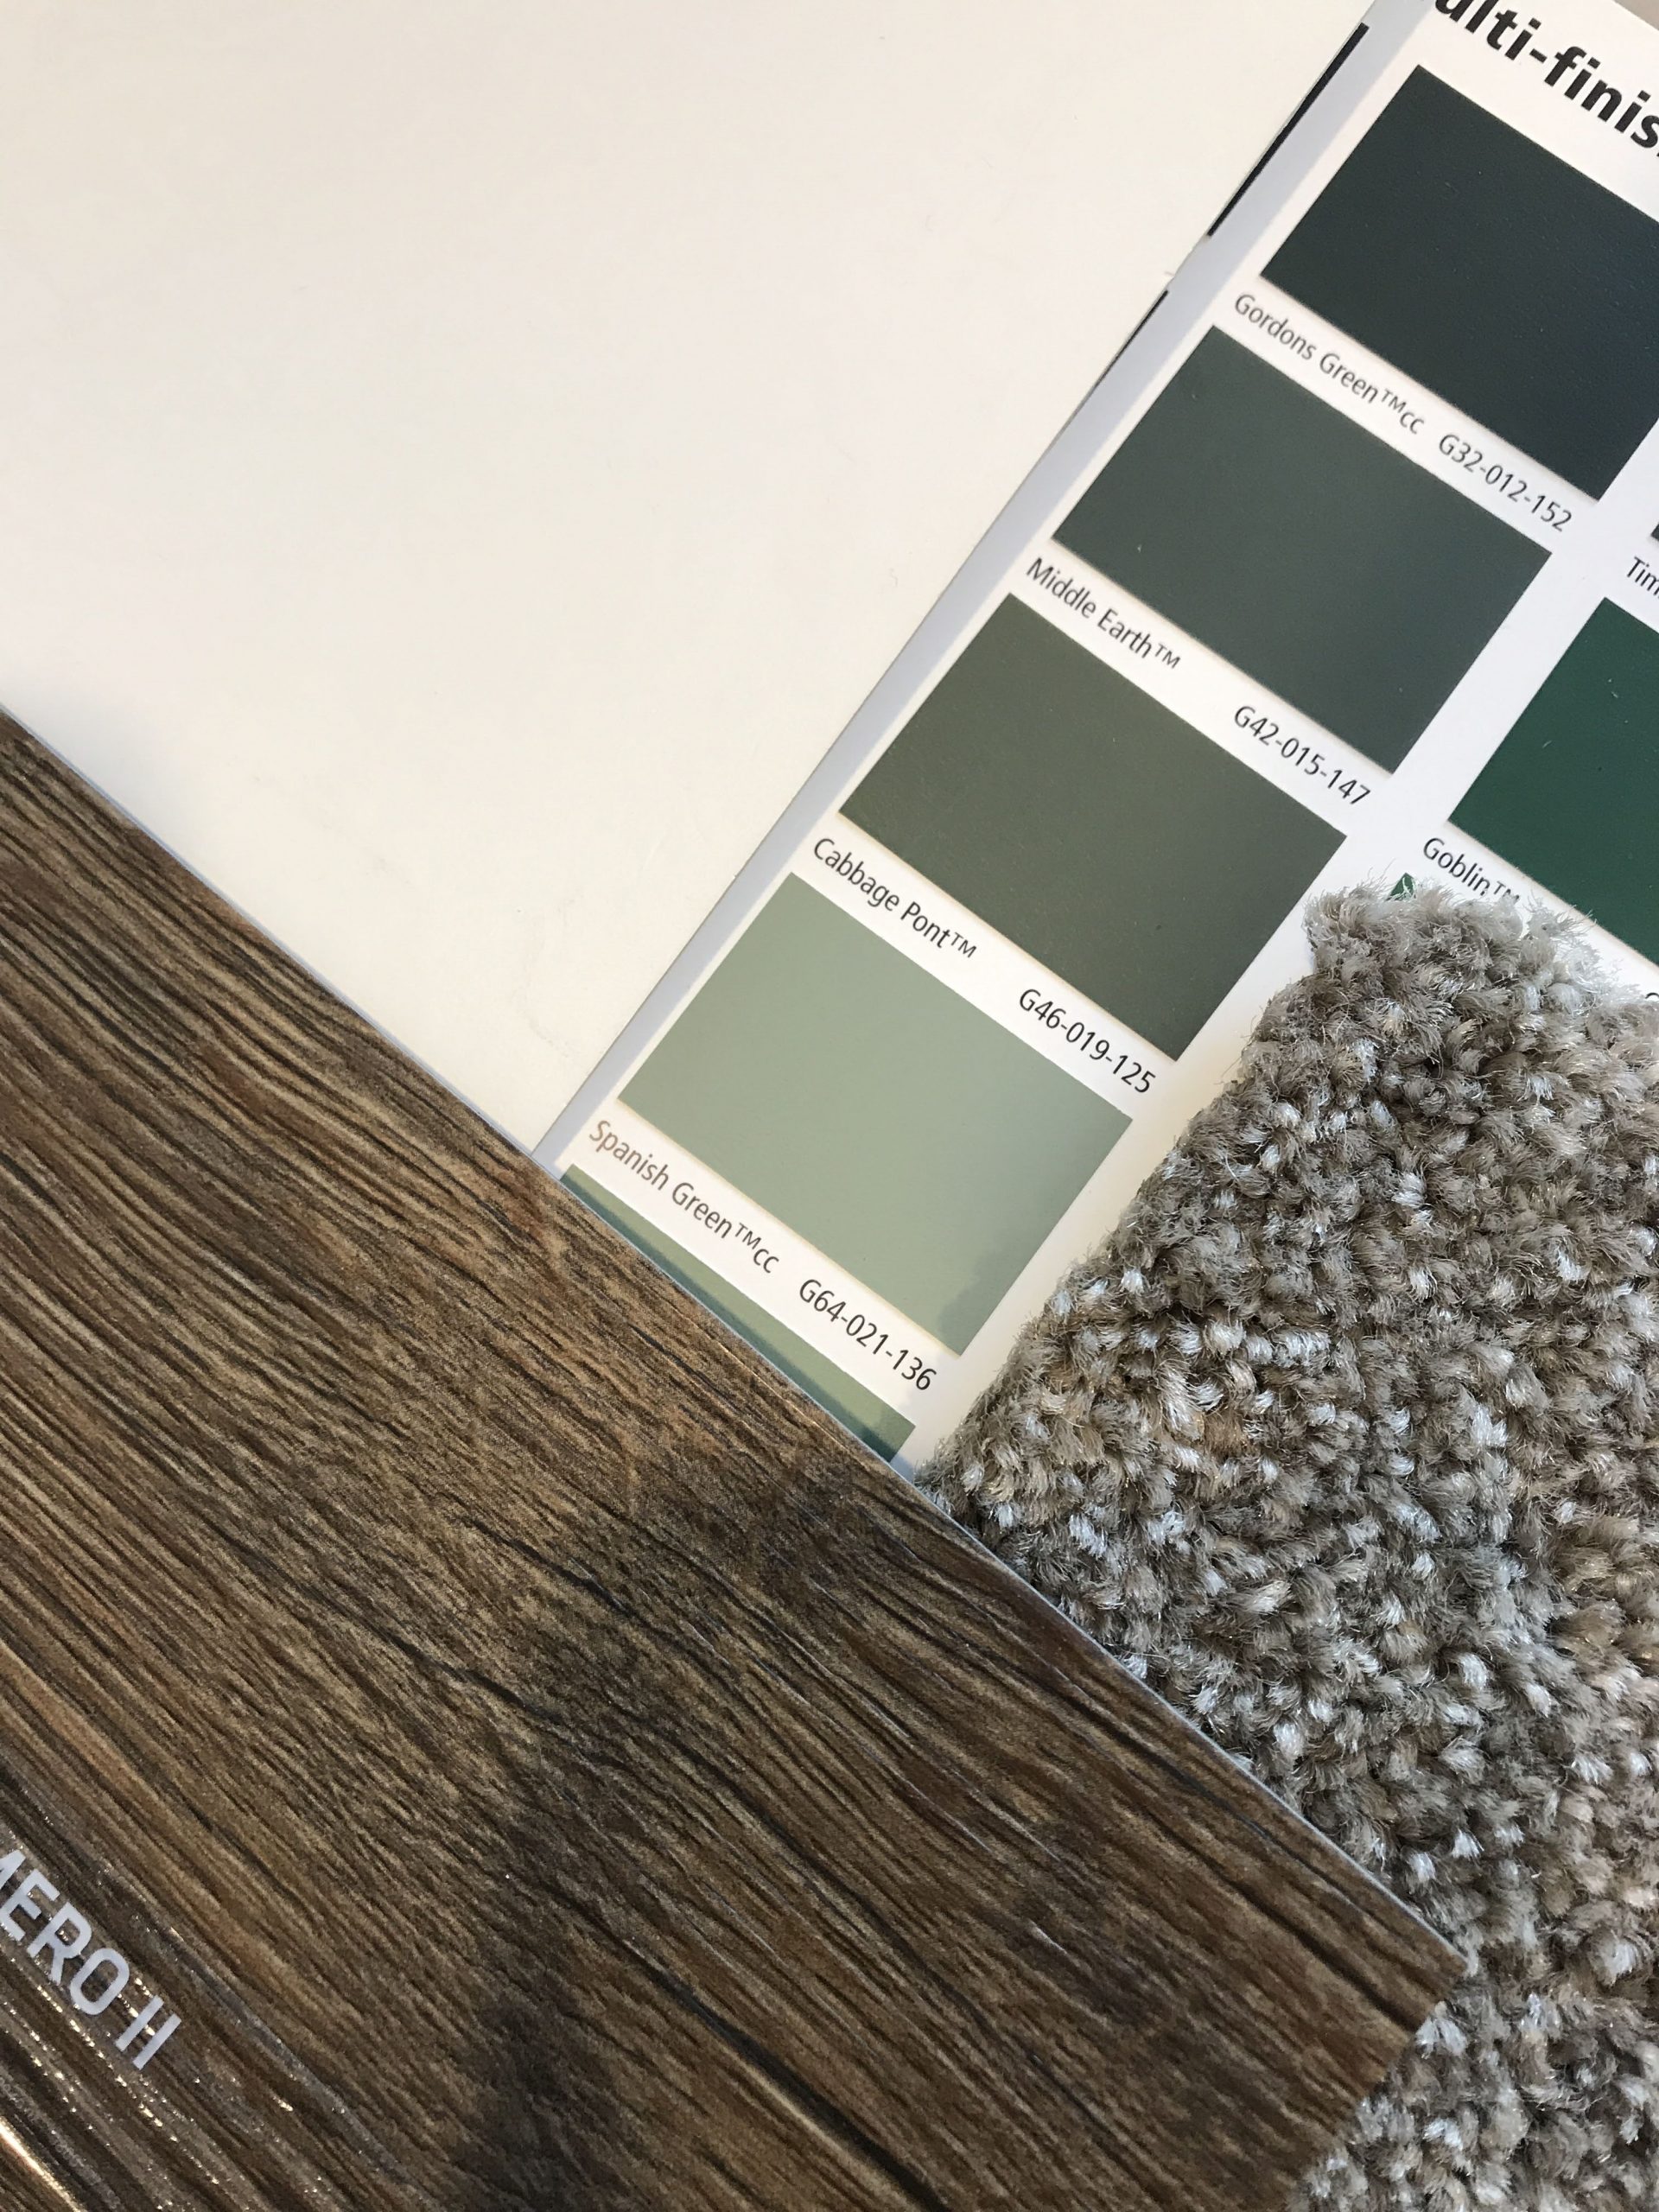
Some ideas we have for our room is painting the back wall a sage/spanish green color and maybe even adding a linear wood element to the wall. Do you think we should keep it white, paint it green, or paint it green and add the wood element pictured below?
We’re keeping our existing bedroom furniture which is large and wood. However, we are unsure if we will have the space to put the matching tall dresser! I have never had a walk in wardrobe so I need organization ideas! What have you done to save you time and space?!
Although the room is quite simple, we’re looking forward to having big, glass sliding doors that lead onto our large deck! Robbie mentioned adding a bench seat to the right hand side of the deck (at the end).
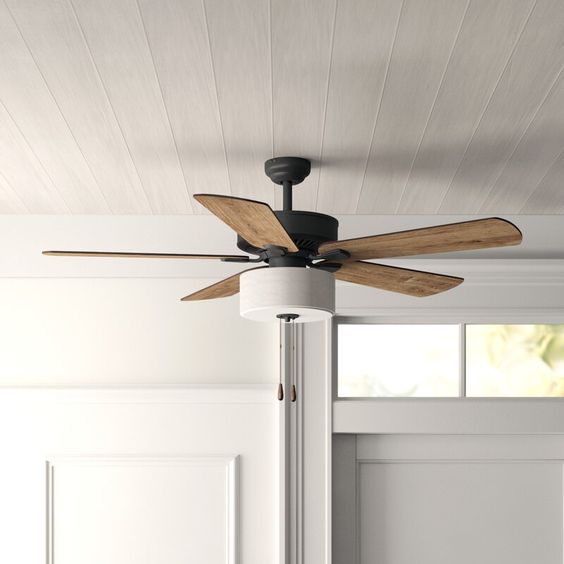
One thing that I miss about our old rental home, is that the master bedroom had a ceiling fan! It’s definitely on our to-buy list. I am thinking of getting a wood and black fan like pictured in our master bedroom inspiration board.
If you enjoyed reading this and would like more information on home, lifestyle, advice, tips, tricks, and more, follow me on Instagram @Its.Mary.Taylor and on Facebook at Mary Taylor! I can’t wait to see you there!
My first post about buying and building our home is going to be all about the process so far (or at least some of it). Let’s face it, I have been putting it off because that’s kind of the boring and stressful part (unless you’re new to building as well – then, it would actually be really useful). It was supposed to be fun but I will preface this by saying it most definitely has not been fun the last 10+ months.
About a year and a half ago we decided we wanted to buy a home so that when our rental agreement expired, we could move into our own house! It would have been perfect timing since our wedding (which you can read about here) and month away in California was going to be the month after we moved out. We searched for months but didn’t come across anything that was the right fit. If you’ve bought a home before or you’re currently looking, you know when you see something that’s “perfect” but then it already has offers on it or it’s the right house but it needs to be moved in right away and you can’t do that yet? There’s a fine line between planning ahead and looking too early. If you’re in the same situation we were in, don’t worry! It’s not just you – it’s actually really common. Like many other things in life, timing is everything but it doesn’t always work out as you might hope.
One day while looking for homes online, I saw the option for a land and home package. It was a bit more than our budget at the time but it was exactly what we were looking for – three bedroom, two bathroom home in a good neighborhood. I got in touch with the company and found out that that particular home wasn’t available anymore but they had similar homes in the same area.
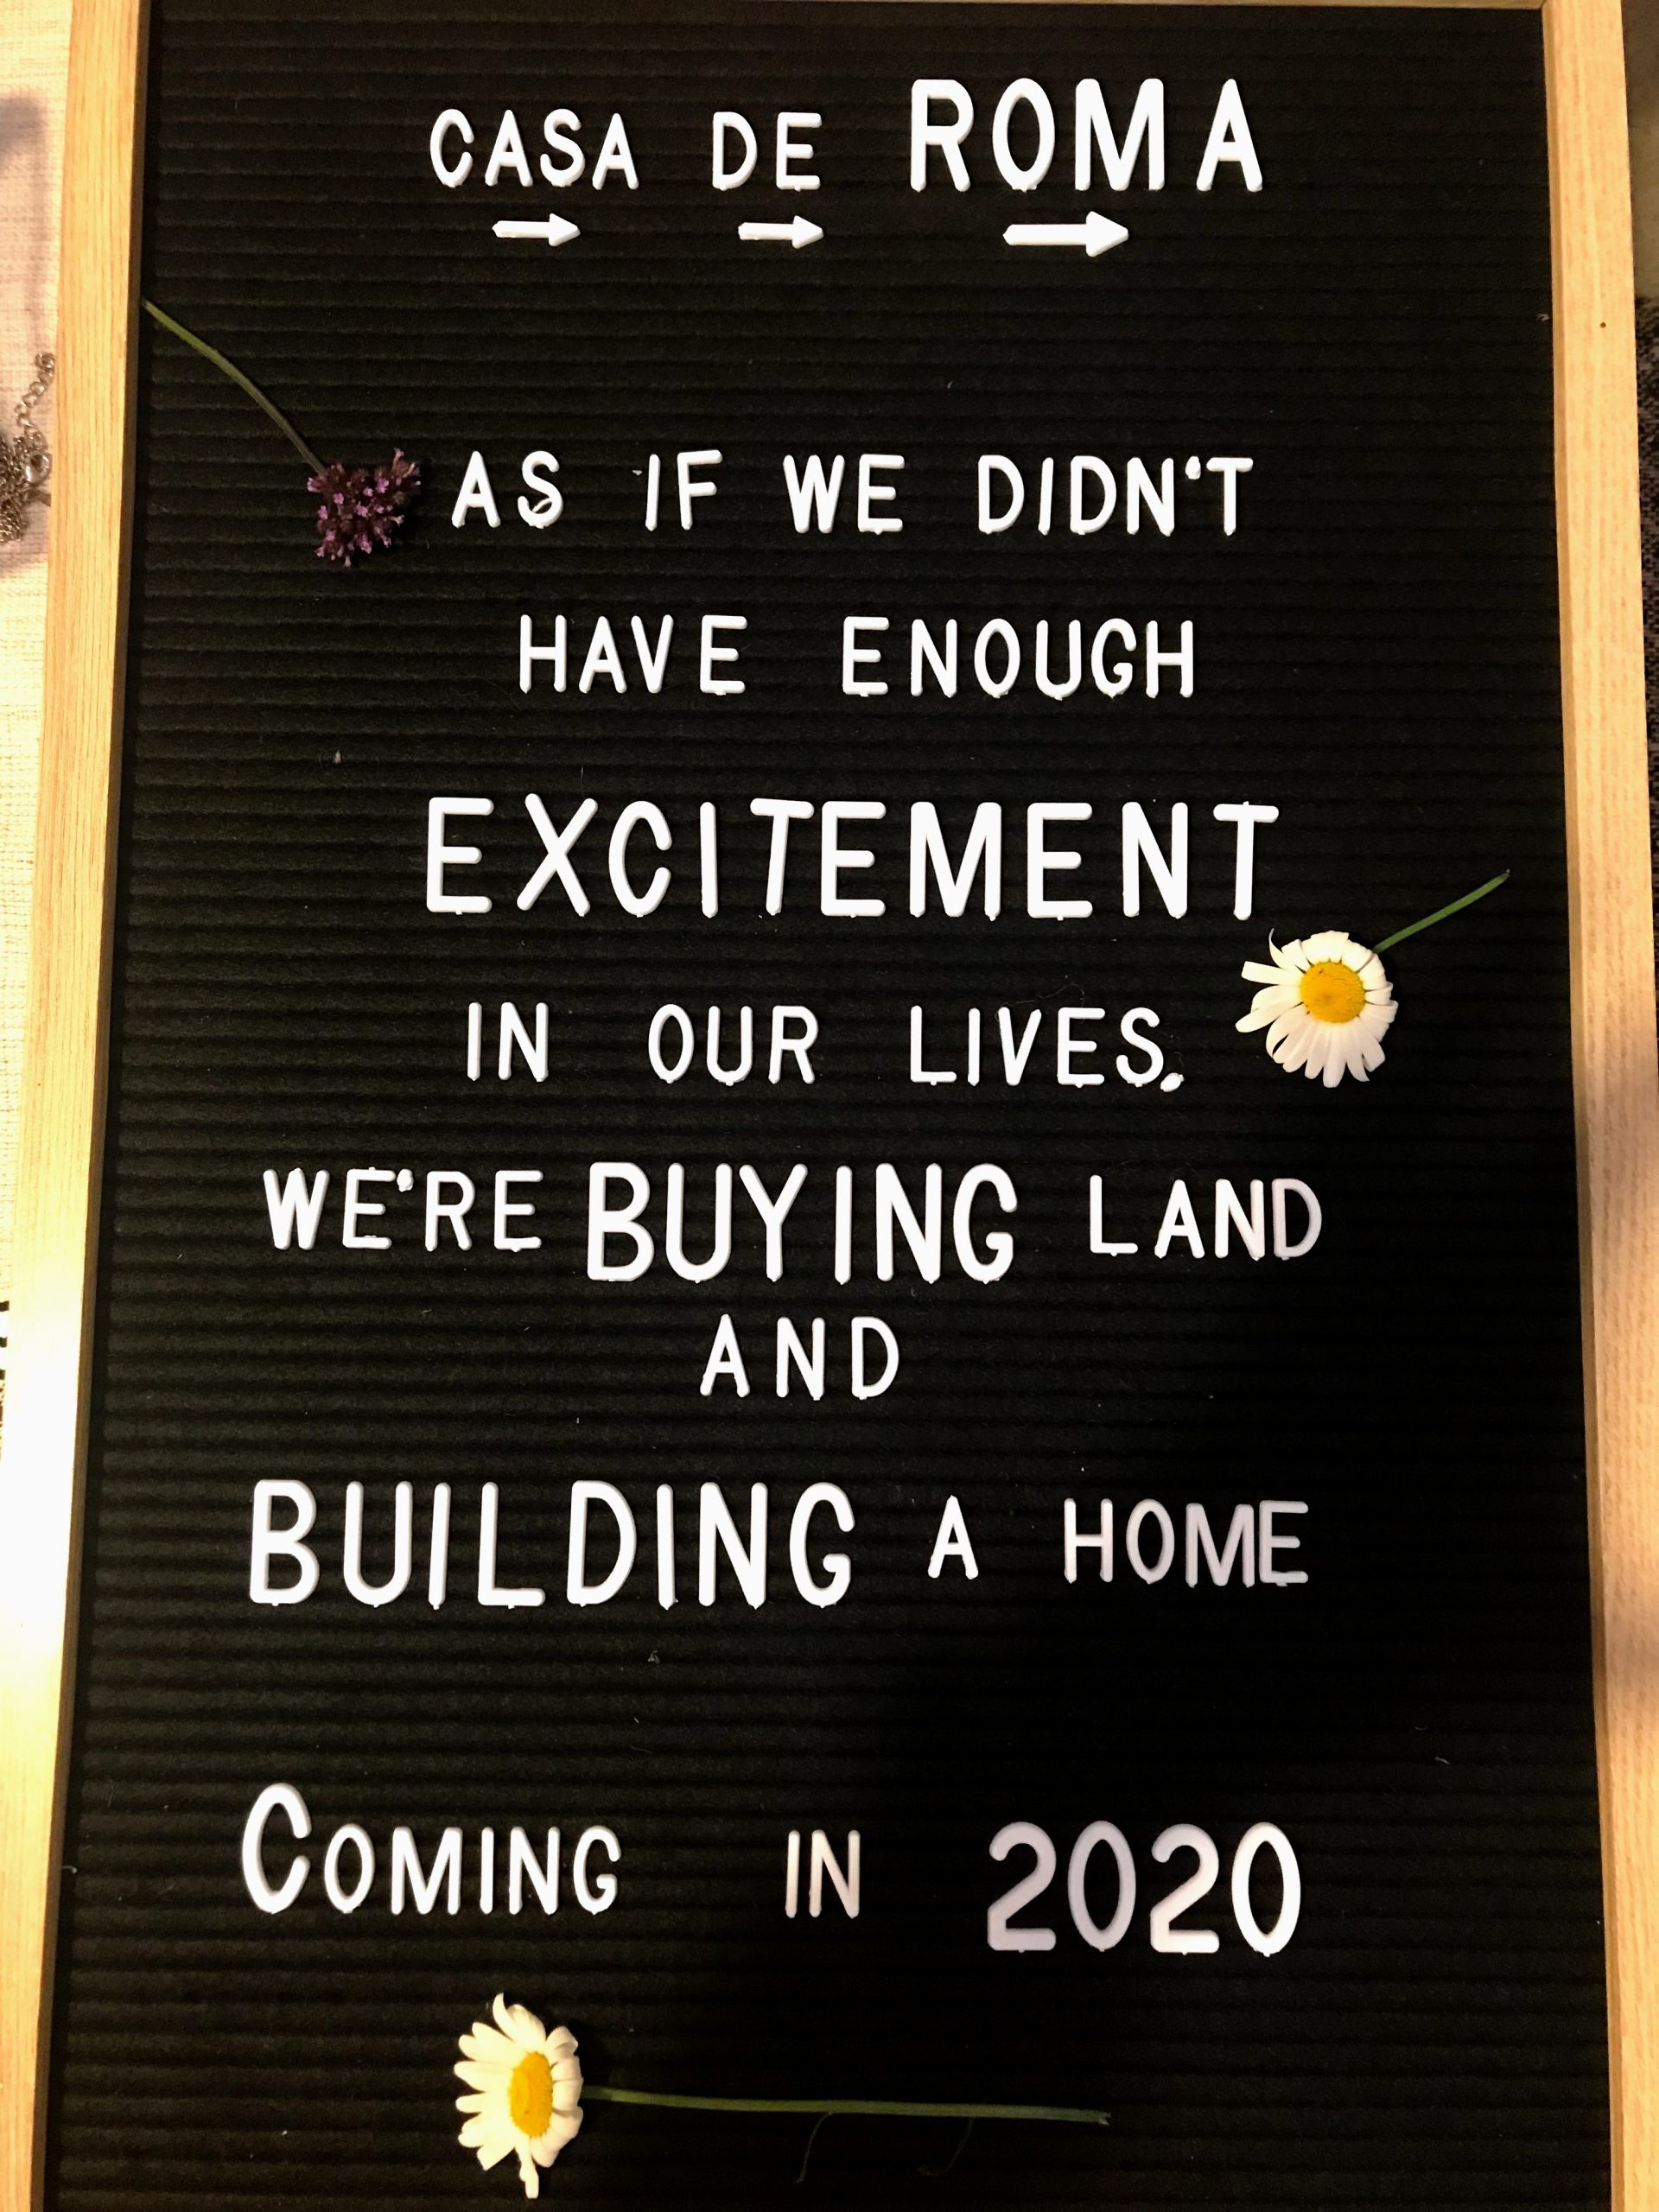
When you buy a land and home package, at least with the company we went with, you get one week to decide if you want to move forward with it before it moves onto the next person/people. The problem was, it was the last home available and had people who were interested in it. They had a few days remaining to give their answer and we were next on the list (with a whole list behind us who wanted the property). To our surprise, they didn’t respond so the home got defaulted to us. In that first week we weighed up all our options, talked about specifications, viewed their showhomes again, and spoke with the developer. We finally made our decision. We were buying land and building a home!
I should note before we get into too much that we are extremely lucky to have found a land and build project in the area we did for the price we did. Our builders subdivided three pieces of land to create four pieces instead. Meaning each of us get our land and home package for cheaper. So although our neighbors have bigger properties and homes, we still get to live in the same neighborhood for less! Thank goodness because it was the only way we would have been able to afford it!
Everything felt like it was aligning well. A brand new home, only slightly more expensive but comes with more guarantees and warranties, in an amazing area with a brand new school, customized to fit our lifestyle, and so much more. Although it wouldn’t be done by August 2019, it was supposed to be done by January 2020 which meant our month in California we didn’t need to pay rent and when we returned home from our wedding we would have to/be able to live with grandparents until January. As March moved into April and so forth, we were starting to hear that my mom and step-dad wanted to come visit us in summer 2020 (which is January/February/March). We talked with our building company and they said the home would be done in March at the latest. We shifted our thinking and planned to be all moved in by March 2020. A few more months for our “dream” home… we could do it! Everything was signed, finalized, and major deposits made in August before we headed to Cali for our wedding. They said they might even start building while we are away (which is why they said we needed to get everything done before we left). We had both been traveling around the world for a few years so settling into somewhere we could call our own meant the world to us. This was the home that we pictured having our first child in, bringing a dog home to, and really, officially, settling into New Zealand.
Now come October is when things began to get tricky. Less communication from the building company, lots of money (and time, hope, excitement) invested at this point, and nothing but a contract (which we didn’t quite understand to the extent we thought we did) to show for everything. We still hadn’t been able to purchase the land due to the title being held up in council (because remember how I said that they split the original land? That meant that our land didn’t even have a title yet!).
Fast forward a few more months of disappointment and little to no answers, it was time to make our decision regarding our sunset clause. “Simply put, a sunset clause stipulates the date by which the sun sets on the agreement allowing the property contract to be voided and the deposit be returned to the buyer. It is commonly inserted into agreements over properties that are not yet capable of being conveyed – i.e. in the absence of a title (new development or subdivision),” (https://www.apia.org.nz/apia-blog/what-is-a-sunset-clause). We couldn’t find, remember, or get in contact with anyone to let us know when that date was. Until our lawyer called up and said something like, “Today is your sunset date. You have 24 hours to decide if you’d like to keep the home or pull out of the contract and receive some of your money back.”
That 24 – 48 hours were some of the worst hours of our lives. How do you make that big of a decision – something you’ve spent almost the last year designing, hoping for, and getting excited for – without knowing anything exactly? No one could tell us how much of our deposit we would get back or if we waited (extended the sunset clause) when title would come out. Dates were being flung around on when we would move in but changed each time we had a call with our builders. How do estimates change by months in a matter of a week?
Ultimately we couldn’t make a decision that huge without any real information so we decided to allow the sunset clause to be extended. There’s a few big parts missing from the story but given that it’s just additional heartbreak and frustration, I will leave it out for now. Long story short, we extended the sunset clause. Luckily, right before Christmas break, title came out. We thought, “Finally! Things will start to progress!” But right when you think the building process is going to start to look up from here, it smacks you back down.
We officially received title in mid-January (2020) and we were meant to be able to start building, “Right away!” However, consent was filed incorrectly (i.e was missing information) from the building company and here we are the middle of May still without consent and unable to build. We are hoping that consent will be approved within the next week (although it’s already at least a week late…go figure).
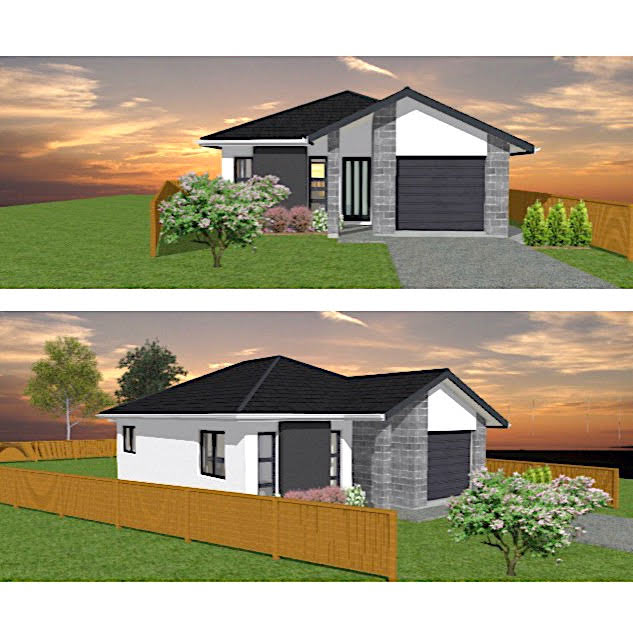
Anyways, thanks to those that have stuck around to read this and those that have offered their love and support (and even their homes). It has been a really long, tough, and unfortunate journey. We continue to search for hope and try to make other aspects of the process fun whenever possible (right now that means creating vision boards and designing spaces virtually – see above). You can check out my home inspiration shop to see where to purchase items from my inspiration boards and see where the images came from within the boards themselves. Look out for more blogs about inspiration, where we are at now, etc.
I’m always looking to connect with local New Zealand businesses who specialize in home decor, eco-friendly products, or organizational products, I would love to follow them on Instagram! If you know of anyone that fits that description or something similar, feel free to reach out and mention them in this Instagram post.
To read about where we are at now search the building tag here to see the latest blogs about our building process!
If you enjoyed reading this and would like more information on home, lifestyle, advice, tips, tricks, and more, follow me on Instagram @Its.Mary.Taylor and on Facebook at Mary Taylor! I can’t wait to see you there!