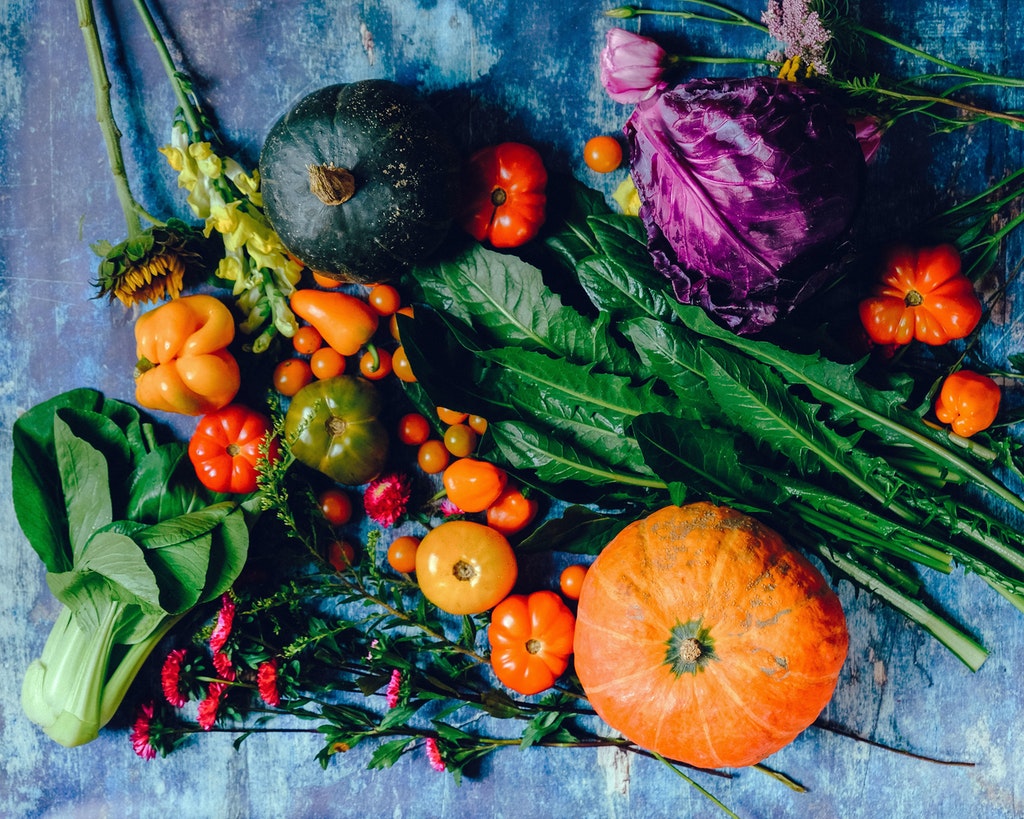
Let’s start with the why. Why should you use all of your vegetables? And what does that even mean?
The answer is pretty simple: because it produces less waste and saves you money. What I mean by “use all of your veggies” is to use as much of the vegetable as you can. This means leaving the skin on when possible (potatoes, tomatoes for soups/sauces, carrots – they don’t even have “skin” but lots of people still take off the outer layer – etc.)
Which vegetables can I use entirely?
Lots and tons! I won’t name every single vegetable but here’s some that you might not have thought of using the whole thing:
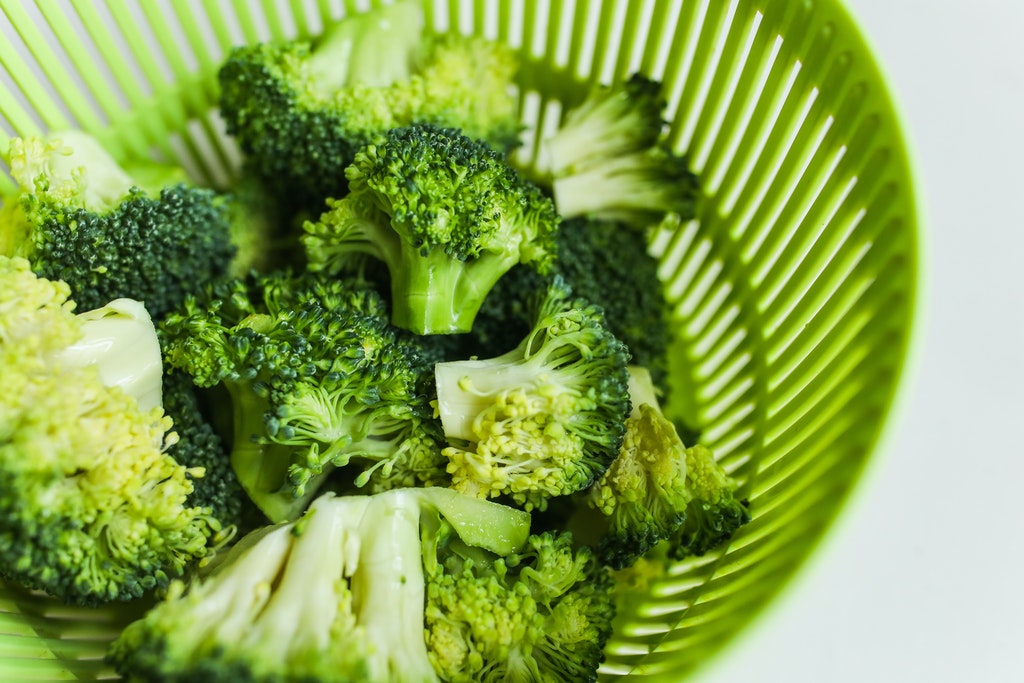
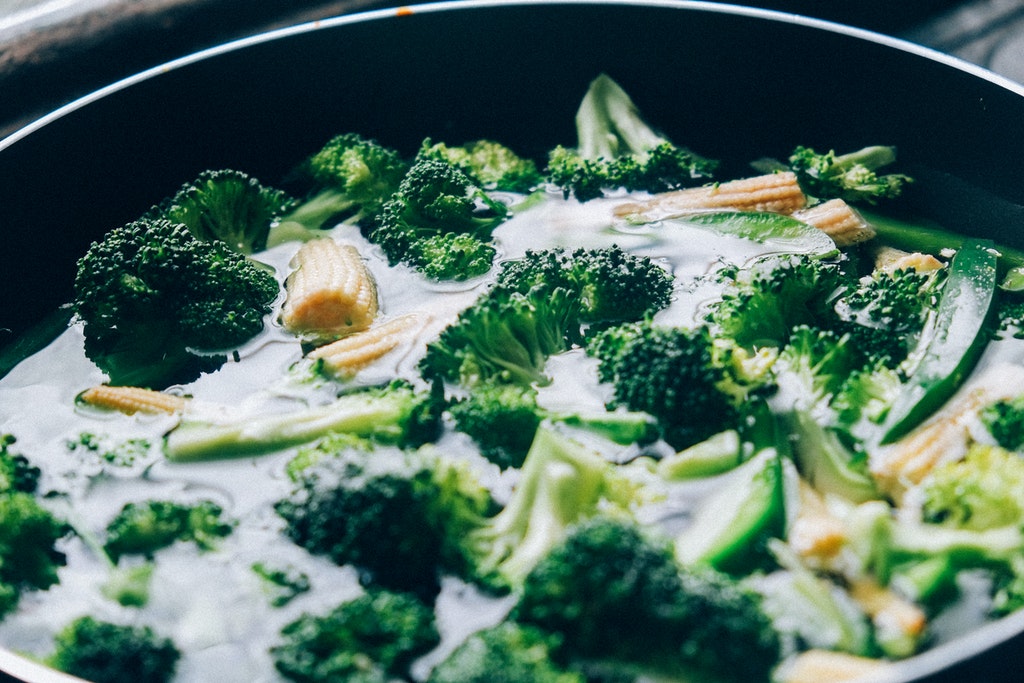
Broccoli – Yes, even the stem. Chop it up into smaller bite sized pieces or shred it and add it to your dish (salads, roasts, soups, etc). Broccoli is absolutely delicious!
Caulifower – Just like broccoli, you can chop up the stem to use in soup, on the grill, in the oven, or on the stovetop. You can even steam it and just add butter!
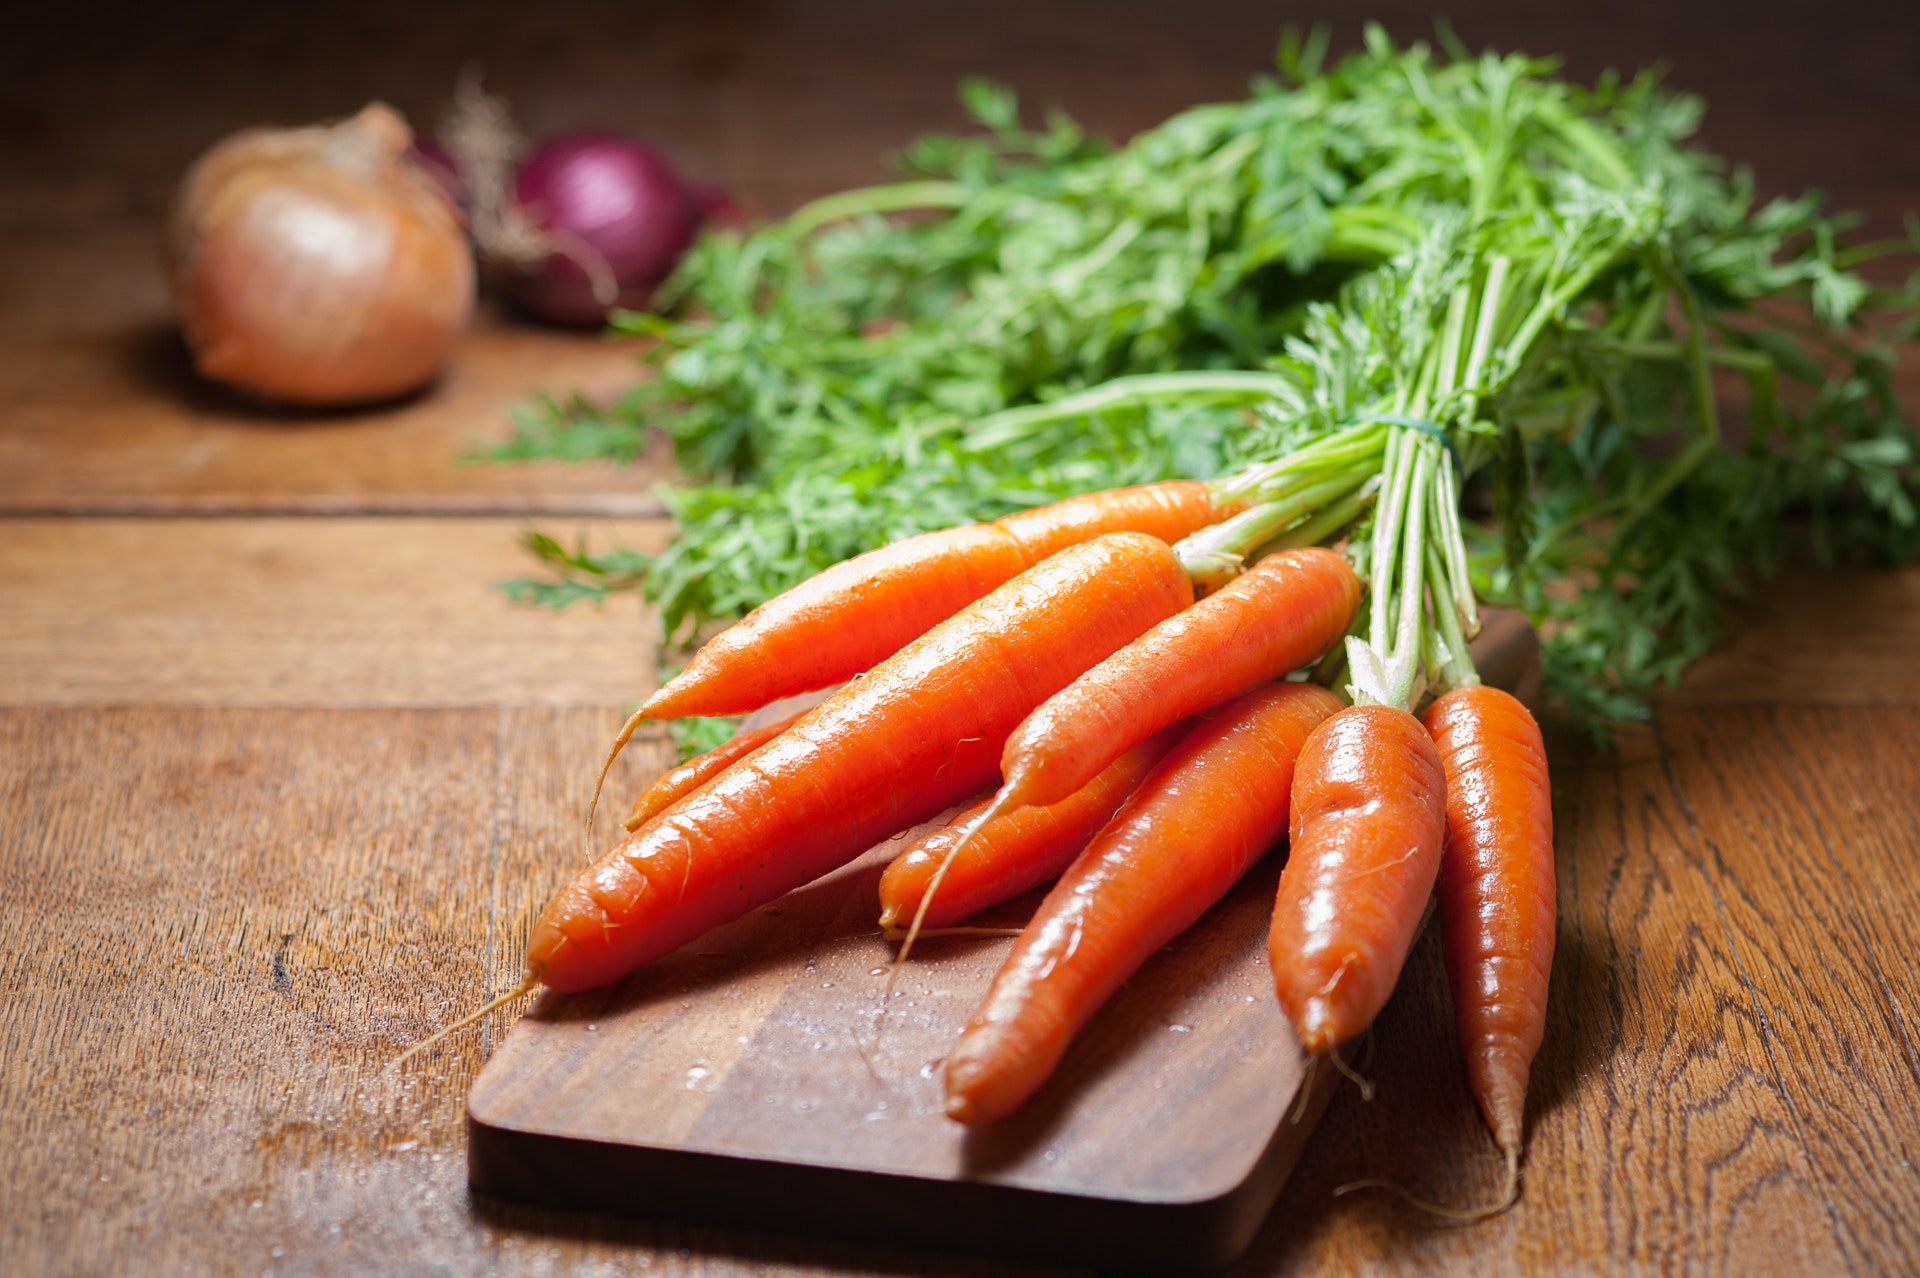
Carrot – There’s no need to shred off the outer layer of a carrot. The only part you shouldn’t eat is the very top (where the leaves normally come from). If there are little strings coming off the bottom, either pull them off or eat them. If you wash the top those, you can use it in a smoothie or soup (especially if you like to make your own veggie broth).
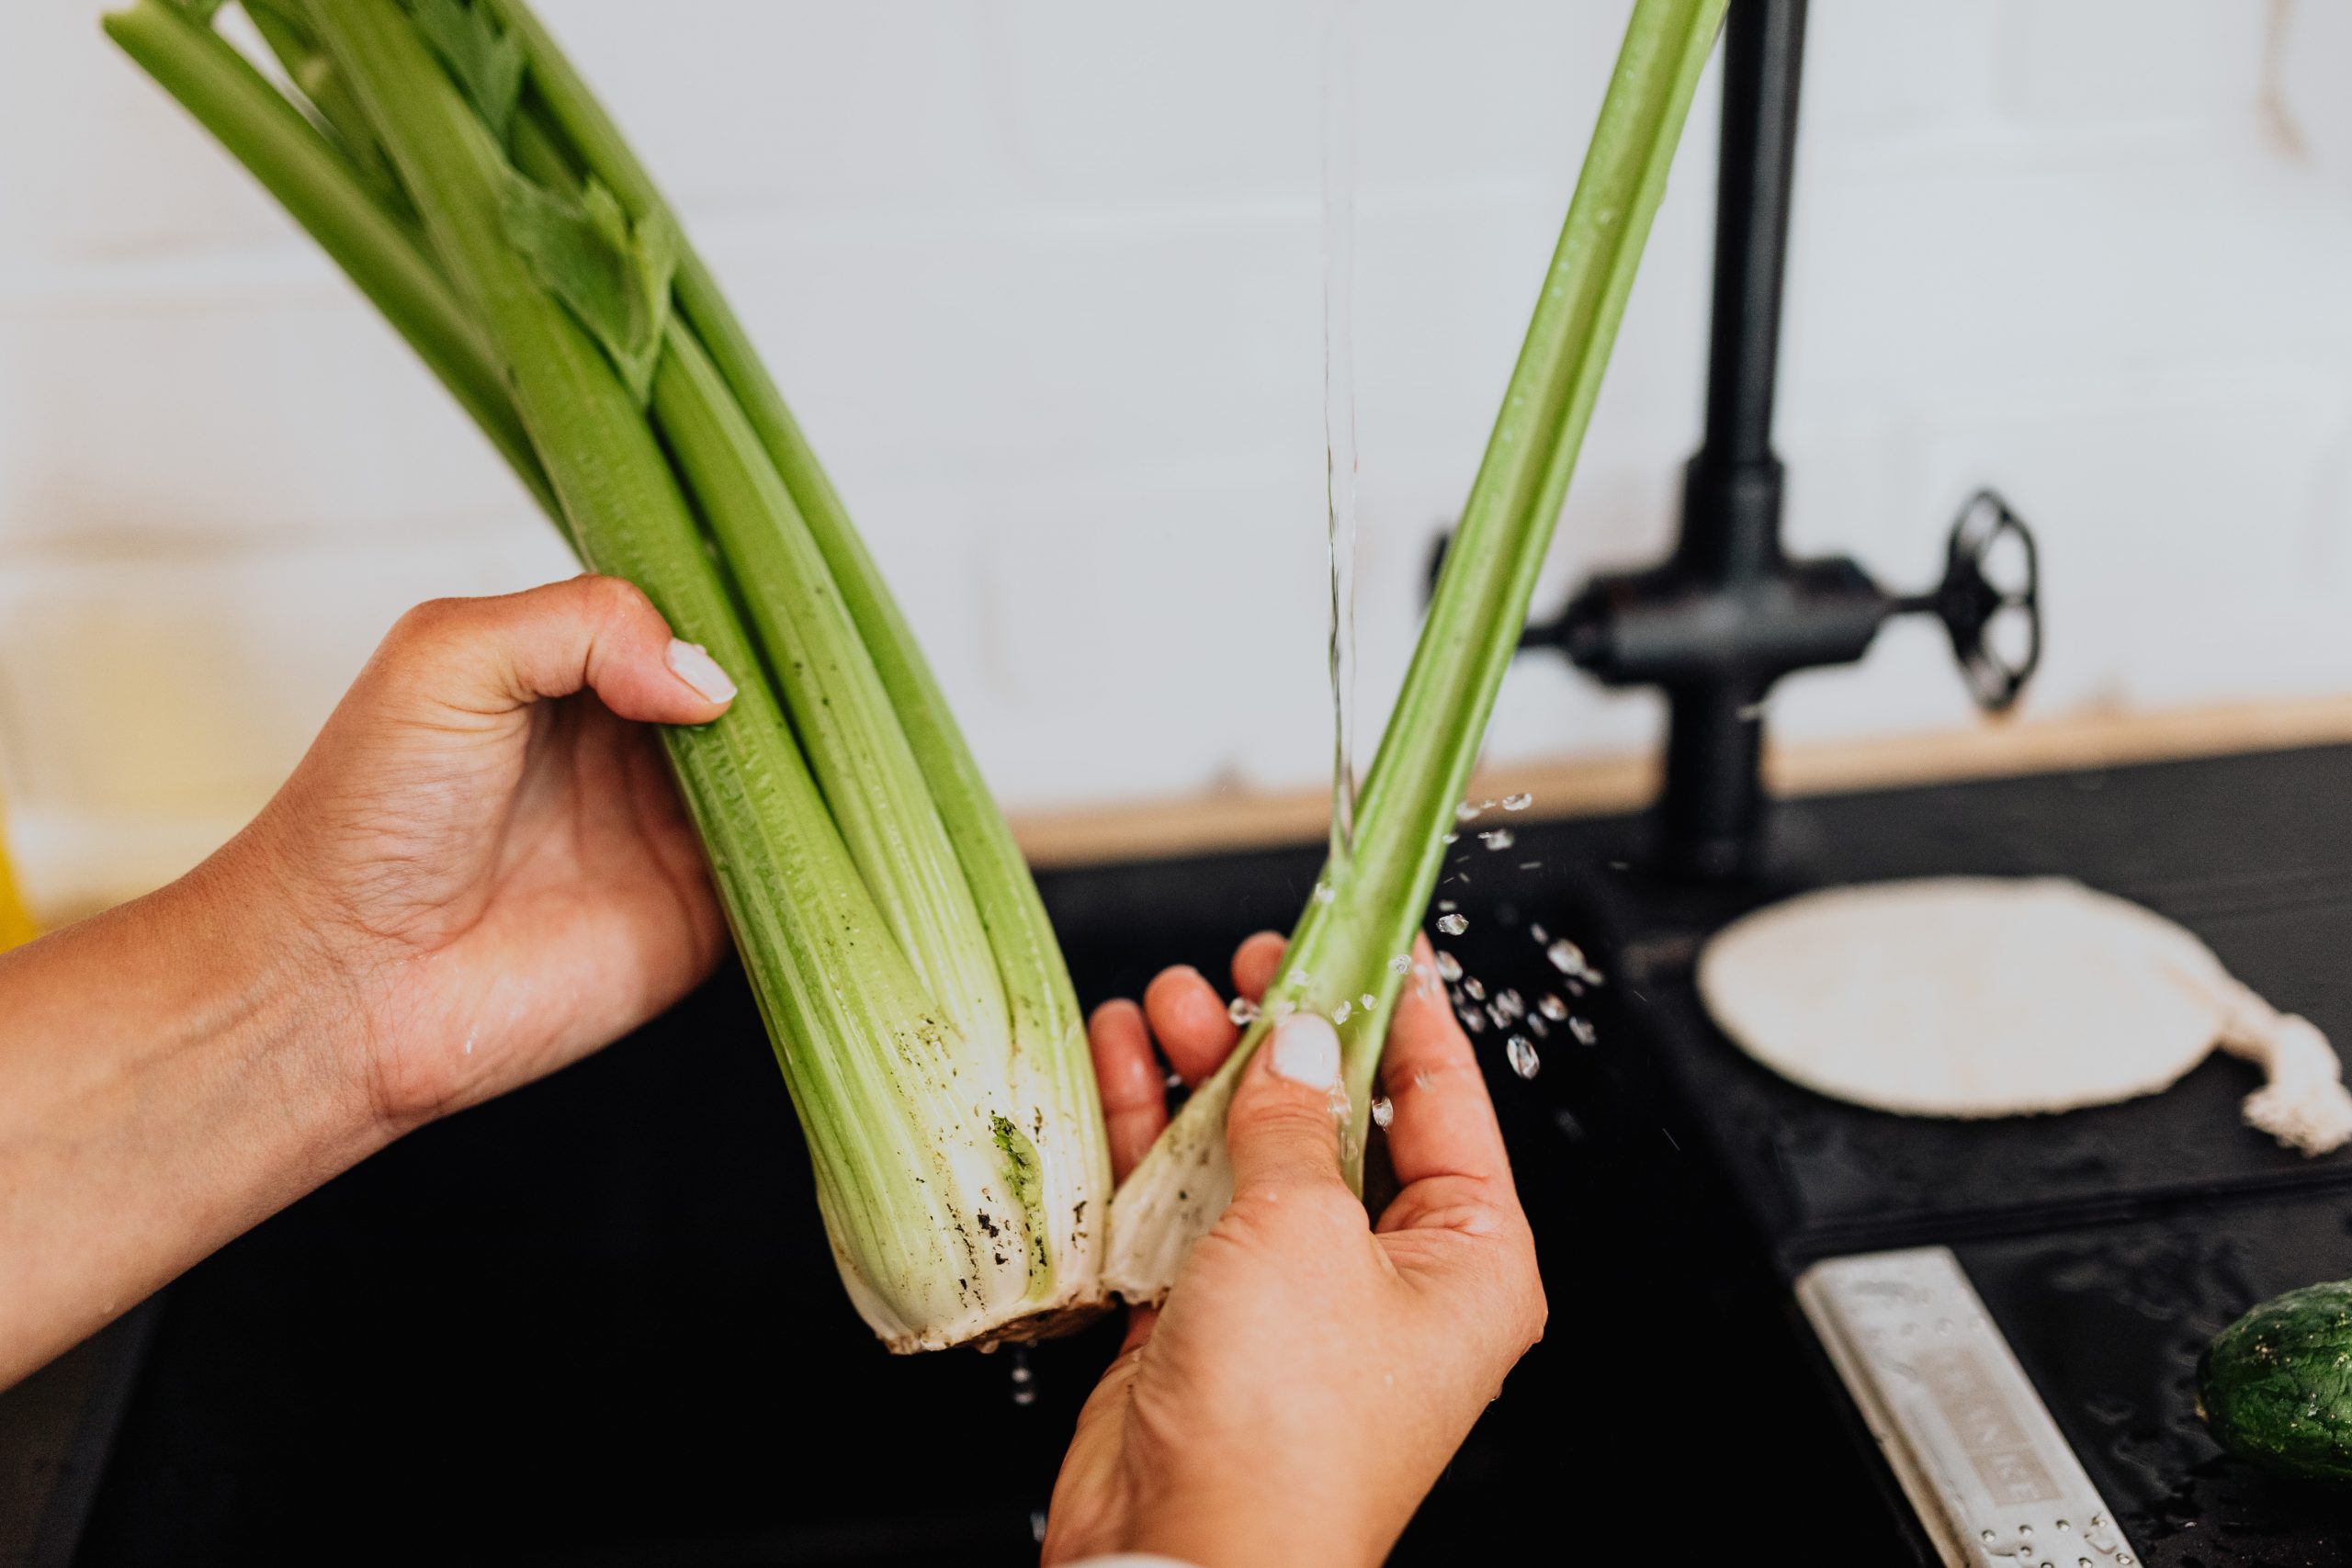
Celery – Try to eat as much of the celery as possible. The leaves of celery you use in soup/broth, a roast, a stir-fry or even eat them in a salad (choppped up or whole). The only part you might not want to eat is the base. Place the base of the celery into a glass container with a little bit of water on the bottom. Continue to water and watch as a new celery grows. Then, you can plant it in a small amount of dirt or keep it growing in your water.
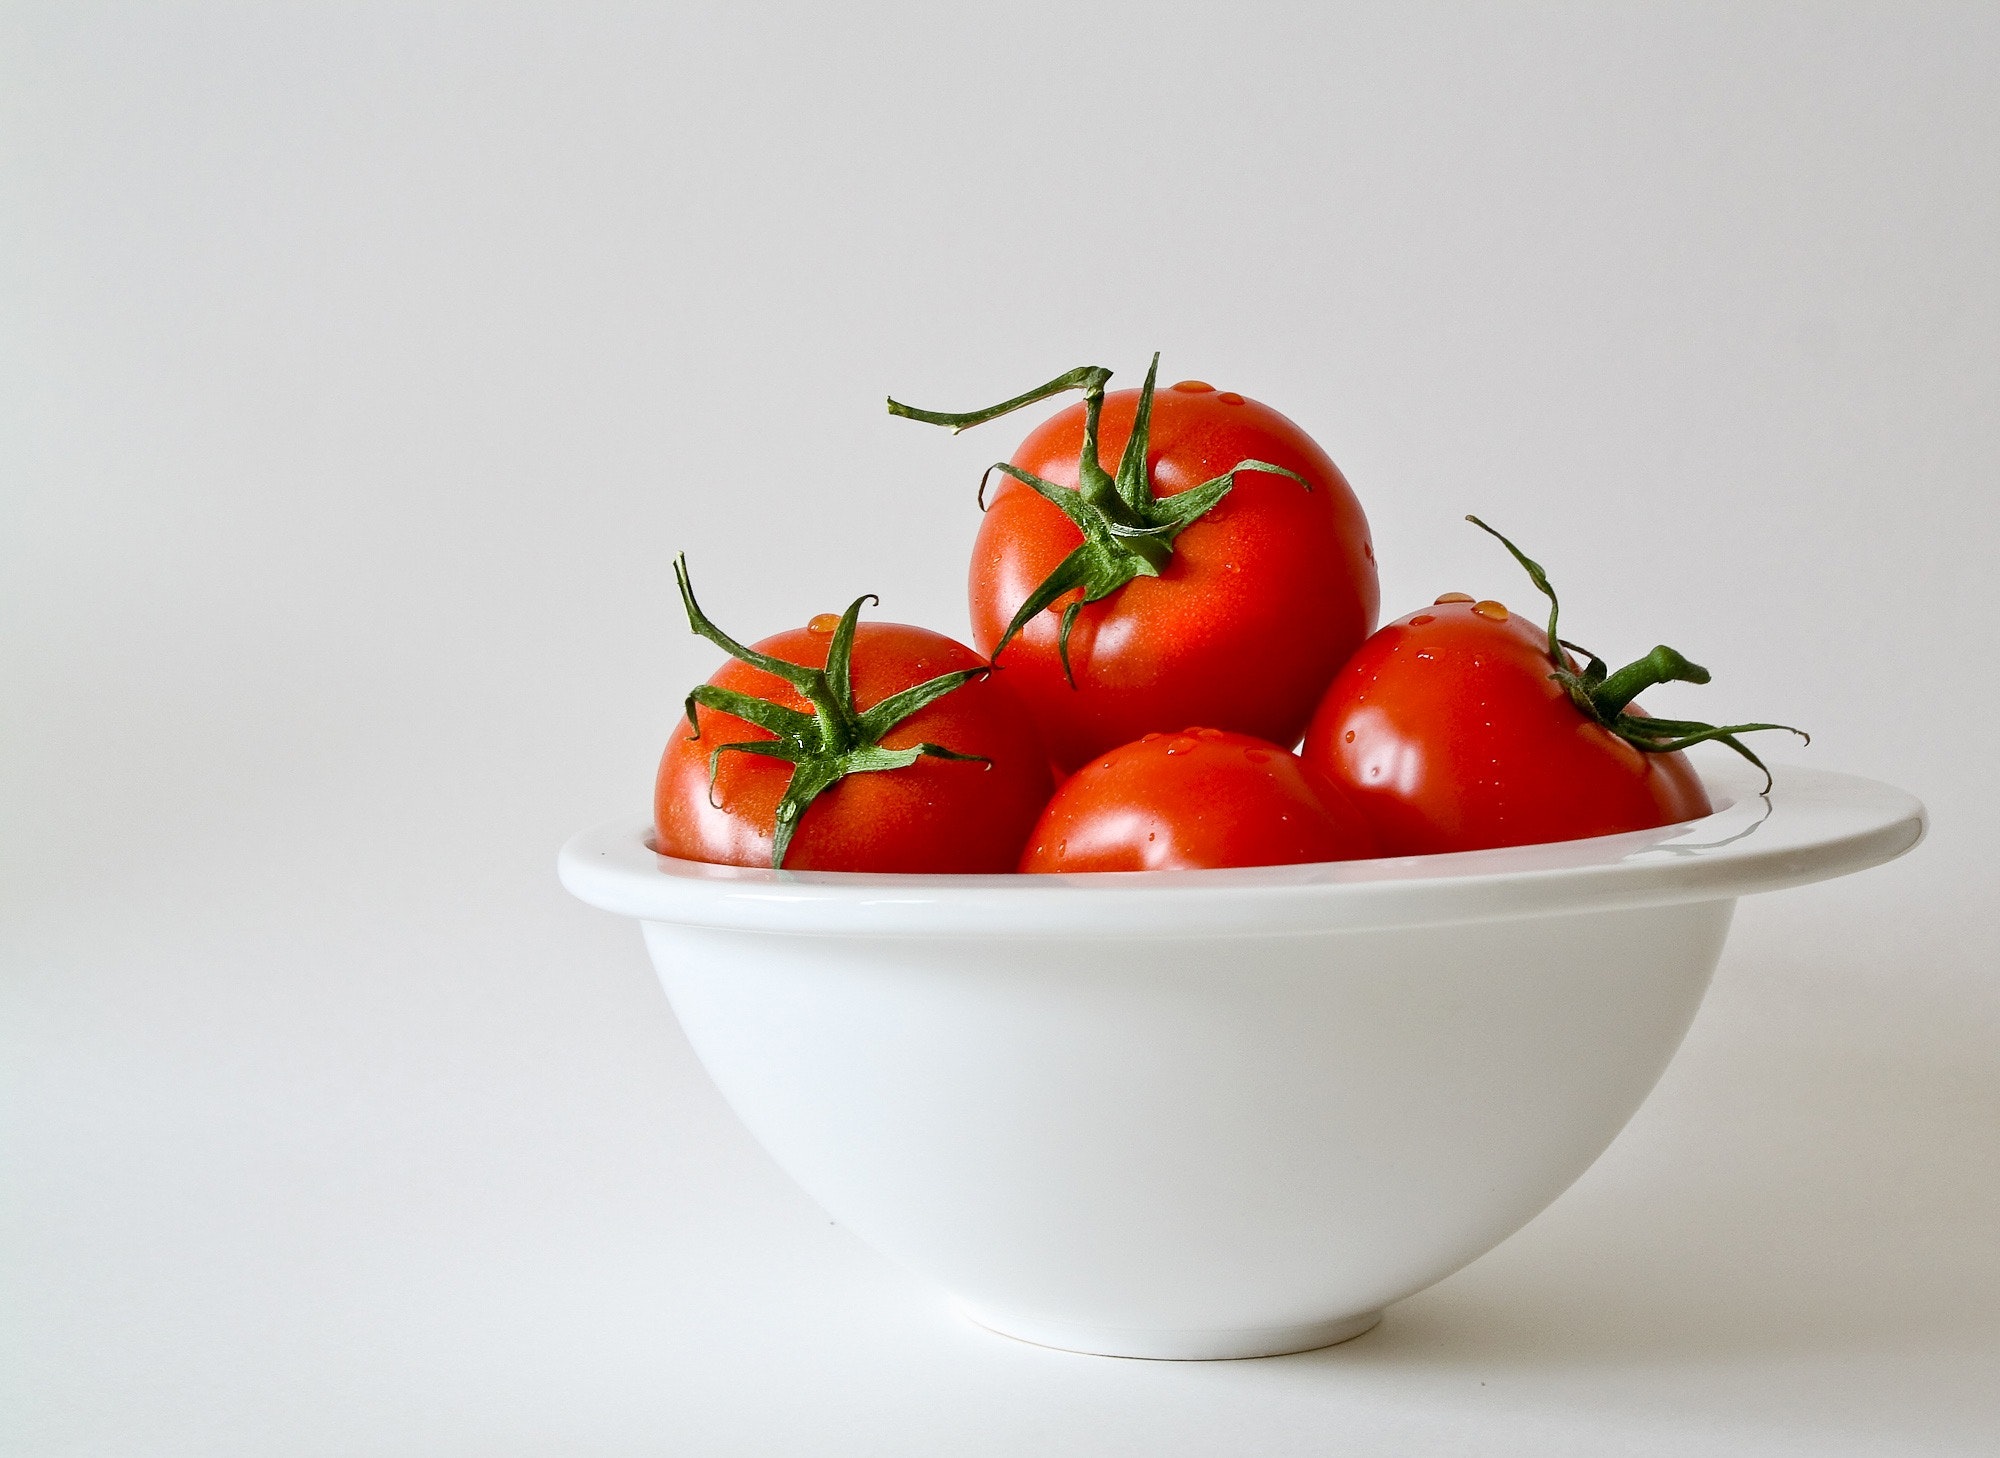
Tomatoes – You don’t really have the cut out or off the top of the tomato. Just chop it up with the rest of the tomato and enjoy! This would be great for salads, soups, and even sandwiches.
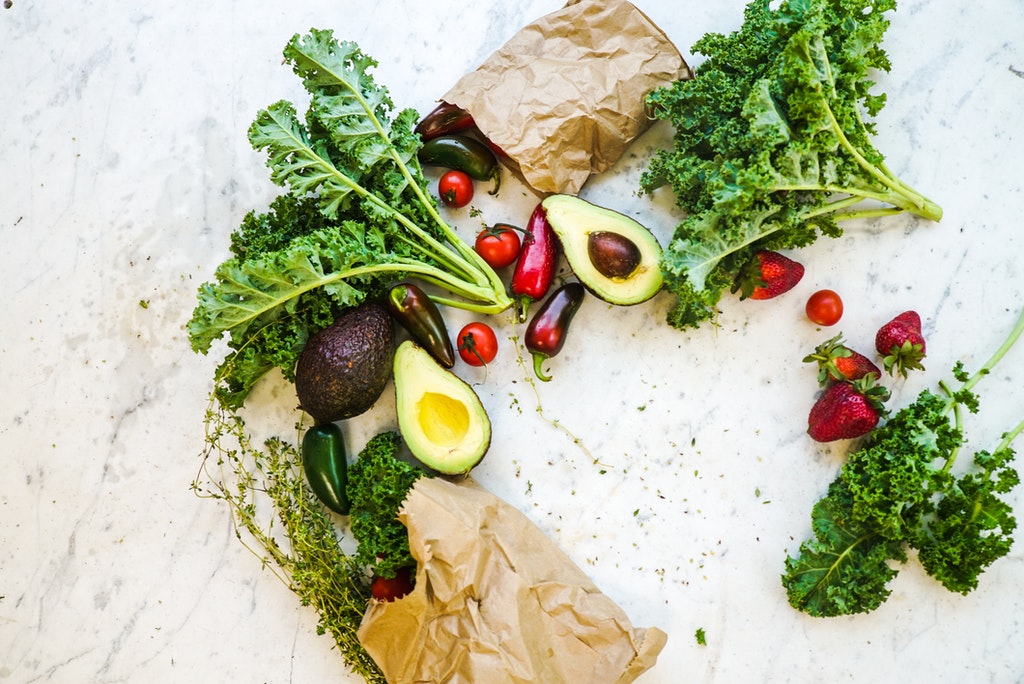
Pretty much every vegetable – If there are parts that you don’t want to eat, wash them and freeze them. Once you have enough, boil them in water with your favorite herbs and make your own vegetable broth. This is another great use for your celery leaves!
To make your own vegetable broth with leftover vegetables, simmer your vegetables in a large pot with water and spices for about an hour (really, the longer the better). This will allow the flavor to really develop. Good spices for soups include: mixed herb, garlic, rosemary, bay leaves, thyme, and parsley. You can also add tomato paste or a can of tomatoes.
Pro tip: you may want to sauté garlic and onions in olive oil (additional not just what was leftover) before adding the rest of your vegetables and water.
To read more about my recipes and why I create them the way I do (without specific measurements, times, and temperatures) check out this blog post. Post a picture of your soup and vegetables to your stories on Instagram and tag me (@its.mary.taylor) so I can see and share it to my story too!
If you enjoyed reading this and would like more information on home, lifestyle, advice, tips, tricks, and more, follow me on Instagram @Its.Mary.Taylor and on Facebook at Mary Taylor! I can’t wait to see you there!
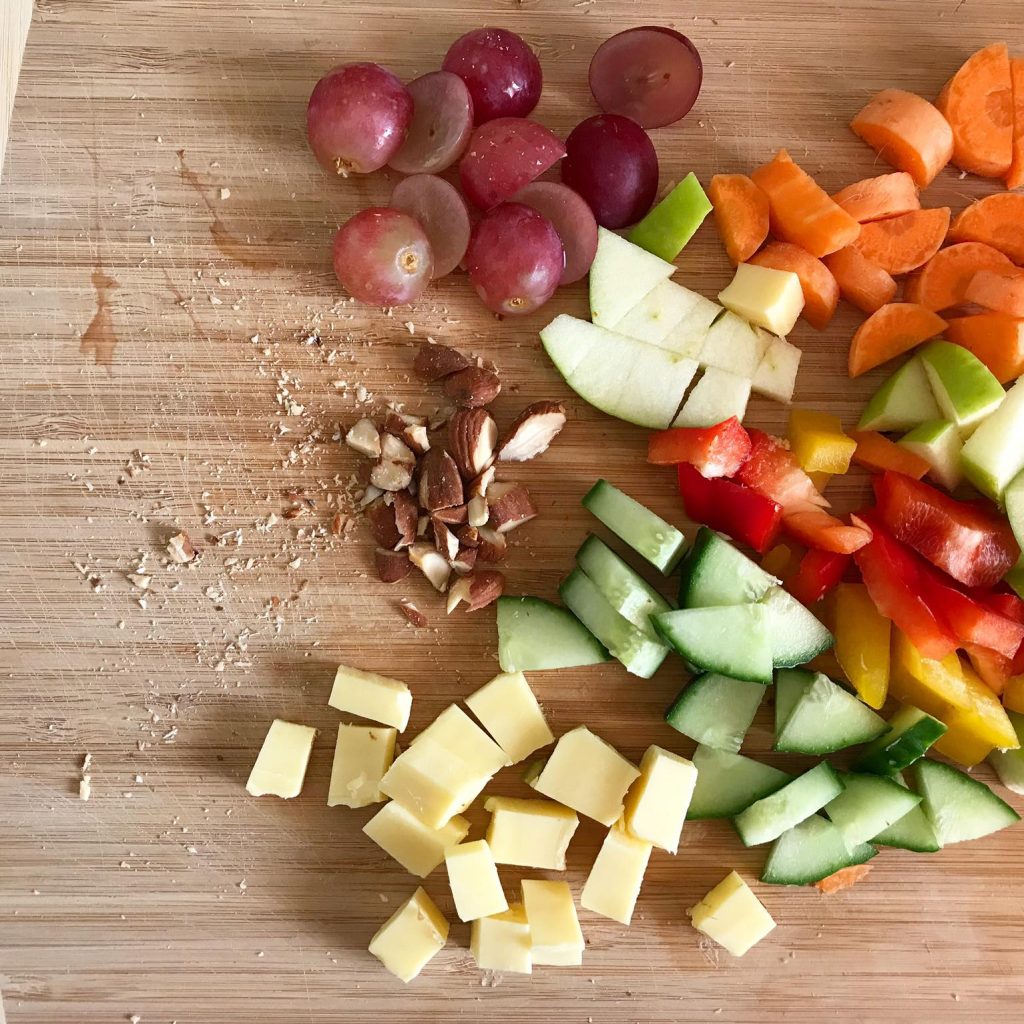
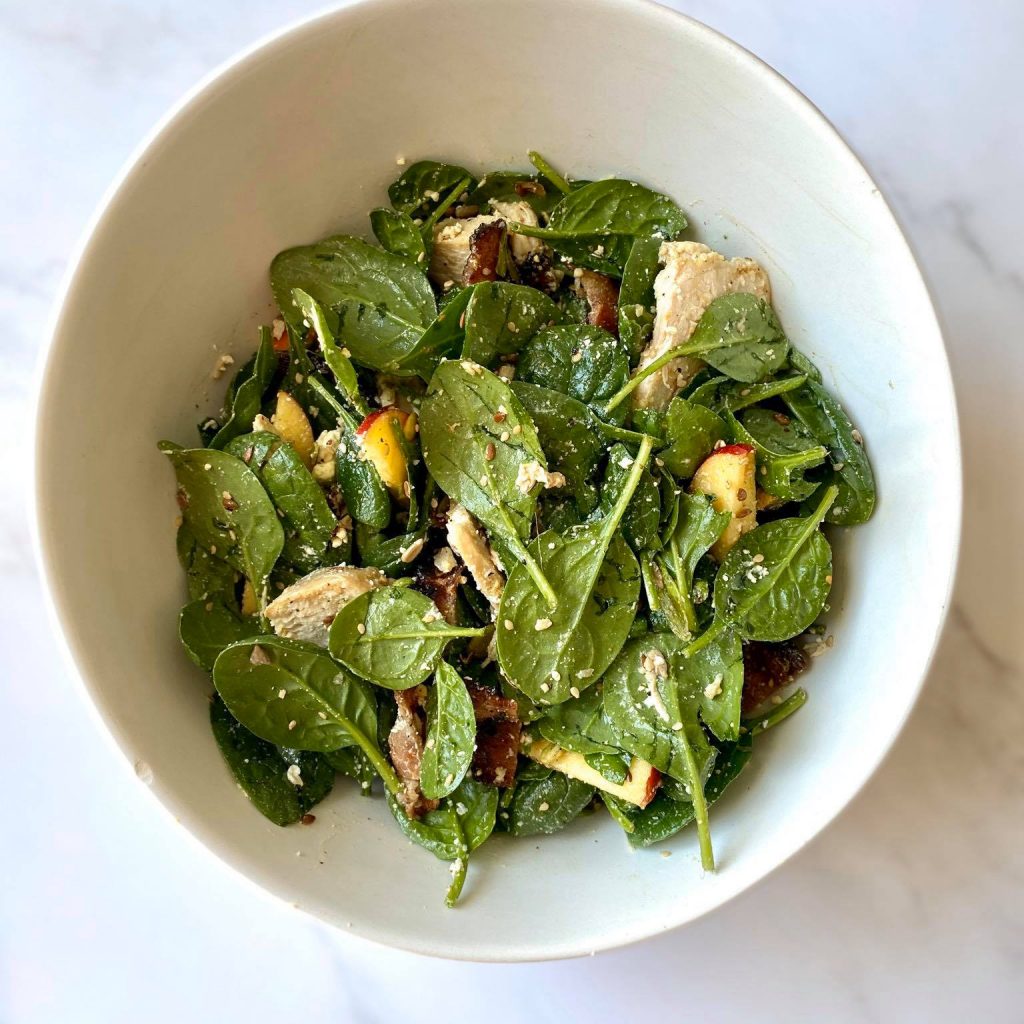
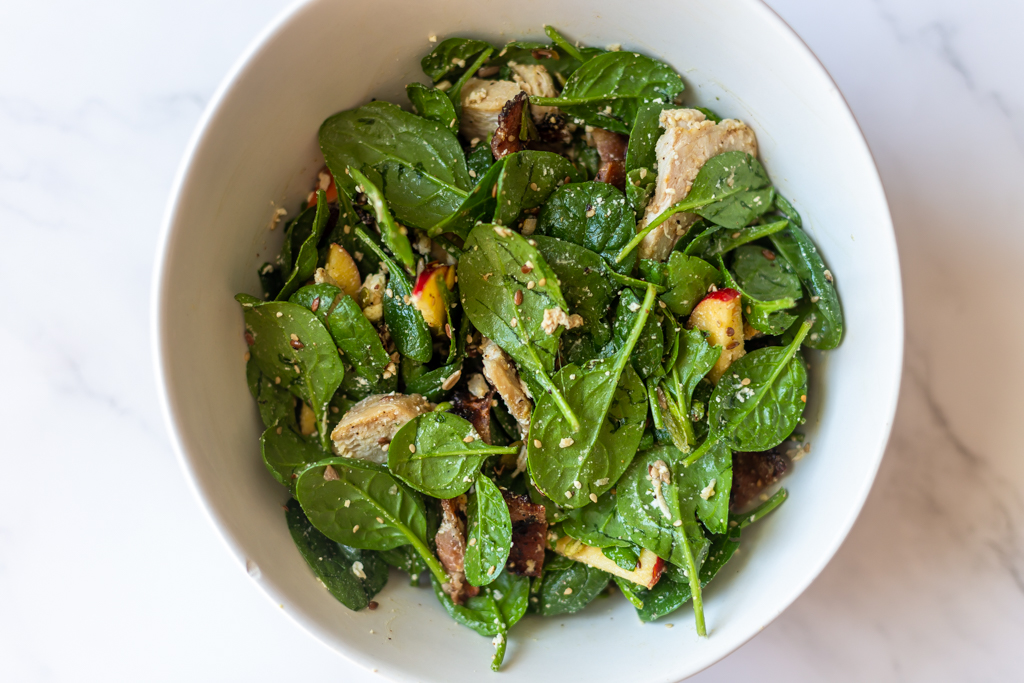
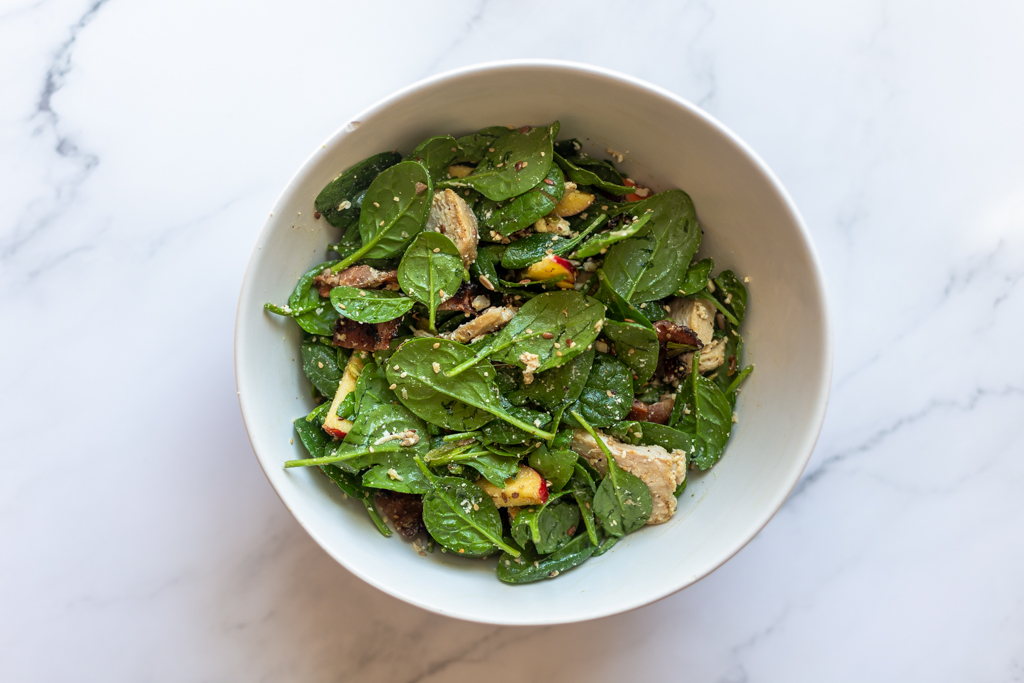
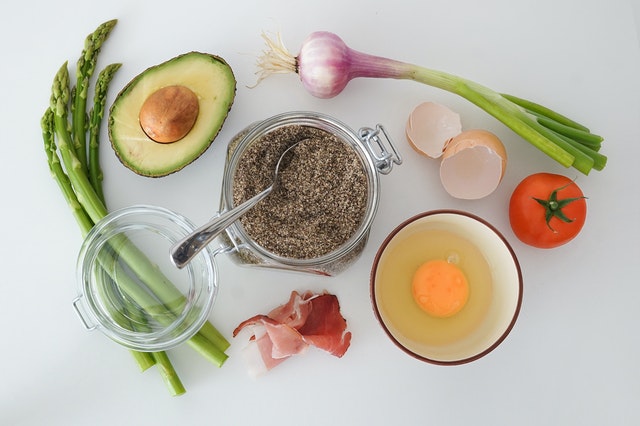
Have you ever just thrown a bunch of food together and it actually turned out amazing?! This was exactly one of those times! I love eating salad but only when it’s filled with pretty much everything besides the kitchen sink. This recipe is seriously so easy and delicious. It’s also packed with amazing nutrition and healthy ingredients!
To read more about my recipes and why I create them the way I do (without specific measurements, times, and temperatures) check outthis blog post.
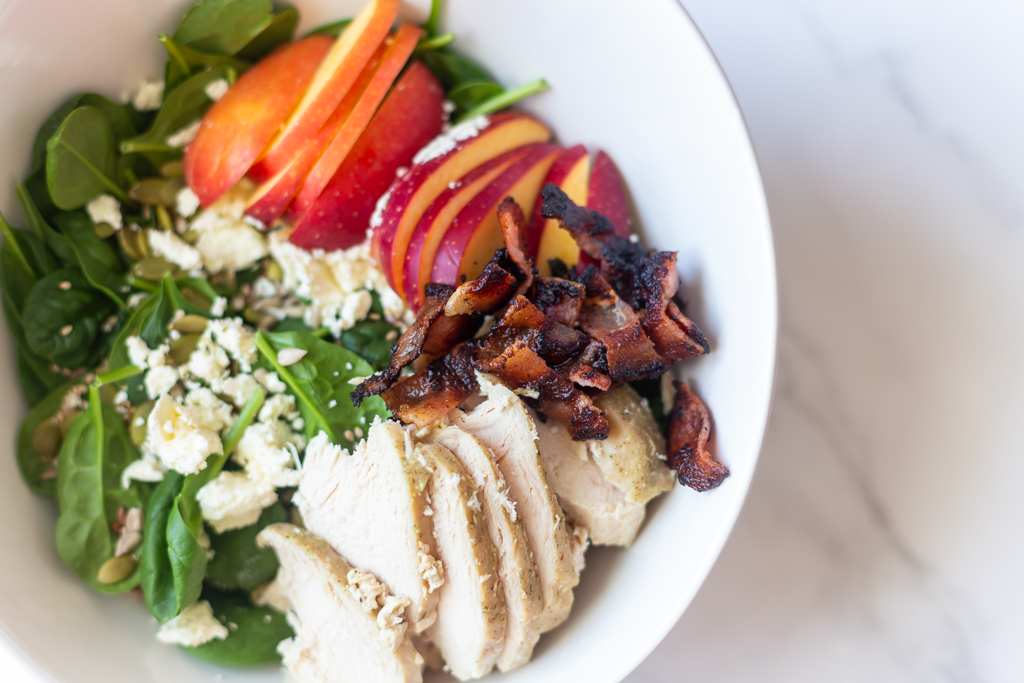
Here’s what you need:
Spinach
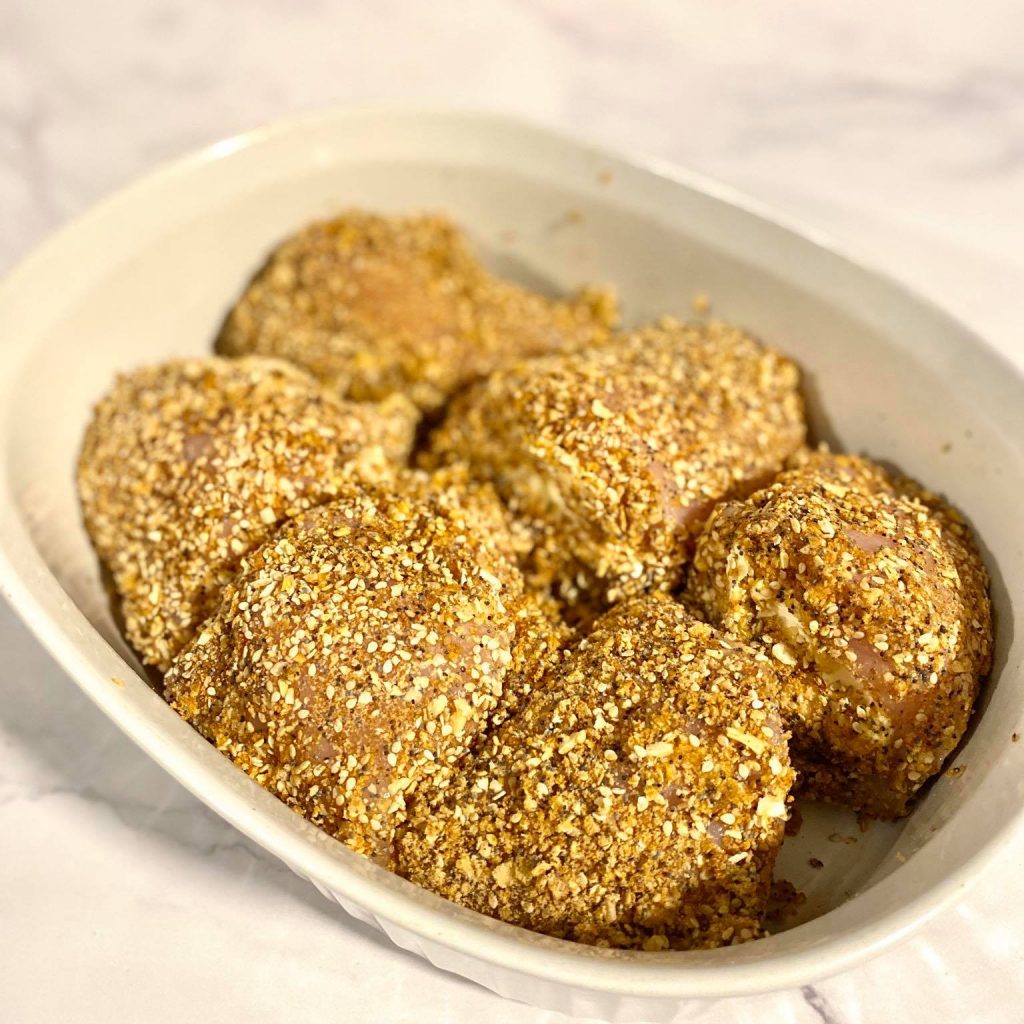
Cooked and sliced chicken (we made ours in our Crockpot express – check it out here)
Crispy bacon
Chopped apples
Feta chunks
Fresh squeezed lemon
Sunflower seeds
Pumpkin seeds
Sesame seeds
Linseeds
Olive oil (we love garlic flavored olive oil because it gives it extra flavor and a kick – plus, garlic is great for your immune system)
Like all other salads, just mix it all together and ta-da! How easy is that?!
What’s your favorite salad to make at home? Post a picture of your salads to your stories on Instagram and tag me (@its.mary.taylor) so I can see and share it to my story too!
If you make this recipe, please tag me on Facebook or Instagram so I can see your creations!
If you enjoyed reading this and would like more information on home, lifestyle, advice, tips, tricks, and more, follow me on Instagram @Its.Mary.Taylor and on Facebook at Mary Taylor! I can’t wait to see you there!
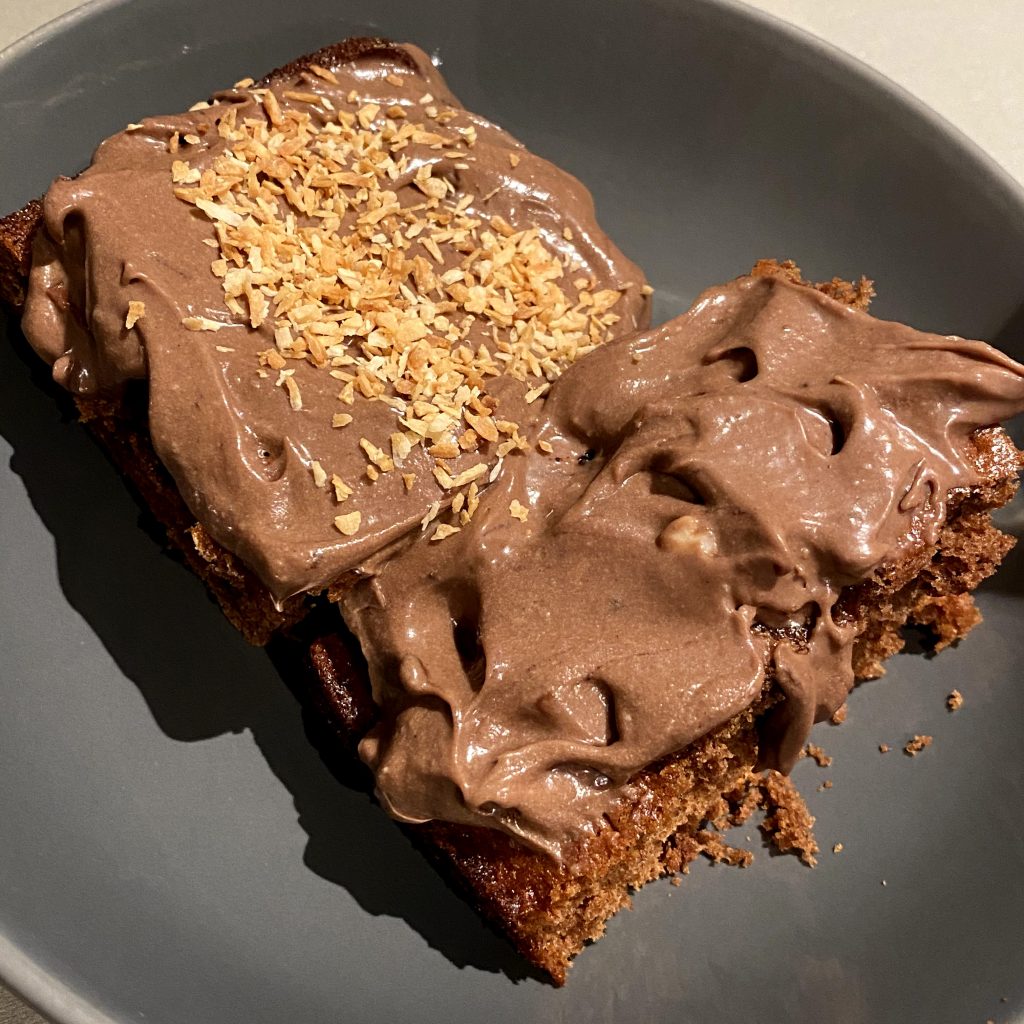
One night we were making a chocolate cake when I realized we didn’t have anything to go on top! We didn’t have cream cheese, butter, sour cream, or whipping cream.
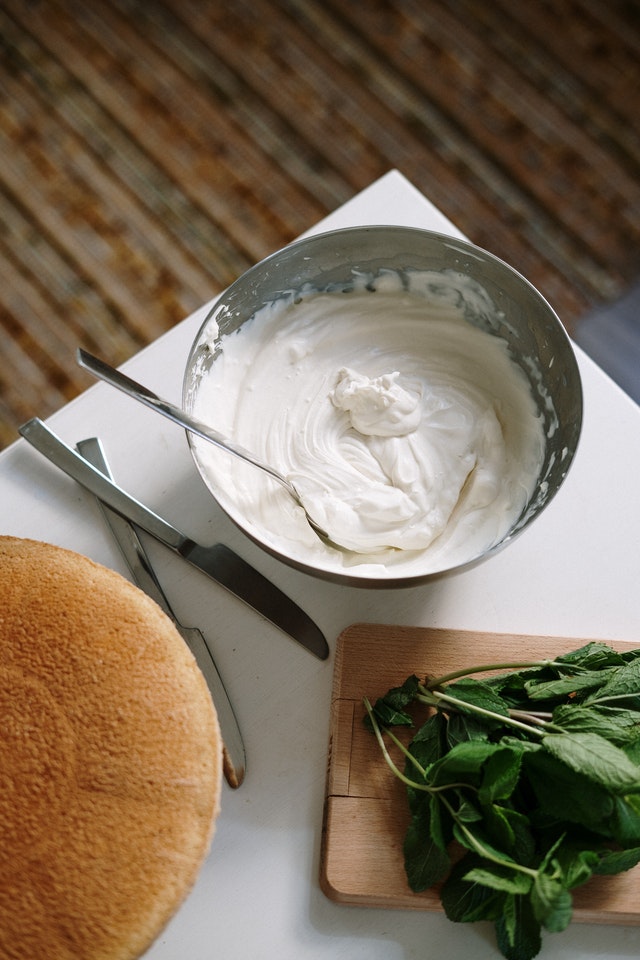
As usual, I looked around the kitchen trying to see what I could turn into frosting. I wanted something creamy and rich. That’s when I thought of a vegan coconut chocolate frosting using coconut cream. There are so many ways you can change up this recipe too. Make it vanilla flavored instead of chocolate, add in a different kind of sweetener (like maple syrup or stevia), or even use other extracts or essential oils to make it peppermint, strawberry, or citrus flavored.
Feel free to experiment and let me know what you do to make it yours! Do you prefer it to be stiffer and colder? What additions or changes did you make to the flavors?
If you want to use coconut milk instead of coconut cream, just put your coconut milk in the fridge for 1-3 days before you use it. There are a few benefits of using coconut milk instead of coconut cream. Coconut milk hardens more when chilled and yields about twice as much as coconut cream. I used coconut cream for my recipe and loved it. Plus it was the perfect amount for a full cake. But, use whichever you prefer or have around.
As an Amazon associate, I may earn from qualifying purchases. It doesn’t cost you anything extra and I cannot see who makes purchases.
Make sure that your coconut cream is chilled. If you weren't able to put your coconut cream in the fridge overnight, place it into the freezer for around an hour. Make sure that it isn't mixed or shaken.
Scoop off the top of the coconut cream and place it into a freezer safe container. Leave the liquid in the bottle of the can.
Turn on oven for shredded coconut (you can toast the coconut now or later - see below).
In a pot on the stove, melt chocolate with a little bit of coconut liquid from the coconut cream can. You can also use coconut milk if you prefer.
Add in cocoa powder. Continue to constantly mix!
Add in your desired amount of sugar * you can use coconut sugar, powdered sugar, or regular sugar. For a smoother texture, make sure if you use a coarse sugar, like regular sugar, that it melts completely. You can do this separately to make a simple syrup and add that in. If you're using this as a frosting, you may need more sugar but if you're eating as a pudding, you may want less sugar.
Let cool for a little while (but make sure the chocolate doesn't solidify).
While the mixture is cooling, put your shredded coconut into the oven to bake. It will be done once it's at a golden brown color. Watch it closely!
Then, pour the chocolate mixture into the bowl with the coconut cream and whip/stir.
Even if the coconut cream melts, keep whipping/stirring until all of the ingredients are blended. Now is a good time to taste test it and see if you need more sugar. Then, place the mixture into the freezer until it solidifies more. If you want it to be fluffier, you can take it out and whip it more or leave as is (depending on your preference and what you're using it for).
Then, sprinkle toasted coconut ontop and enjoy!
If you make this recipe, please tag me on Facebook or Instagram so I can see your creations!
If you enjoyed reading this and would like more information on home, lifestyle, advice, tips, tricks, and more, follow me on Instagram @Its.Mary.Taylor and on Facebook at Mary Taylor! I can’t wait to see you there!
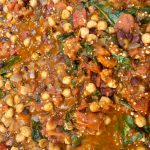
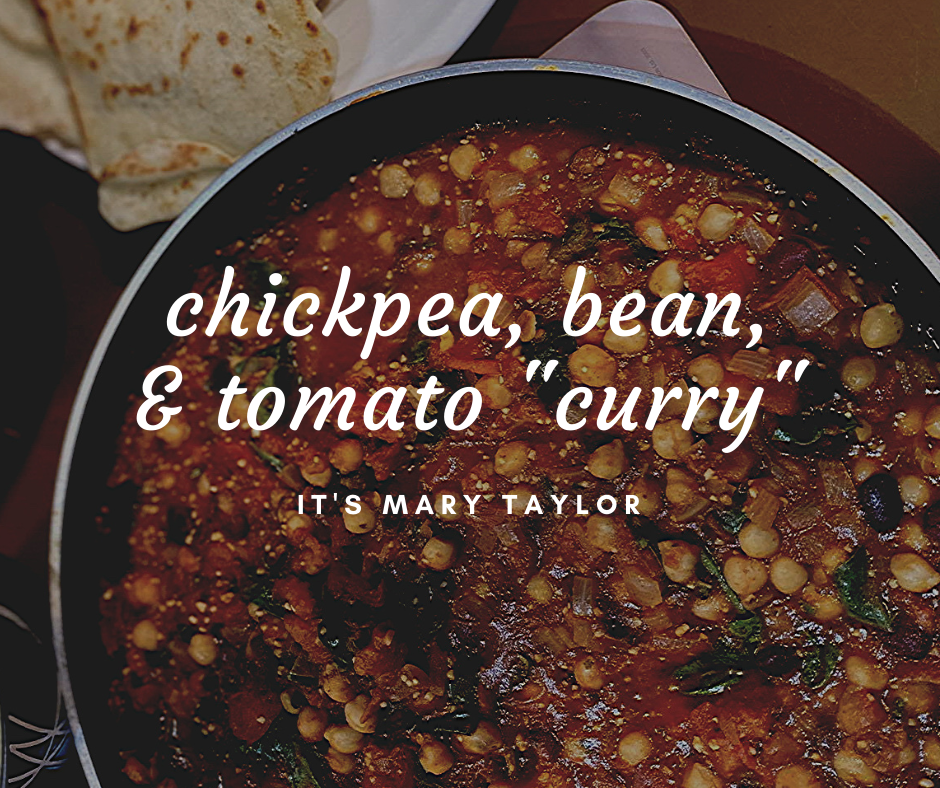
I shared this recipe on my Instagram story a few weeks back and I got so many people asking how to make it! This recipe is super easy, quick, gluten-free (unless you eat it with naan), vegan, and versatile. You can make it spicy (or not). Feel free to change it up by adding more veggies or beans. It’s easy to save and eat cold or reheat. It’s the perfect meal prep dish!
To read more about my recipes and why I create them the way I do (without specific measurements, times, and temperatures) check out this blog post.
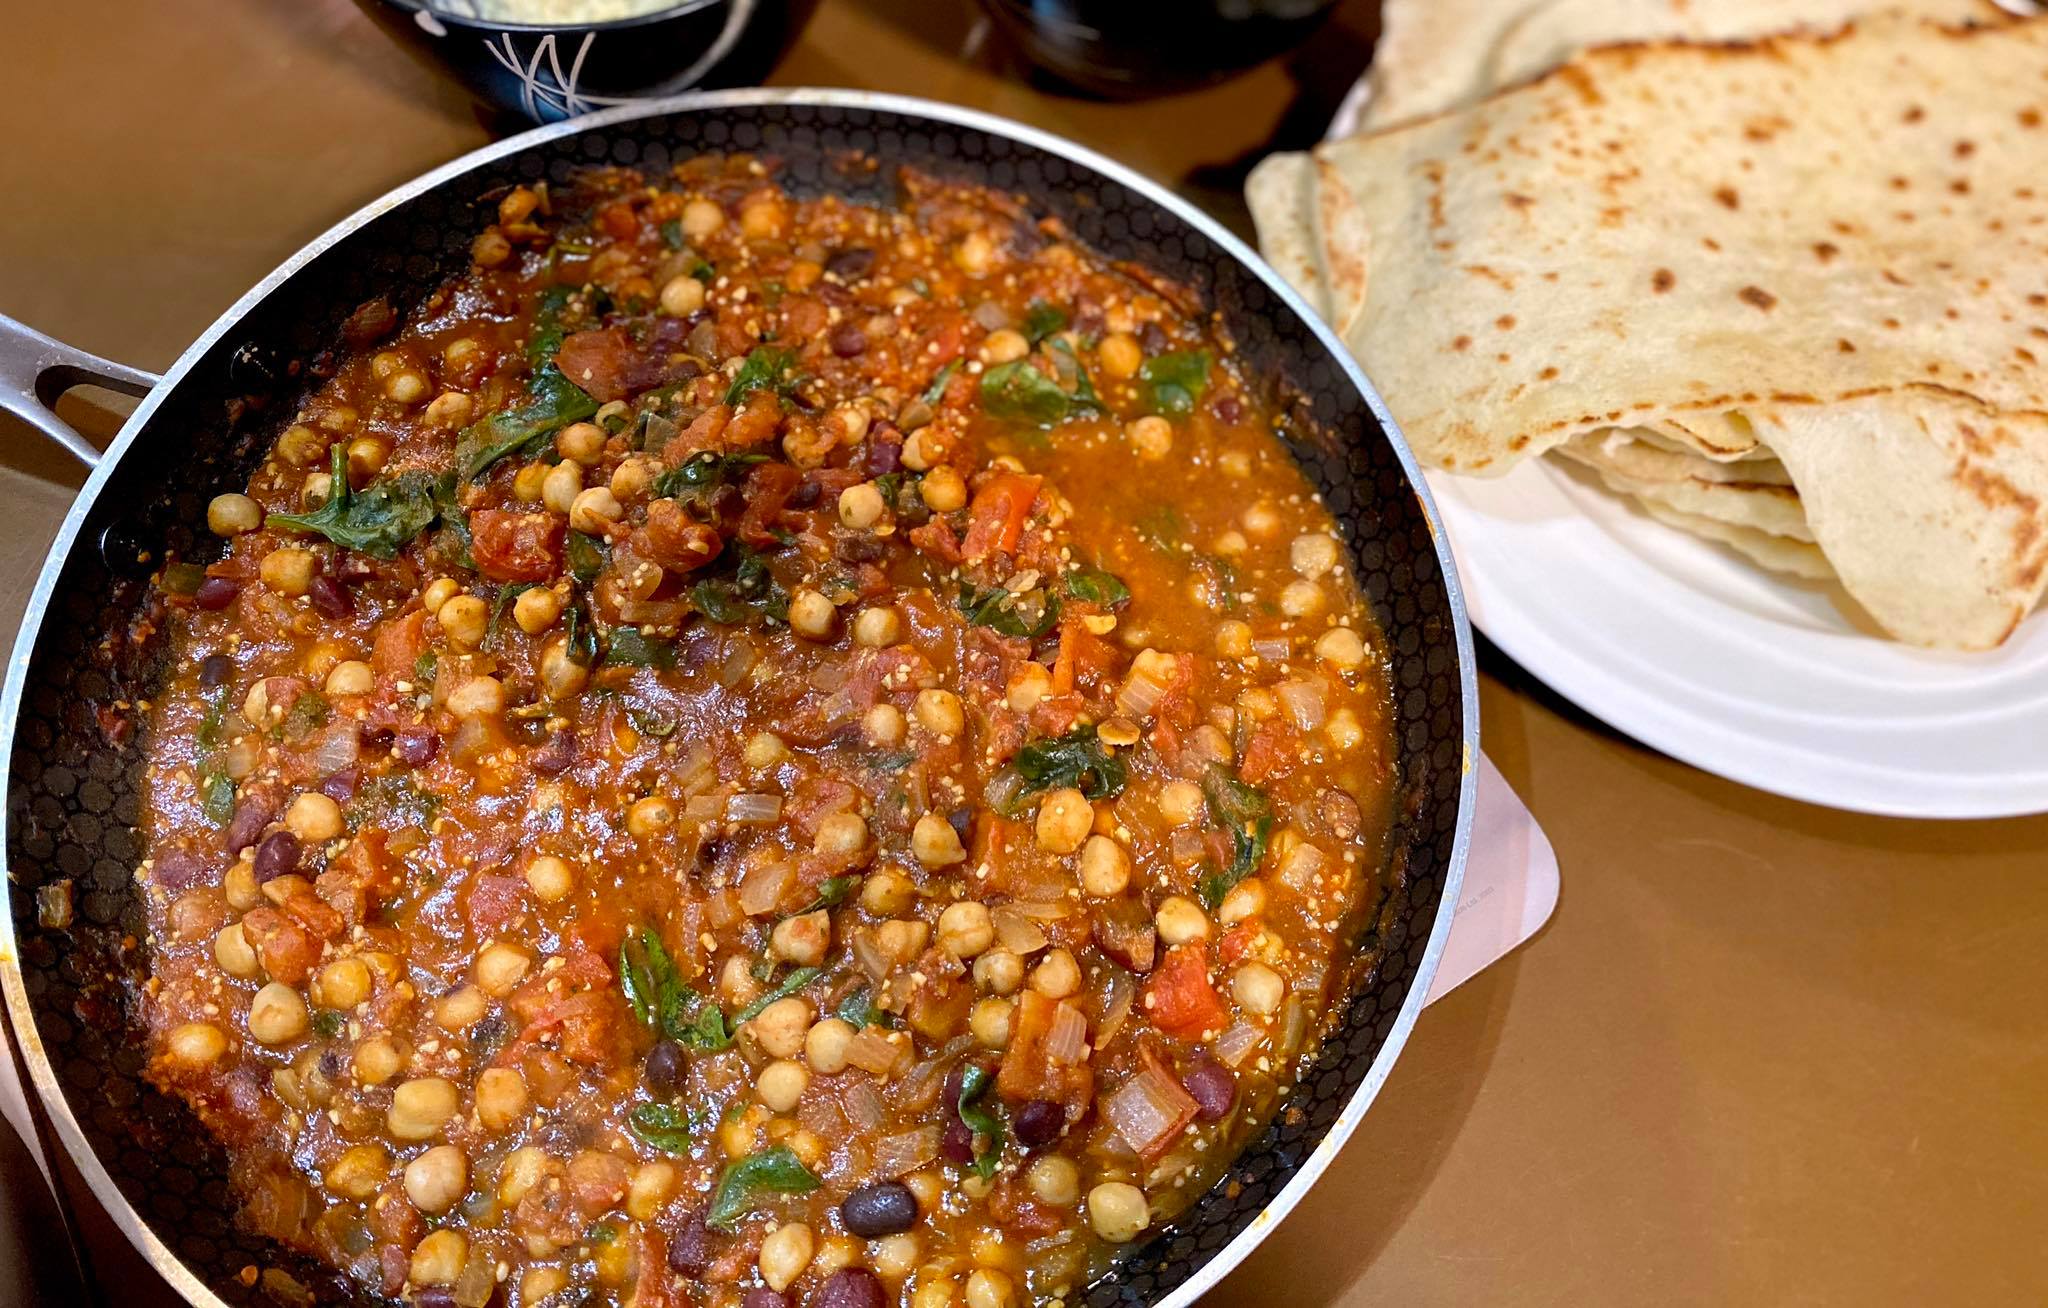
Other Beans of ChoiceI added red kidney beans but another great choice would be mixed beans or white beans
Canned Tomatoes
OnionsChopped
Spinach
GarlicMinced/Pressed
Cumin
ParsleyFresh or Dried
Paprika
Olive Oil
Salt
Pepper
Cayenne PepperOptional
Instructions
Sauté onions and garlic in a pan on the stove.
Add in the rest of the ingredients. Cook until the water has almost evoporated completely and the sauce has thickened.
Towards the end, add in spinach and cover the pan so that the spinach becomes slightly cooked/steamed.
Serve with rice, quinoa, or naan. Or skip the extra carbs altogether and serve on a bed of argula.
Notes
Saute onions and garlic first then add the rest of the ingredients. You want to cook until it reduces down (water evaporates so it’s thicker). Then add in spinach and cover with a lid to trap in moisture/slightly cook the spinach. We served this with sweet potato/kumara puree and homemade naan but you could also serve it with rice (brown rice for a healthier option) or quinoa.
If you make this recipe, please tag me on Facebook or Instagram so I can see your creations!
If you enjoyed reading this and would like more information on home, lifestyle, advice, tips, tricks, and more, follow me on Instagram @Its.Mary.Taylor and on Facebook at Mary Taylor! I can’t wait to see you there!
One day my husband turned to me while we were in the kitchen and said, “You should write a cookbook! But not just any cookbook. A cookbook designed for the way that YOU cook!”
You’re probably wondering what that means – how is my cooking and are my recipes any different?! Well, you see, I use recipes as inspiration not as directions. It might sound crazy but temperatures and measurements aren’t really a thing in my “book”. The closest thing I can compare it to is the kiwi mentality and phrase, “She’ll be right!” (Which you can learn more about here). In the case of cooking, if you add a little bit too much of this or a little bit less of that, it doesn’t really matter because it’s probably still going to taste good.
I have a massive passion for cooking and have ever since I was little. I remember standing on a small Spanish table just so I could reach the counters as I was helping my dad chop tomatoes with a dull knife. My dad is the chef of the family and when I say chef, I really mean it (although he would humbly say he “just cooks”). From the most amazing chili to homemade pasta sauce and marinated meat, he knows how to do it all. Growing up I even thought I wanted to be a chef (professionally not just for friends and family) but I’ve since decided that I would love to keep it as a passion and not as a profession.
Picture of the top of the table I used to stand on when I was little
Over the last couple of years I have shared pictures of my food on Instagram and on my Facebook page and people started to ask for recipes. Although I’m not much of a recipe girl, I’ve decided to start a cooking section of my blog. Some day, it might even become a real cookbook! It will be different than any of the other cooking blogs or recipes you’ve seen before because I won’t be using traditional methods of measurement. Sometimes you might not even see any measurements. Cooking to me is more than just about what’s on the page. It’s about learning what flavors and combinations go together. It’s a unique experience with food and ingredients. There’s no one perfect way to make anything. Someone who tries your food might say it’s just right while others may say it’s too salty, too sweet or too spicy. You may be allergic to something or just not like it at all. Use my recipes as an inspiration and a guideline not as directions. Here are some dishes you can look forward to seeing posted on my blog soon!
I hope you have fun reading my recipes and making them for yourself. I can’t wait to see what you come up with! If you try any of my recipes please tag me in any pictures you post and feel free to message me about how you liked it (and don’t forget to send me pictures)! You can check out all my blog posts with recipes here.
You can follow me and message me on Instagram @its.mary.taylor and follow me on Pinterest to save my recipes to your own boards. Don’t forget to like me on Facebook to get the latest updates on blogs and stay connected. Happy cooking!


")