IMG_9385

My Pregnancy Journey (Up to 12 Weeks)

Let me know if this sounds familiar. You’ve been trying, hoping, and praying to become pregnant. You’ve done ovulation testing every month and basal temperature daily. Waiting to see those two pink lines.

And then, it happens. ➕

You’re pregnant and it’s time to get excited! But wait…

You’re told ‘The first 6 weeks are really fragile. Don’t tell anyone. Don’t get too excited.’ ‘Now that you’ve reached 6 weeks, 10 weeks is really fragile too.’ ‘The safe zone is really 12 weeks. Only tell a few close friends and family members.’ It’s almost like you’re supposed to hide. 🙅🏻‍♀️

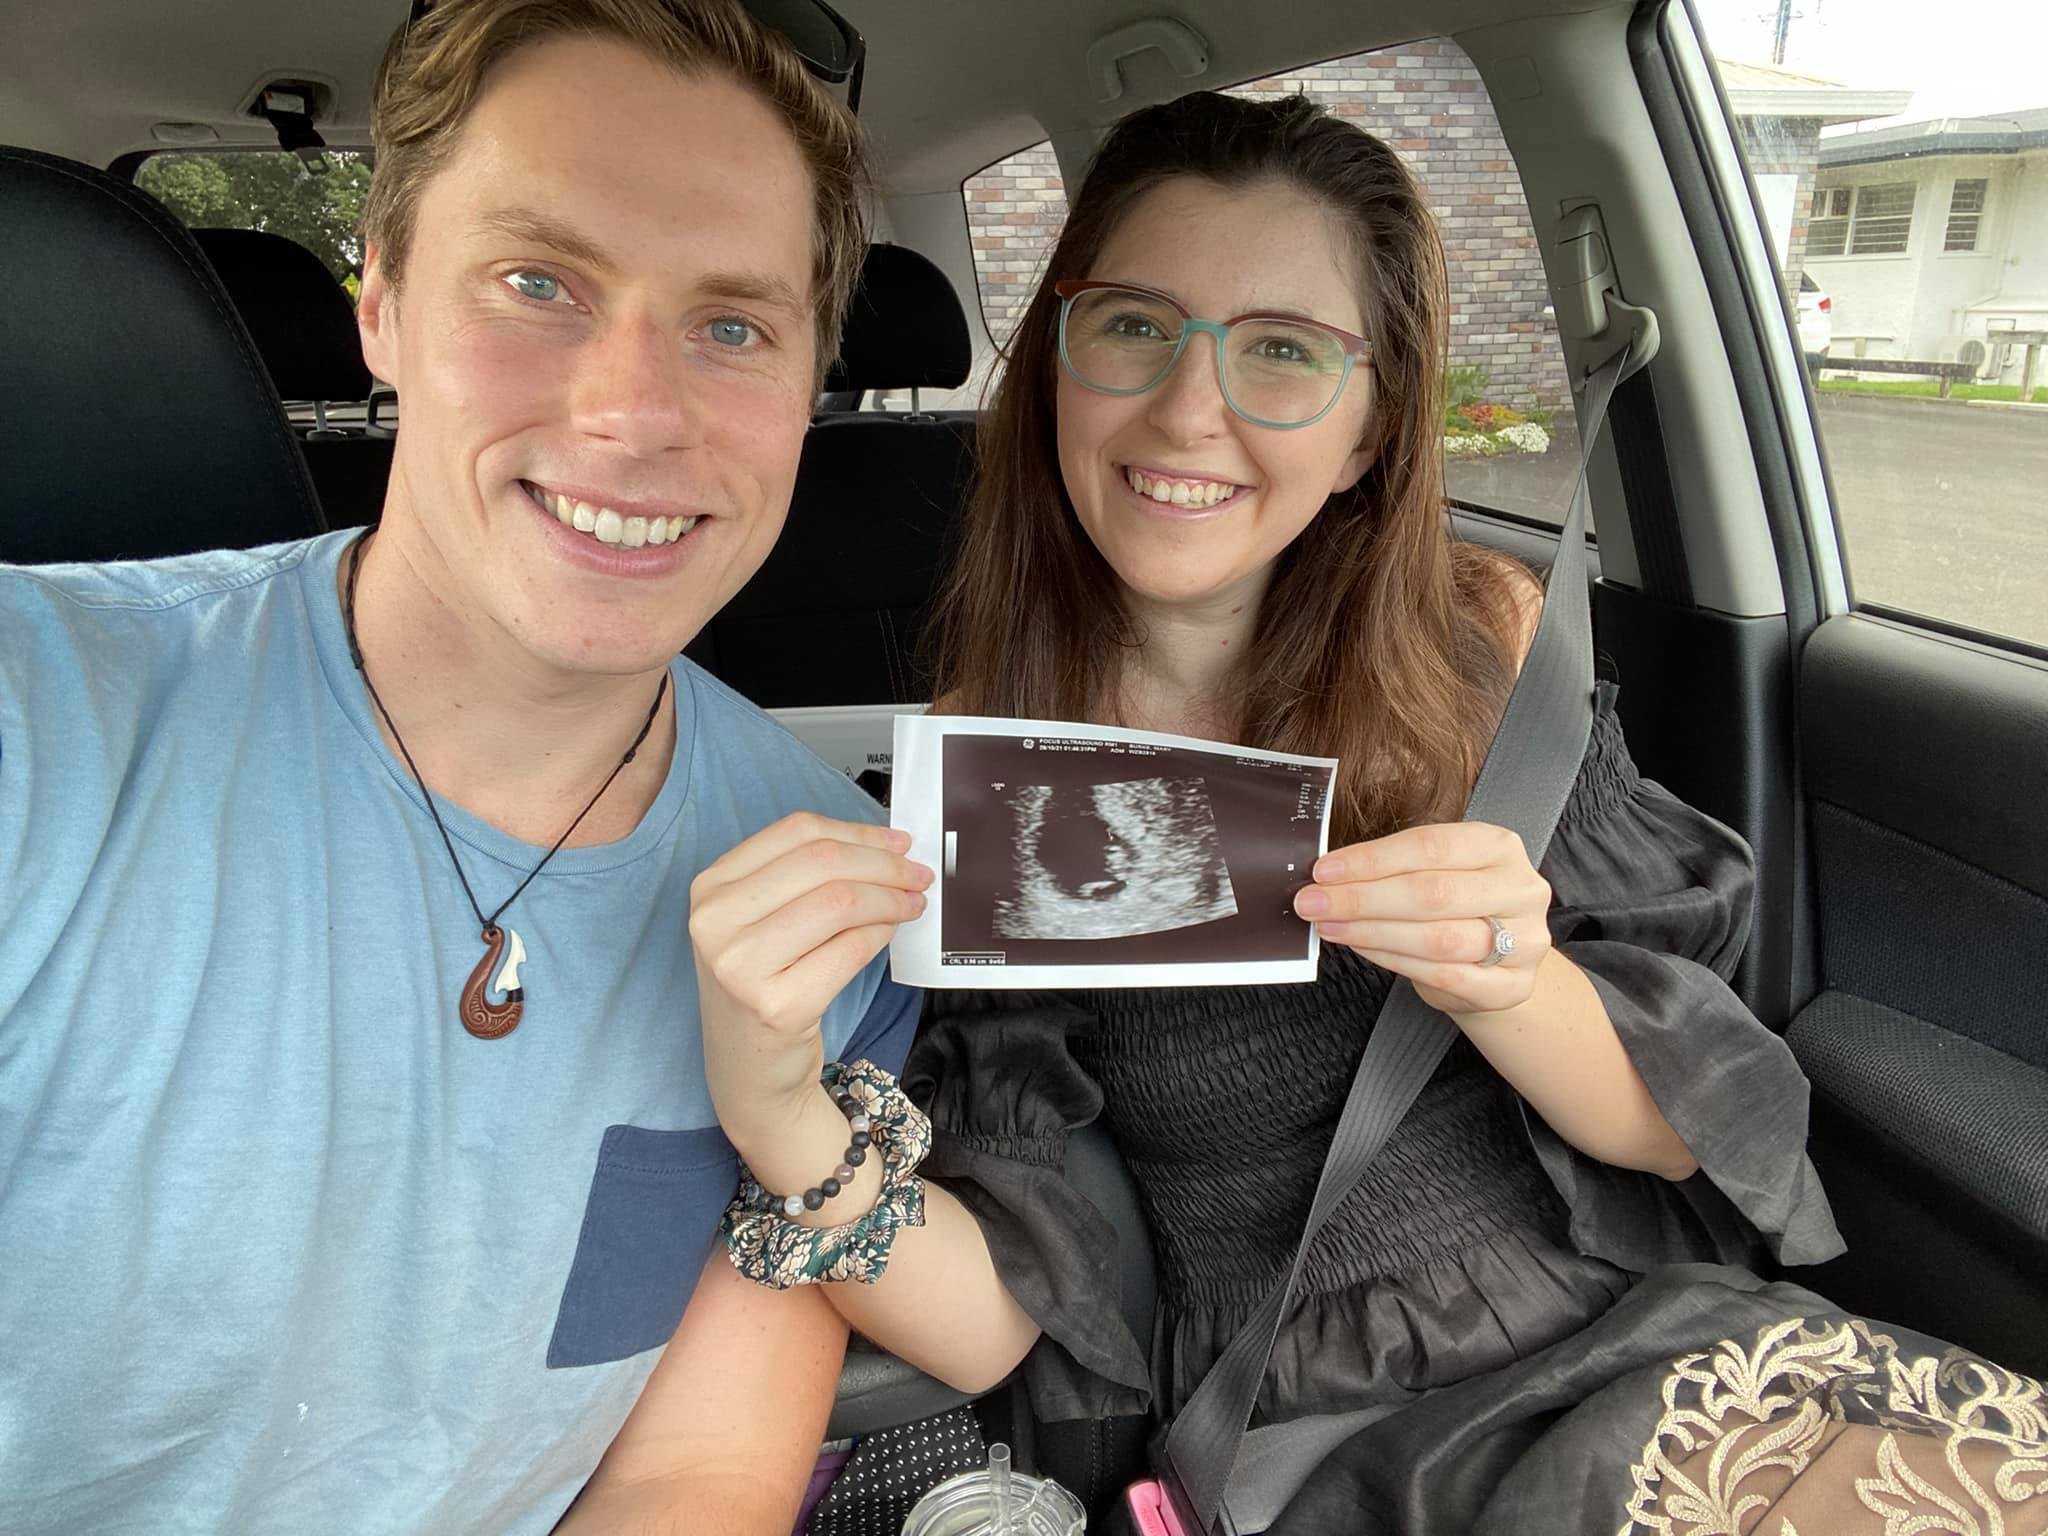
Hi, I’m Mary (@its.mary.taylor) and I’m 8 weeks pregnant 🤗🤰🏻

I want to normalize spreading joy and excitement throughout pregnancy – especially in the first trimester. You’re not alone if you’re feeling unsupported because there are little to no resources early on. Because your first midwife appointment isn’t for 8+ weeks and you’re unsure what’s going on with your body. ‘Is this normal? Am I okay?’ Because you ‘aren’t supposed to tell anyone.’ Well mama, I say shout it from the rooftops. Throw positivity towards it. 😍

And of course, know that something could happen but regardless, you’re pregnant right now. You should not only be allowed to be but also encouraged to be excited!

I want to bring you on my journey of my first pregnancy. To tell you like is. Support you. Encourage you. And bring you JOY (and maybe sometimes tears, questions, and pain)!

Before we take it back to the beginning (fertility), let’s recap on the last month. I’m now 12 weeks ~ yay!! which means I have one more week until my second trimester. When they say pregnancy goes quickly, it really does (the minutes and days can feel long but the weeks feel short). Did you find pregnancy to go by quickly or slowly?

I told you it wouldn’t be alllll ups and excitement. This month has been rough and tough. Lots of nausea. Constant 24/7 to be exact. If you’re feeling like this for weeks on end and especially if you’re unable to keep food down, please see your doctor! I was prescribed a pregnancy safe medication to help with the nausea and vomiting and now I’m only slightly nauseous most of the day and severely nauseous rarely. And I keep food down – nearly all the time 🤣

Now that you know the most recent updates, I would love to touch on fertility. Again, as I stated last month, I am not a doctor or a specialist by any means. This is just based on the research I have done and my personal experience.

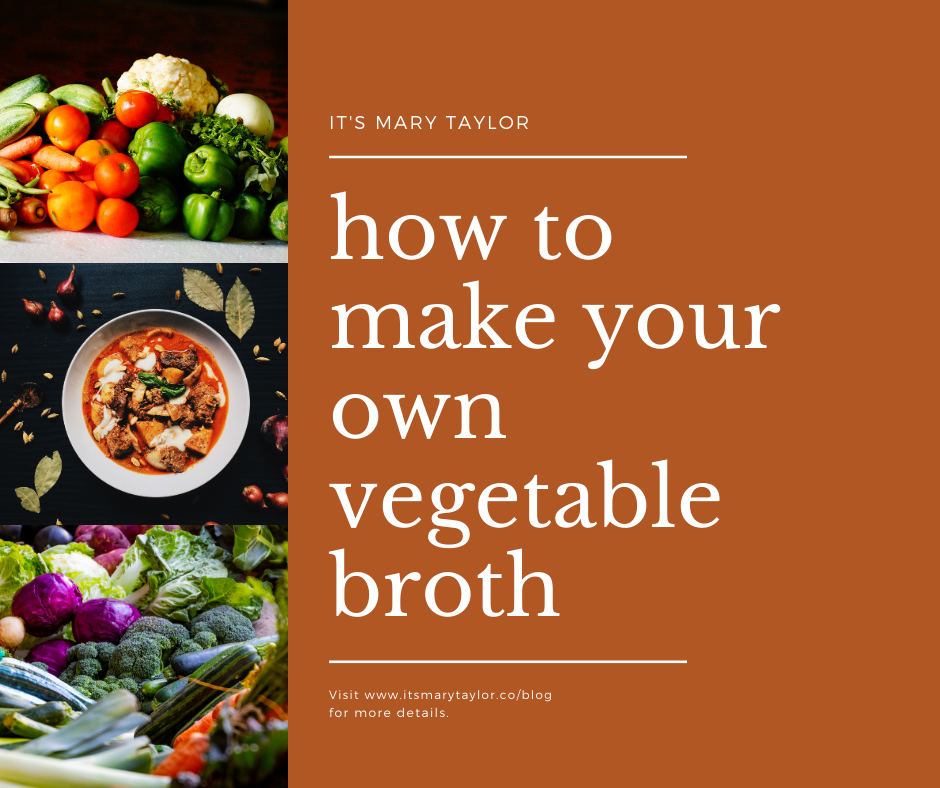
We are told that on average it takes a healthy couple six months of trying to get pregnant. And although even if we think we truly accept this, when you’re in that time of trying, it feels like forever. You may even see your friends, colleagues, acquaintances, or even random‘s online getting pregnant (planning or not) and feel a little (or a lot of bit) jealous. The first month is fun – it’s the hope and the want but not the need. It’s only been a month. Month two comes around and you’re thinking OK maybe we should be a bit more precise and start to do more research. By month three it no longer just feels like a want but a need. I need to get pregnant. I’m starting to worry. Again, even if we know it’s normal. This is when we started to really dive into research and change what we were doing. A lot of it had to do with diet! Check out this blog for more information on the fertility foods/supplements we started taking (before trying to conceive and during conception). 

The month that we made changes to our diet, we successfully conceived! Now, again, I’m not a doctor and I’m not 100% sure what made it “happen” for us but if you’re at the point of doing everything you can to make it happen, this is what I suggest. Feel free to DM me or comment below with any questions including ovulation testing and basal temperature readings etc 🤍

I am SO excited to take you on this journey with me! To see more frequent updates or chat to me, follow me on Instagram!

Signing off,

Mary Taylor <3

IMG_9338

The Big Surprise

After your first date with someone that you really hit it off with, the first question is, “When’s the second date?” Later comes, “When will he propose?” And then, “When’s the wedding,” and “When will you have kids?”

We’re all looking forward to the next part of life. For us, the answer was simple but the steps were more difficult. Although we love children and couldn’t wait to grow our family, we had a checklist of things we wanted to accomplish before having kids.

In July of last year, our finally checklist item was marked off: For my husband, Robbie, to work from home!

And so, the adventure began…

Not a trick, just a treat 🍭
Our family is growing by two little feet! 👣

Based on a true story!

A Burke Production Presents 2 Little Feet, starring Robbie, Mary, & Kona Burke. Introducing ‘Yet To Be Decided.’ Produced by nature & written by our hearts. Directed by “morning” sickness. Featuring lots of ginger & naps.

In select theaters June 2022. 

If you know me personally or even just follow me on Instagram, you may know that I like to do things big. Announcements. Parties. And just life in general. So, creating this pregnancy announcement was just my style! We even did a separate photo for our dog’s Instagram account to really highlight her “Big Sister” promotion (bandana). 

If you’re pregnant too and wondering how you can surprise your family with an announcement, we had tons of compliments on our movie theater poster pregnancy announcement. People had fun looking through all the little details and kept finding new and things to look at (the little kiwi onesie, bottle of ginger essential oil, jar of pickles, stretch mark cream, and ginger sweets were some of my favorite things! 

If you want to do your own movie poster announcement but don’t have photoshop or Canva pro, don’t hesitate to reach out. I’d love to help!  

I know I have skipped around a bit and missed some very important details, but don’t worry, they’re coming soon! For now, let’s celebrate what is! 

With love. Signing off,

Mary Taylor <3

IMG_1420

Tips for Staining Your Deck: What we Learned Staining our Deck Ourselves

If you have been following along our home building process for the last two years on Instagram (@its.mary.taylor), you probably know that we finally moved it! Although we moved into a brand new home, there were some things we just didn’t have the budget for. This included all of the landscaping and our deck! From building the deck to staining the deck, it’s taken us over a month of everyday work to get it to where we want it to be.

The good news is, the deck is stained! We’re so thrilled that the deck is finally stained to match our flooring inside. We LOVE the color! But much like everything in our building, home buying, and DIY experiences this far, we have learned a lot!

Bad news, it’s not perfect. And, that’s okay. DIY projects are a learning process so if you’re wondering how to stain a deck or how to fix a deck that you stained wrong, we have some tips for you!

If this is your first time staining a deck, check out these tips below to learn from our deck staining mistakes!

  • Stain entire rows of wood, rather than in sections
  • Mix the container as much as possible before starting (if the container says not to create bubbles, do not just roll the container on its side – turn it upside down, mix it by hand, anything to get it to fully mix.
  • Clear the deck 24 hours before you start to let it fully dry out e.g. under pot plants 
  • Sweep the deck before you start to remove any extra debri
  • When staining wood that’s next to something (against your house for example) use some cardboard or painters tape or something so that no stain gets on the house
  • If the stain is turps based, have plenty of bottles of extra turps nearby in case there an accident (stain gets on your house, the tin tips over, etc) so if you need to, you can dilute/clean off the stain
  • If your stain is too dark in some areas (and your stain is turpentine based), you can rub extra turps onto the stained area with a lint-free rag/cloth or your cleaned (not filled with stain) staining brush

You can see two things in the above image:

  1. There’s a water mark where our umbrella was beforehand (we did not remove items the day before staining).
  2. Robbie stained by section not by board. If you scroll above, you’ll see where there are clear sectioned-off marks of stain and we are now having trouble fixing. Don’t be us. Learn from our mistakes!

The water mark has fixed itself by drying out before we applied the second coat of stain. We can try to fix the other mistake by re-staining the parts of the deck that are a bit lighter with a light coat of extra deck stain.

Are you DIYing parts of your home too? I would love to see what you’re doing! Let’s connect on Instagram!

If you enjoyed reading this and would like more information on home, lifestyle, advice, tips, tricks, and more, follow me on Instagram @Its.Mary.Taylor and on Facebook at Mary Taylor! I can’t wait to see you there!

Signing off,

Mary Taylor <3

Cleaning_001

Cleaning Tips to Reduce Odor

I asked on Instagram stories the other day if you’d like to see some cleaning tips and you voted YES! We (I say we but I mean I) have been doing a lot of cleaning (and organizing) lately in the new house. We’re pretty much organized but the ongoing cleaning (especially from the dust brought in from building the deck and lack of grass) has been overwhelming.

Here's what I did/do!

  • Deep cleaned my Crockpot Express using 1 cup of white vinegar, 1 cup of water, and 8 drops of citrus essential oils (lemon and wild orange – you don’t need to be specific on the amount of drops). If you don’t have essential oils you can use half a lemon and one orange’s rind. Turn it on steam for 5 minutes, let it naturally release for 2 minutes, and quick release until it’s able to be removed. Then, drump out the mixture and rinse. This will remove odors from your pressure cooker!
  • Cleaned our garbage disposal using ice. Fill your garbage disposal with ice, turn it on, and run water through it (some say hot water, some say you don’t even need water – try it both ways). The ice is so cold it actually helps sharpen the blades. You can also toss down some citrus peels or a few drops of citrus/Purify oils to eliminate odor and leave a fresh smell.
  • Stinky trash can? If your trash is in a drawer/pulls out and you have room below it, fill a small container with baking soda and drop a few drops of essential oils in the container. Cover with mesh, plastic with holes in it, or another breathable material. Baking soda absorbs nasty smells! You can also put a paper towel underneath your trash bag and drop a few drops of oils onto that (lemon, doTERRA Purify, Young Living Purification, Tea Tree, Eucalyptus, etc are great options)
  • My favorite DIY odor reducing spray! This is an all around perfect spray for every day use – musty clothes, smelly bathrooms, stinky trash, room freshener, and so much more. You’ll need doTERRA Purify, doTERRA On Guard, water, and alcohol (optional – great for a hand sanitizer option or to kill more germs). Put them all in a spray bottle and shake before use. Easy as that. You can put as many drops as you want to get the desired smell you would like. This DIY deodorizer is life changing (okay, my opinion but seriously, you have to try it – I use it all the time). 

Do you like this kind of post and want to see more recipes, hacks, and tips on IG instead of just on my blog? What kinds of things should I focus on next? Let me know on this post on Instagram.

If you enjoyed reading this and would like more information on home, lifestyle, advice, tips, tricks, and more, follow me on Instagram @Its.Mary.Taylor and on Facebook at Mary Taylor! I can’t wait to see you there!

Signing off,

Mary Taylor <3

pexels-fauxels-3184454

Scheduling Posts Ahead of Time

If you’ve been following on social media for a while (particularly Instagram), you might have seen my content calendar a few times. I am OBSESSED with planning out content. That’s why I am SO excited to teach you more about scheduling posts on social media. P.S. You can free monthly content calendars sent directly to your inbox just by signing up for my newsletter below or in our free social media group on Facebook.

So, why should I schedule out my social media posts?

I love scheduling my social media posts ahead of time because it not only helps save me time in the long run AND plan ahead what I need to get done, it also helps me repurpose content. I believe that repurposing content is essential to long term success on several social media platforms – especially if you’re using Pinterest! Do you need help managing your Pinterest or repurposing your content? Let’s chat!

How do I schedule my social media posts ahead of time?

There are many ways you can schedule social media posts ahead of time. Some apps actually let you do it directly on their website (like Pinterest and Facebook) but I love to use Later because of how easy it is to you. If you use this link you can even get an extra 10 FREE posts per platform per month. With Later, you can link one of each of your accounts including Facebook, Instagram, Pinterest, and Twitter. Then, upload the images you would like to post, drag and drop them into your content calendar (or even pre-set your posting times for each week and organize your grid via the preview section to see what they will look like on Instagram). After writing your caption just push save.

Your posts can automatically be published to Instagram if you have a business account which is linked to a Facebook page! Just change from “notifications” to “auto” at the bottom of the scheduled post.


If you need extra help getting set up, don’t hesitate to reach out to me on Facebook or make a post into our social media group

BONUS: Something I learned recently!

Recently, I learned an extra bonus tip that helps save even more time! When you’re scheduling your posts on Later, you can hover over an additional “social bubble” at the top of your screen and a plus sign will appear. Click it and you can schedule two posts (the same image and content) to multiple platforms. For Pinterest, you’ll just add in your list, board, and title (it will prompt you). Check out what I mean below.

Did you like this tip for creating and managing several different Instagram accounts? You can learn more in our FREE social media discussion & learning Facebook group! Join here. You can also receive more free tips and tricks as well as a monthly content calendar (with hashtag suggestions), by signing up for our newsletter below.

If you enjoyed reading this and would like more information on home, lifestyle, advice, tips, tricks, and more, follow me on Instagram @Its.Mary.Taylor and on Facebook at Mary Taylor! I can’t wait to see you there!


Signing off,

Mary Taylor <3

Want FREE Social Media Tips & Content Calendars Each Month?

assorted-vegetables-1656666

Why, Which, and How to use All of Your Veggies

Let’s start with the why. Why should you use all of your vegetables? And what does that even mean?

The answer is pretty simple: because it produces less waste and saves you money. What I mean by “use all of your veggies” is to use as much of the vegetable as you can. This means leaving the skin on when possible (potatoes, tomatoes for soups/sauces, carrots – they don’t even have “skin” but lots of people still take off the outer layer – etc.)

Which vegetables can I use entirely?

Lots and tons! I won’t name every single vegetable but here’s some that you might not have thought of using the whole thing:

Broccoli – Yes, even the stem. Chop it up into smaller bite sized pieces or shred it and add it to your dish (salads, roasts, soups, etc). Broccoli is absolutely delicious!

Caulifower – Just like broccoli, you can chop up the stem to use in soup, on the grill, in the oven, or on the stovetop. You can even steam it and just add butter! 

Carrot – There’s no need to shred off the outer layer of a carrot. The only part you shouldn’t eat is the very top (where the leaves normally come from). If there are little strings coming off the bottom, either pull them off or eat them. If you wash the top those, you can use it in a smoothie or soup (especially if you like to make your own veggie broth).

Celery – Try to eat as much of the celery as possible. The leaves of celery you use in soup/broth, a roast, a stir-fry or even eat them in a salad (choppped up or whole). The only part you might not want to eat is the base. Place the base of the celery into a glass container with a little bit of water on the bottom. Continue to water and watch as a new celery grows. Then, you can plant it in a small amount of dirt or keep it growing in your water.

Tomatoes – You don’t really have the cut out or off the top of the tomato. Just chop it up with the rest of the tomato and enjoy! This would be great for salads, soups, and even sandwiches.

Pretty much every vegetable – If there are parts that you don’t want to eat, wash them and freeze them. Once you have enough, boil them in water with your favorite herbs and make your own vegetable broth. This is another great use for your celery leaves!

To make your own vegetable broth with leftover vegetables, simmer your vegetables in a large pot with water and spices for about an hour (really, the longer the better). This will allow the flavor to really develop. Good spices for soups include: mixed herb, garlic, rosemary, bay leaves, thyme, and parsley. You can also add tomato paste or a can of tomatoes. 

Pro tip: you may want to sauté garlic and onions in olive oil (additional not just what was leftover) before adding the rest of your vegetables and water.

To read more about my recipes and why I create them the way I do (without specific measurements, times, and temperatures) check out this blog post. Post a picture of your soup and vegetables to your stories on Instagram and tag me (@its.mary.taylor) so I can see and share it to my story too!

If you enjoyed reading this and would like more information on home, lifestyle, advice, tips, tricks, and more, follow me on Instagram @Its.Mary.Taylor and on Facebook at Mary Taylor! I can’t wait to see you there!

Signing off,

Mary Taylor <3

pexels-ivan-samkov-4240505

Why Blogs are Powerful for Your Business

Are you thinking about creating a blog or do you already have one? You probably started a blog or want to start a blog because you have some idea of why blogs are powerful for your business. If you’re thinking, “I have heard good things about blogging but don’t REALLY know why exactly I should be blogging regularly,” this is the blog for you! I often see people who start a blog but can’t keep up. If that’s your struggle too, check out my blogging services here.

My favorite reason for starting a blog is because of all the potential to repurpose content. If you know me, you know I love talking about repurposing (and not just in your home products but also, in your business)! Everything that you write in a blog can be repurposed to a bunch of mini posts on the same topic. So when you’re sitting down every week to schedule your social media posts, you can easily head to one of your previous blog posts and pull some of the content you’ve already written.

You can also draw further attention to the blog post by mentioning it within your social media post. Not everyone might have read the blog post yet. It can also encourage people to comment on the social media post with any questions or comments they had when they did read the blog post. Staying engaged with your audience is SO important.

Having a blog also gives people a reason to come to your website more often. Once they’re there, they might have a little wander throughout your site which could lead to more sales, clients, and customers.

You’ve gotten your potential client to your site now (through your blog post). They’re reading along and realize, “Dang! She/he knows what she/he is talking about!” When you blog about topics relevant to your business or brand, you’re building credibility! Having a blog should provide enough value that your reader feels like they’re learning something but not too much value that they now don’t need to hire you. If you’re a product based business, your blog posts should highlight different aspects of your product. For example, if you own a skincare company, you should write about the benefits of the ingredients in your skincare. Once your reader knows about all of these benefits, how could they not want to purchase your skincare? You’re selling without actually having to SELL. Instead, your informing your audience to make educated purchase decisions.

But what about those that don’t follow you yet? Blogs can be helpful for SEO purposes! SEO includes all of the things that you do to increase the visibility of your website and its content (like your blog) on search engine result pages (like when people search on Google). Search engines look at things like if a website is regularly updated, how long people stay on your website, the quality of the content on your website, internal linking, meta descriptions, image tagging, and more! Blogging can help you add more of these features to your website which will end up helping your website to appear higher in search results.

Whether people are coming to your site just for your free content (blog posts) or to purchase from you, you can still make money from everyone who comes to your site! Having a blog is another way that you can make money! Stay tuned for a blog post soon about ways to make money from your blog!

Now that you know all about why blogs are important for your business, are you going to start blogging? Once you write your first blog, don’t forget to tag me in the post when you share it! I can’t wait to read all about what you do. If you need help getting started, let’s chat! I not only offer blogging services but also coaching and editing. I can also help you repurpose your blogs into posts across your social media accounts. Check out my links below to get in touch.

If you enjoyed reading this and would like more information on home, lifestyle, advice, tips, tricks, and more, follow me on Instagram @Its.Mary.Taylor and on Facebook at Mary Taylor! I can’t wait to see you there!


Signing off,

Mary Taylor <3

FREE Social Media Tip & Monthly Content Calendars

pexels-lisa-fotios-1092644

Managing Multiple Instagram Accounts

Do you have multiple Instagram accounts that you want to manage more easily? Maybe you have an account for your business and a personal account. Or maybe your kid or your pet has an account. Or maybe, all of the above! Today you’re going to learn how to manage and store multiple accounts on Instagram.

Check out the instructions below for how to add another account to your Instagram:


  1. Go to your profile, click the burger menu (the three lines in the top right-hand corner),  and tap on settings.
  2. Scroll to the very bottom and tap “Add Account.”
  3. Then, add your other account(s) by username and password. You can add up to 5 Instagram accounts at a time. If you run out of space, just logout of one of the accounts and add the new one.

To get between both profiles, hold down your profile picture in the navigation bar to view all connected accounts, then click on the profile you would like to switch to. You can go to your profile, click on your username at the top, and select which profile you’d like to go to.

Sharing a post in several places
Switching between your accounts

Besides easily being able to switch between accounts (which saves time logging in and out of accounts with different passwords), you can also share one post to several different accounts. When you’re making your Instagram post directly onto your profile (a grid post not a story), you’ll see the option to post to other Instagram accounts that you’re looking into also. With your business account, which you can learn how to set up here, you can also post directly to your linked accounts (twitter, tumblr, and Facebook). 

Did you like this tip for creating and managing several different Instagram accounts? You can learn more in our FREE social media discussion & learning Facebook group! Join here. You can also receive more free tips and tricks as well as a monthly content calendar (with hashtag suggestions), by signing up for our newsletter below.

If you enjoyed reading this and would like more information on home, lifestyle, advice, tips, tricks, and more, follow me on Instagram @Its.Mary.Taylor and on Facebook at Mary Taylor! I can’t wait to see you there!

Signing off,

Mary Taylor <3

FREE Social Media Tips & Content Calendars to Your Inbox

pexels-andrea-piacquadio-826349

How to Get Notified When People Post on Instagram

Instagram posts can get cluttered but you know there’s always a few people that you want to make sure you see posts from. Did you know that you can get notifications when your favorite people post? And it’s super easy!

To turn on notifications, go to the user’s profile, click on one of their posts, tap the three small dots in the upper right-hand corner of the post, and choose “Turn on Post Notifications” from the menu that pops up. Later, if you want to stop notifications from this account, follow the same instructions but click “Turn off Notifications.”

Please note you won’t get push notifications unless you have notifications turned on for Instagram on your phone.

📲If you want to allow notifications on iPhone or iPad, go to “Settings,” then “Notifications.” Choose “Instagram” and then turn on the setting to “Allow Notifications.”

📲If you have an Android and would like to turn notifications on for Instagram: Go to “Settings,” then “Apps,” then “Instagram.” Select the option to show notifications.

For more social media tips and tricks, sign up to our email list below and join our FREE social media discussions, engagement, and learning group on Facebook here

If you enjoyed reading this and would like more information on home, lifestyle, advice, tips, tricks, and more, follow me on Instagram @Its.Mary.Taylor and on Facebook at Mary Taylor! I can’t wait to see you there!


Signing off,

Mary Taylor <3

Get FREE Monthly Social Media Tips & Tricks

What questions do you have for a wedding

Where to Find Essential Oil Stock Images

Essential oil stock images images can be hard to find but look no further because I have suggestions on where to download doTERRA stock images!

First off, did you know that I create and sell doTERRA images and graphics? You can purchase them directly from me through my Instagram account @oilyimages or contact me if you’d like me to create something specific or see more images and graphics that I have ready to go.

I not only sell images but also essential oil Instagram stories or other engagement graphics and even essential oil recipe graphics!

If you’re looking at hosting a week long virtual event, we can customize a package of graphics just for you. Ask me what classes I suggest you run to get your audience involved!

If you’re looking to purchase several graphics and images and want to incorporate many different styles, you can sign up for a One Drop subscription here. By using this link, you will get an additional 10% off your first purchase (that means you can save up to $22.20 on their Unlimited Yearly plan)! You can check out my vault of images and graphics here. If you see any images here that you would like to purchase separately (without a subscription), please contact me

The FREE option: The last place I recommend looking into is Pexels. It’s one of my favorite stock sites. However, you won’t find as many options here!

I hope you found this blog helpful! Don’t forget to follow me on Pinterest to find more essential oil tips, tricks, and recipes.

If you enjoyed reading this and would like more information on home, lifestyle, advice, tips, tricks, and more, follow me on Instagram @Its.Mary.Taylor and on Facebook at Mary Taylor! I can’t wait to see you there!


Signing off,

Mary Taylor <3

Want FREE social media tips & a monthly content calendar?!