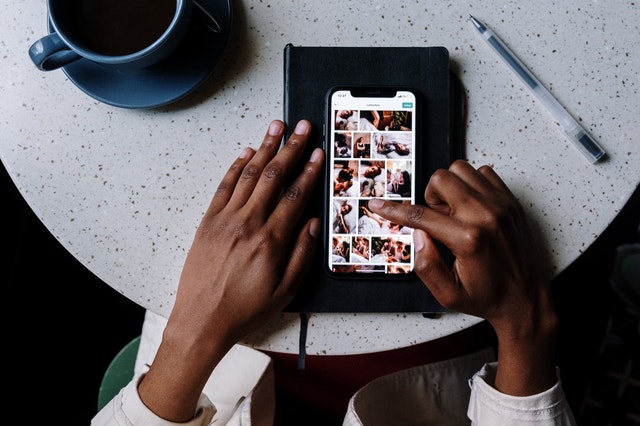
Have you ever wanted to see all the posts you’ve liked on Instagram? You might have forgotten the image, quote, or post that you passed earlier but really loved and you want to see it again! Well, you can do that!
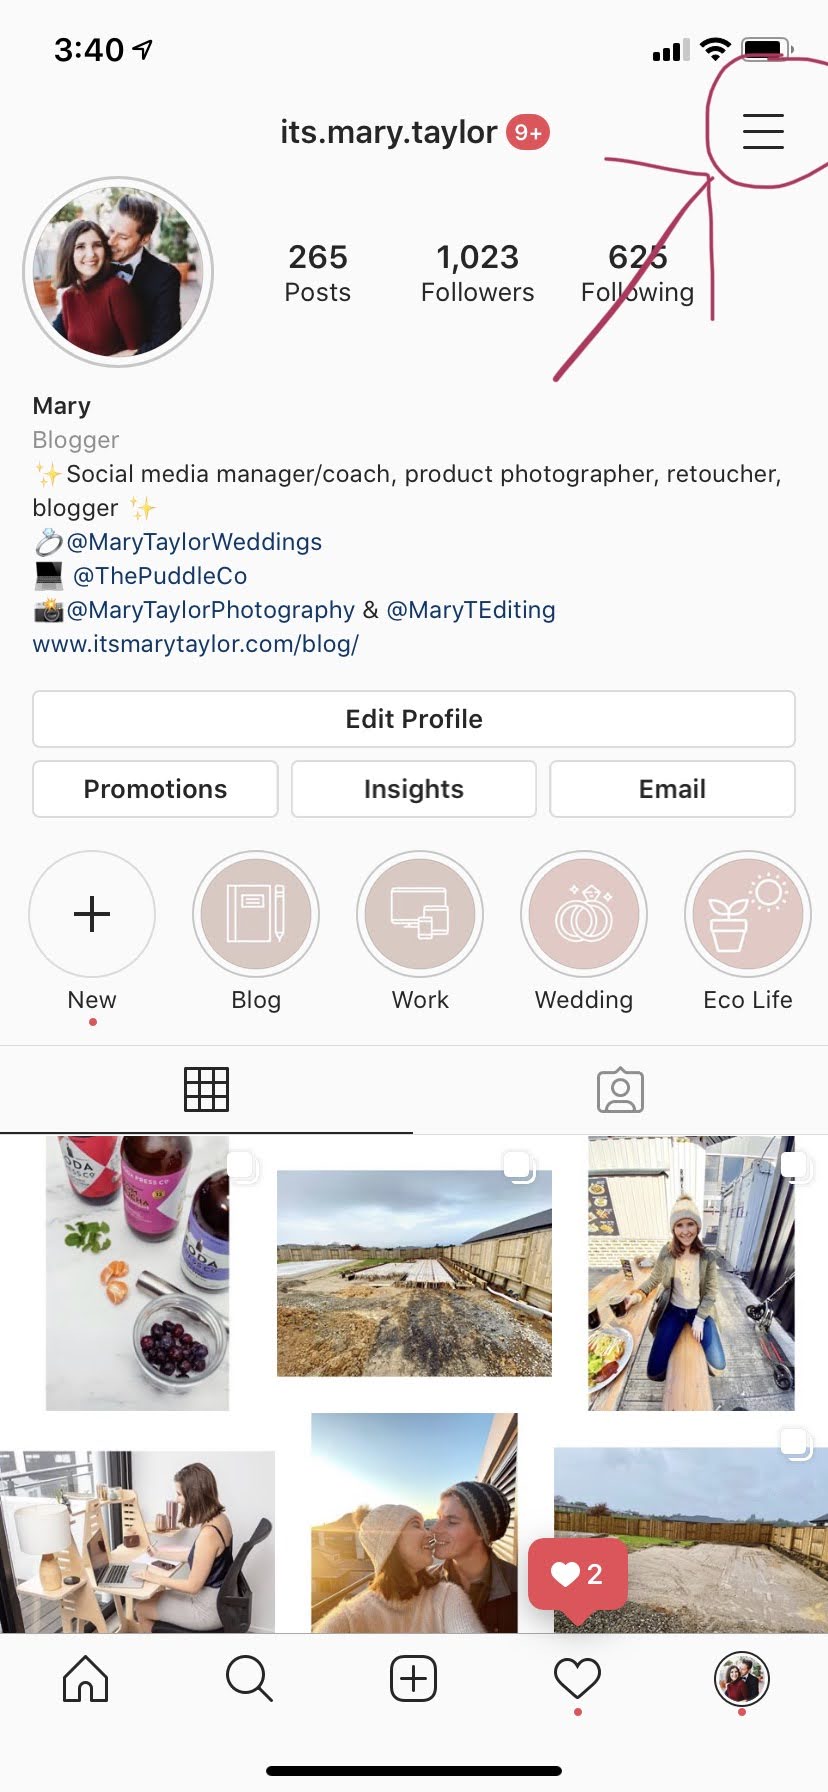
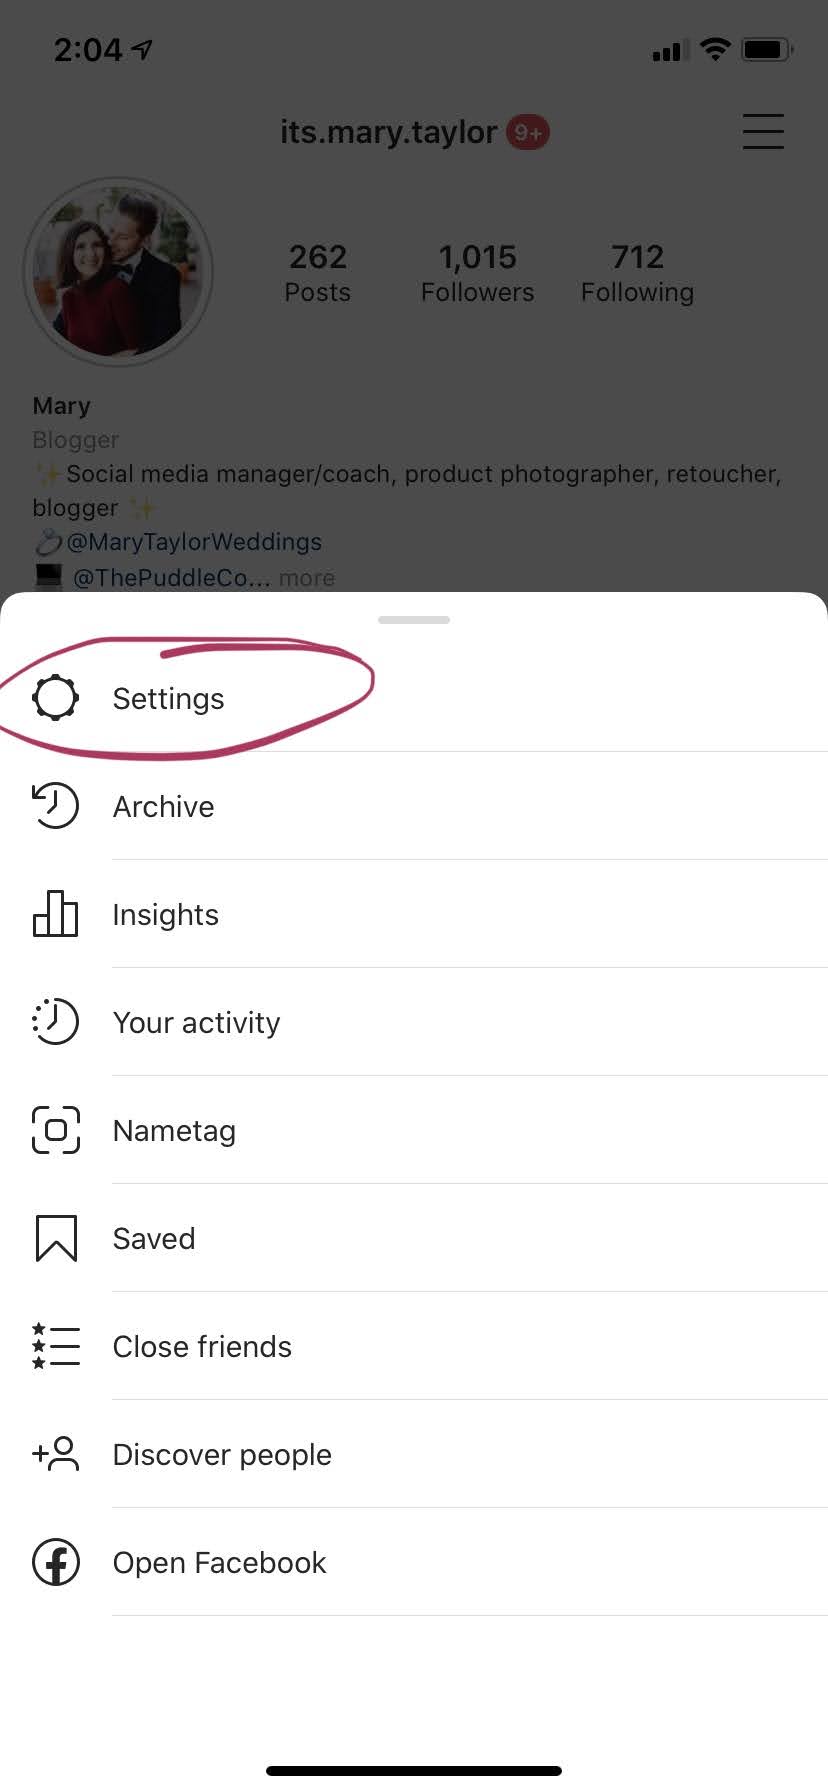
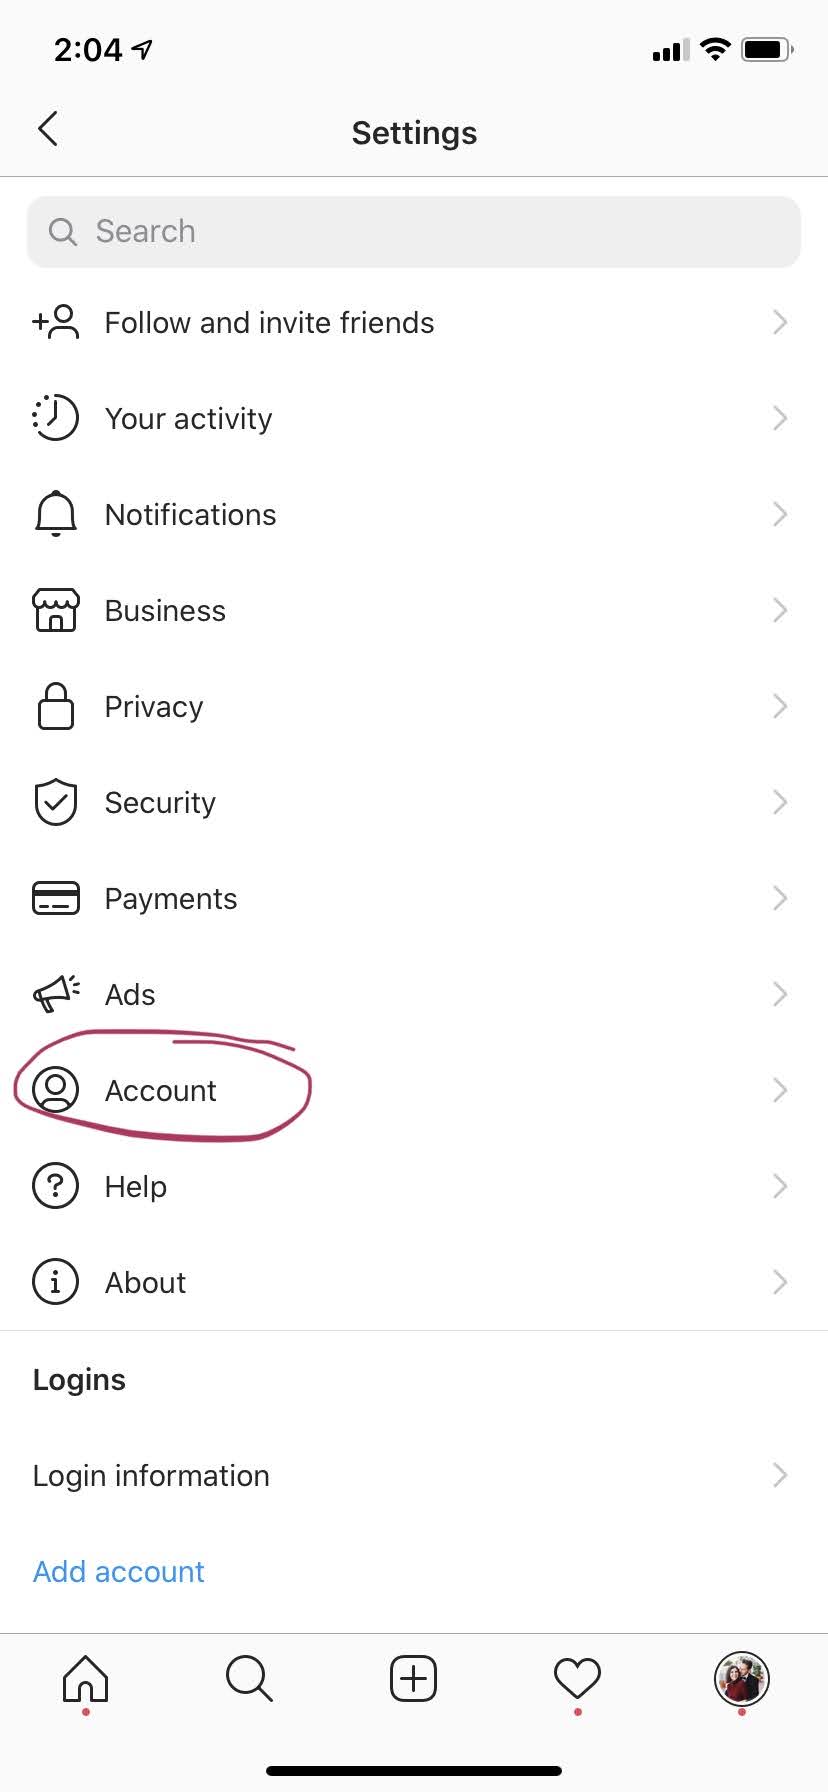
All you have to do is go to your profile, click the burger menu (the three lines in the top right-hand corner) if you’re on a mobile device, click settings, then account. Then, you’ll see “Posts you’ve liked” towards the bottom.
If you want to unlike a post all you have to do is click the heart again. Don’t worry, the user will not be notified that you unliked their post.
If you can’t find what you’re looking for, you can also search directly in the search bar.
For more social media tips and tricks, sign up to our email list below and join our FREE social media discussions, engagement, and learning group on Facebook here.
If you enjoyed reading this and would like more information on home, lifestyle, advice, tips, tricks, and more, follow me on Instagram @Its.Mary.Taylor and on Facebook at Mary Taylor! I can’t wait to see you there!
Do you want to make your Instagram profile stand out by including fun and different fonts?
I’ve got a fun hack for you! Adding emojis is always one thing I suggest adding to your profile (my favorite place to find emojis online is https://getemoji.com/) but you can even take it a step further with new fonts.
Now, you aren’t actually able to do this directly in Instagram but you can use other apps to make it happen!
One program is called LingoJam. All you have to do is type in bio text, scroll through to choose the font you like best, select/highlight the text, hit copy, and paste it into your Instagram bio. This app is perfect if you want to change your bio directly on your phone or your computer.
Why stop at emojis and fonts? Let’s learn how to add special characters to your Instagram bio too! One easy way to do this is actually on Your HTML Source website. You can easily copy and paste symbols into your Instagram bio from there. They have everything from copyright symbols to greek letters and card suits. Here are some examples of the symbols you can copy and paste:
Now you know how to add special fonts and characters to your Instagram bio! Let me know which emojis are your favorite on this post. And if you use special characters or fonts in your bio, here’s how you can let me know: Take a screenshot of your bio/profile, post it to your stories, and tag me so I can reshare. Don’t forget to join my mailing list for free social media tips and tricks every month (fill out the simple form below). You can also join our FREE social media discussions, engagement, and learning group on Facebook here.
If you enjoyed reading this and would like more information on home, lifestyle, advice, tips, tricks, and more, follow me on Instagram @Its.Mary.Taylor and on Facebook at Mary Taylor! I can’t wait to see you there!
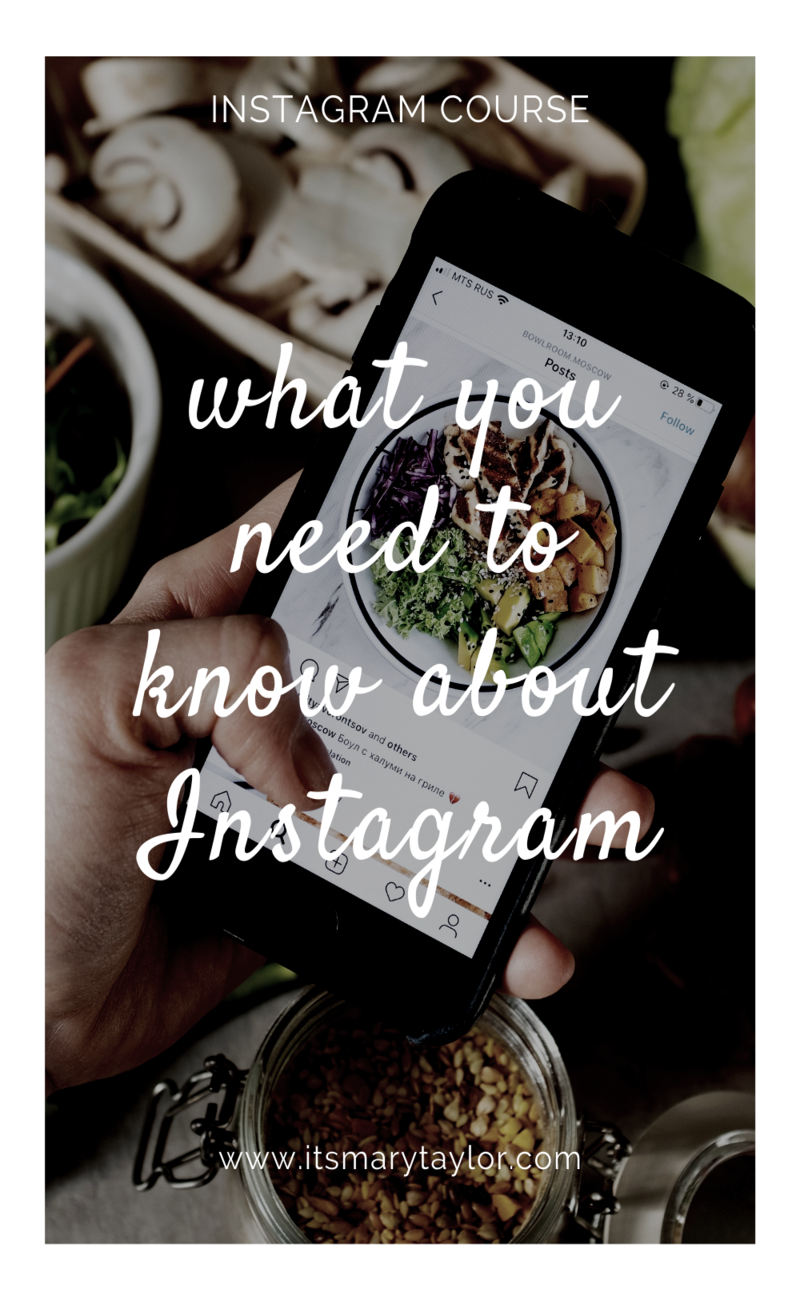
For those that don’t know me yet, I’m Mary! I am a social media manager and social media coach specializing in Instagram. I love to help other business owners and curious clients learn more about how to utilize Instagram to build like, know and trust as well as credibility and brand awareness within their community of current and potential followers.
Like with most things, there are general questions that I get asked a lot when it comes to Instagram. It can be anything from what is an Instagram story all the way to how do I view and record my analytics and insights.
In order to help answer my most asked questions and provide a baseline of knowledge for those interested in getting to know Instagram, I created an Instagram course.
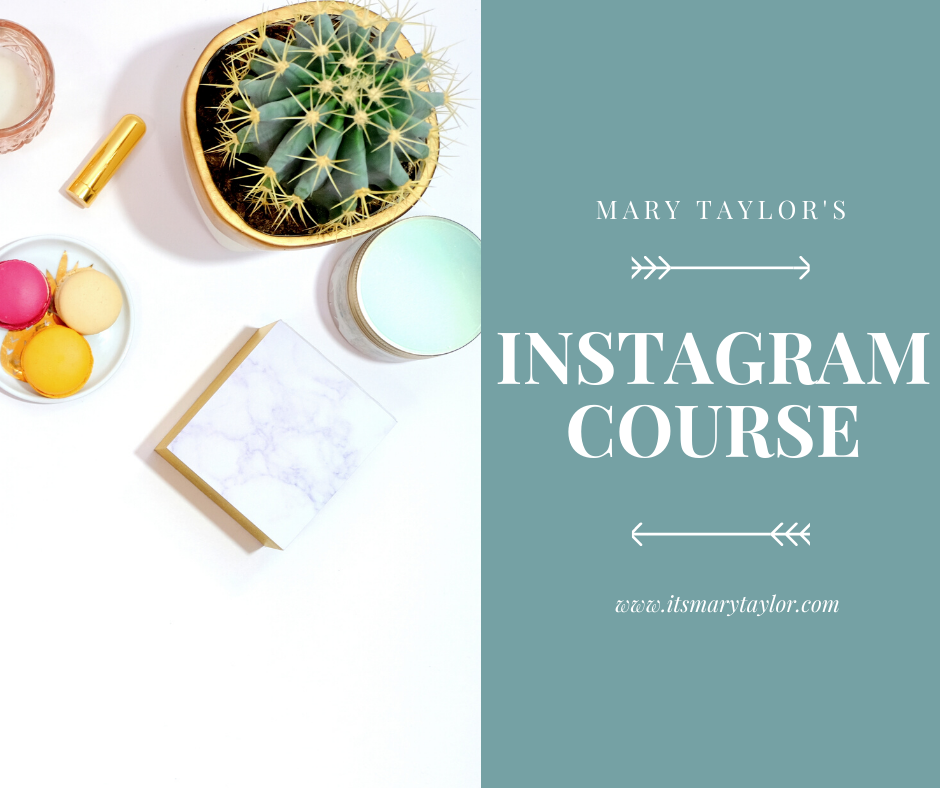
What’s This Instagram Course All About?
You’ll learn everything from creating & maintaining your brand and how to create an Instagram story to growing your account organically and learning more about hashtags! There are real-life screen recorded videos, screenshots, images, and written content to help you get started.
It’s Mary Taylor’s Instagram course includes:
📱Your access code and link to the Instagram Course (45 pages of Instagram knowledge & Goodness)
📱Your analytics template (excel file) with an example
📱Instagram Course Worksheets for Hashtags, etc. (PDF)
If you’re new to Instagram or you just want a little extra guidance, this is the course for you. I also offer one-on-one Instagram coaching which you can learn more about by contacting me here or finding me on social media. You’re always welcome to reach out to me!
Let me know what you think and don’t forget to tag me while taking your course if you take pictures along the way. I would love to see what you’re working on and connect with you on Instagram. You can find me @its.mary.taylor!
If you enjoyed reading this and would like more information on home, lifestyle, advice, tips, tricks, and more, follow me on Instagram @Its.Mary.Taylor and on Facebook at Mary Taylor! I can’t wait to see you there!
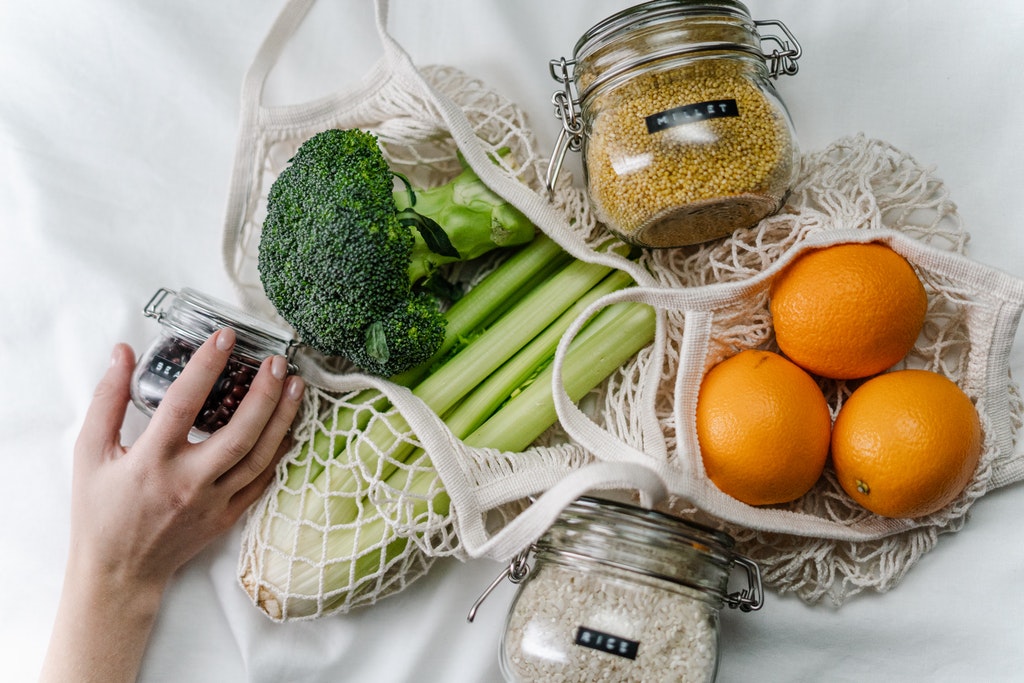
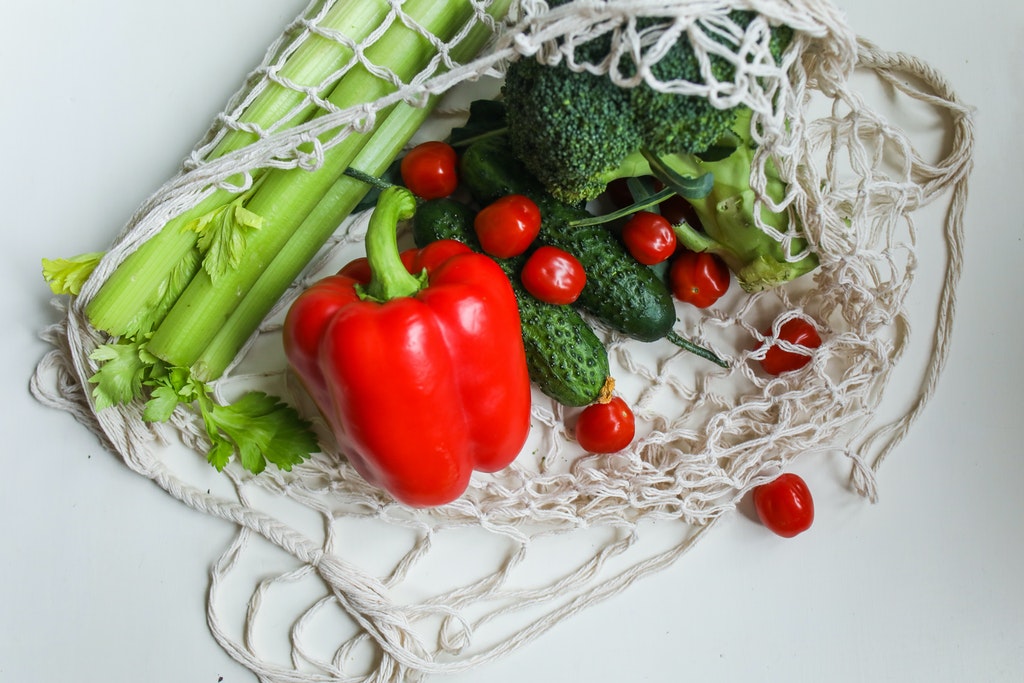
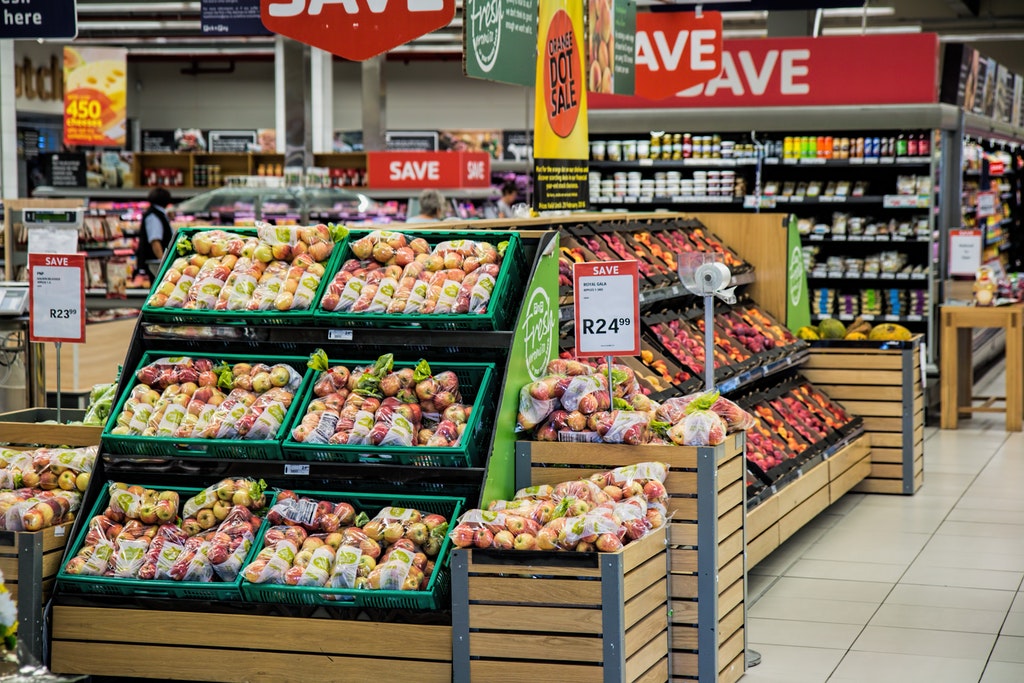
Today we’re going to talk about budget-friendly grocery shopping and eating healthy while on a budget. Eating healthy doesn’t have to be expensive (and sometimes, it can actually be cheaper).
1. Buy frozen veggies – they’re usually cheaper!
2. Only buy the meat and veggies that are on sale – then bulk freeze
3. Ditch the processed drinks (if you love soda, get a SodaStream and add in fresh lemon, essential oils, or other fresh fruit to your bubbly water)
4. Simplify recipes and use what you already have
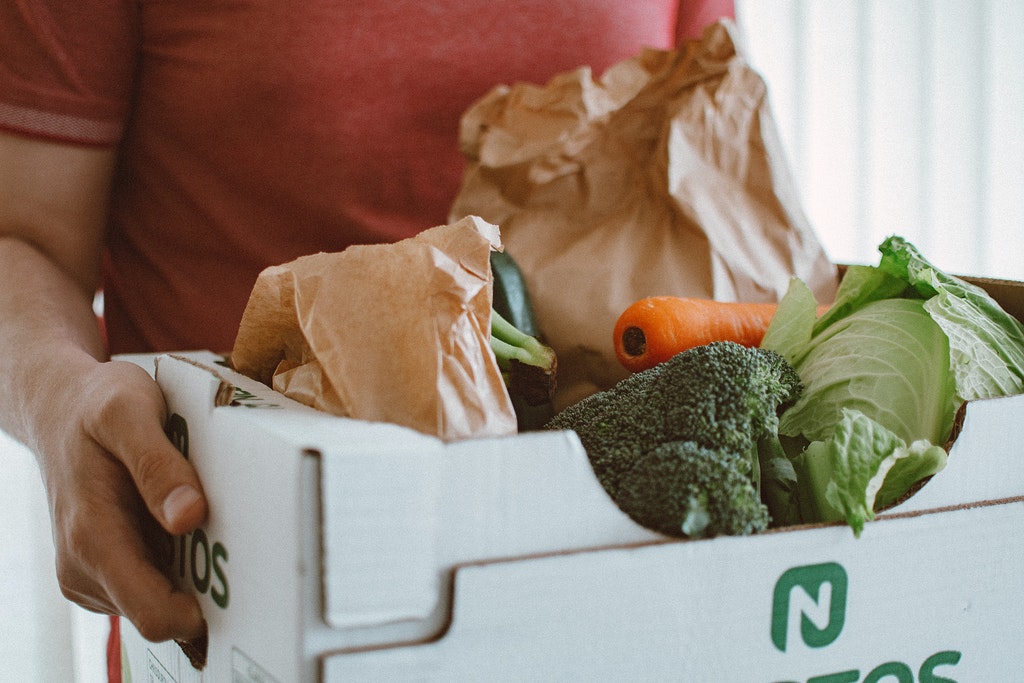
5. Buy in bulk
Some of the links included in this blog are commissioned links. This means I may earn a small commission when you use them. I cannot see who purchases what and it doesn’t cost you anything to click on them.
6. Use all of the veggie (for the ones that you can) – check out this blog for more info
7. Buy dried garlic (in bulk) instead of fresh garlic
8. Make sure what you do buy doesn’t go off. Wasting food is a HUGE expense not only to your bank account but also to the environment.
9. Start a garden! Growing your own food is not only great for your wallet but also for the environment. Here’s a gardening kit to help you get started. You can even grow your own herbs.
10. Only buy what’s on your list. When you’re growing shopping, make sure to stick to your list. Even when you see something you really want. Only buy it if you need it.
11. Meal plan so you know exactly what you need for each meal. This means less waste and less money spent. It also helps you eat healthier. Check out these (cheap but awesome) reusable meal prep containers!
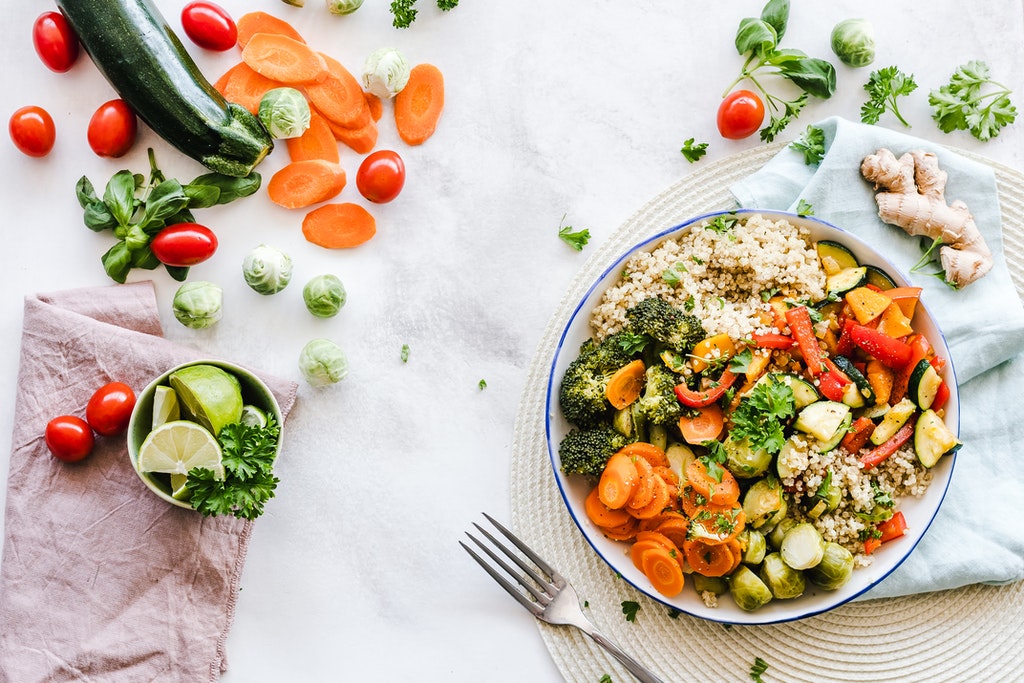
12. If buying rice, buy brown rice. Brown rice has more fiber and antioxidants, as well as a lot more important vitamins and minerals.
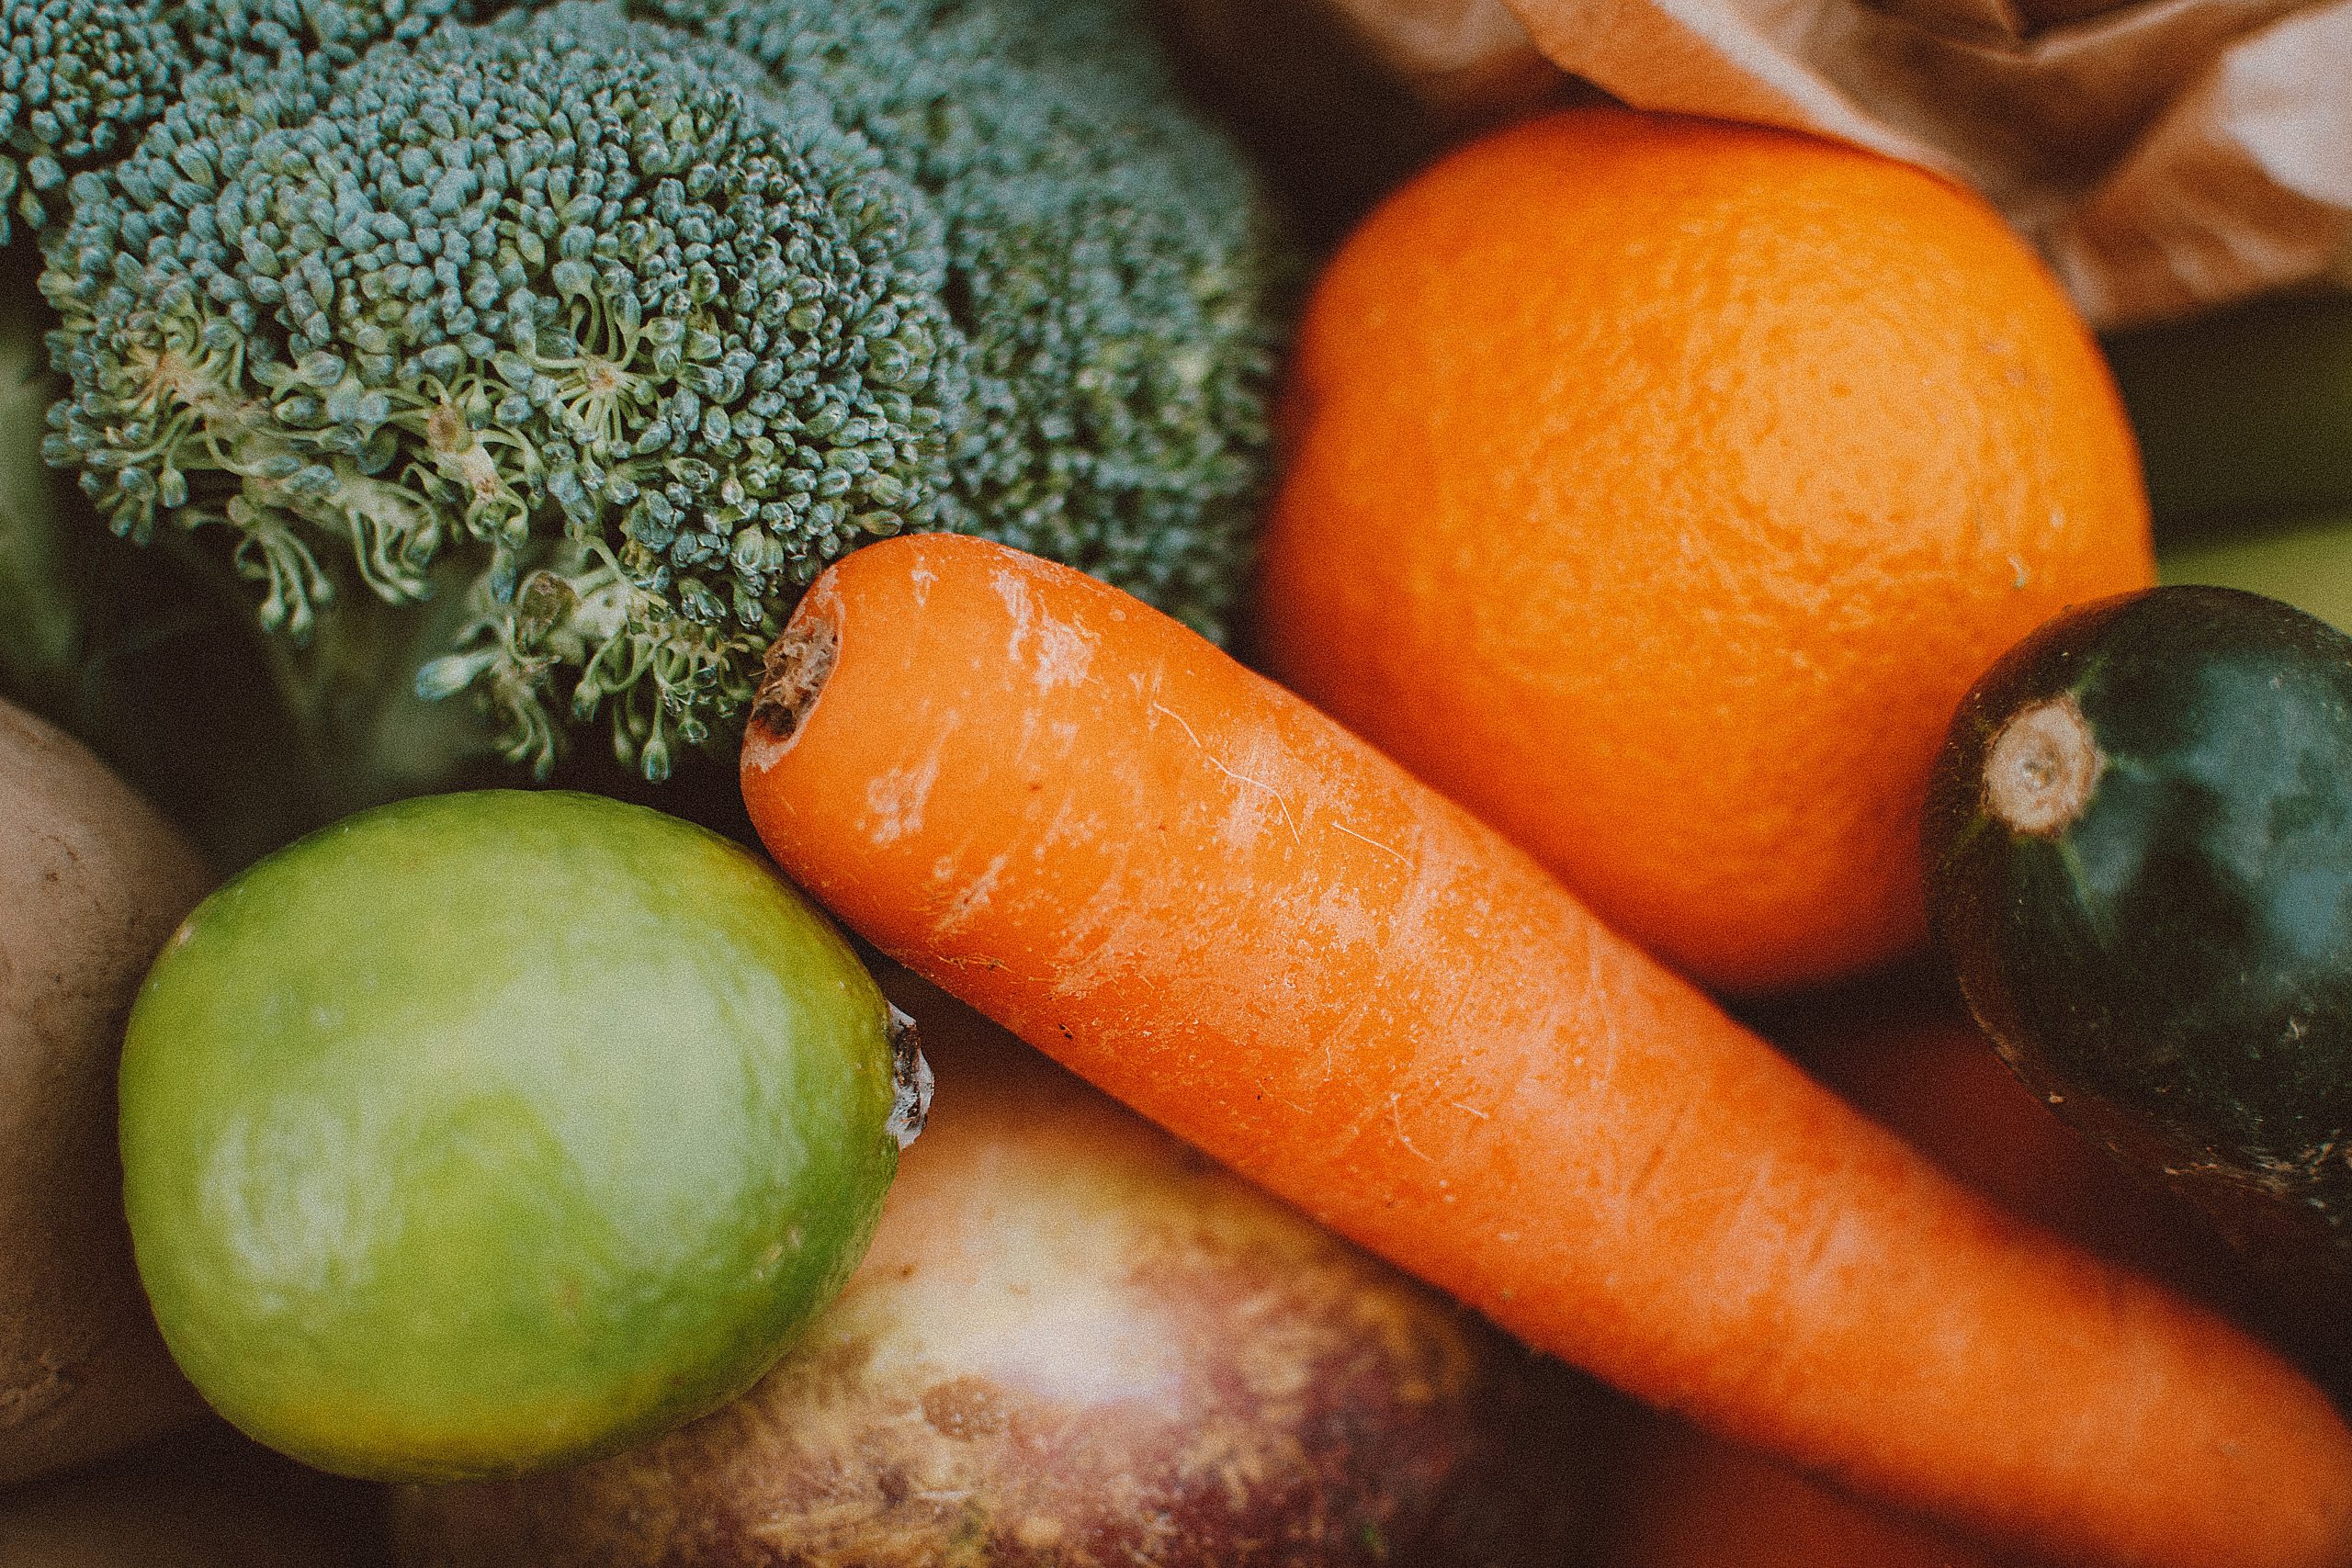
13. Skip the bread and potatoes and go for something healthier (carrots, broccoli, cauliflower, nuts, etc).
14. Buy whole uncooked chickens instead of chicken breasts, etc. (make sure it actually works out to be cheaper)
15. Bulk cook (by bulk cooking you’re not only reducing your time in your kitchen but also your electric/gas bill).
16. Ditch the unnecessary items (chips, candy, chocolate, ice cream, etc. – swap chips for veggies and hummus, tzatziki, etc. – swap store bought ice cream and desserts for homemade coconut pudding). This way you know exactly what you’re putting into your body and you can alter the ingredients to fit a healthier lifestyle.
If you enjoyed reading this and would like more information on home, lifestyle, advice, tips, tricks, and more, follow me on Instagram @Its.Mary.Taylor and on Facebook at Mary Taylor! I can’t wait to see you there!
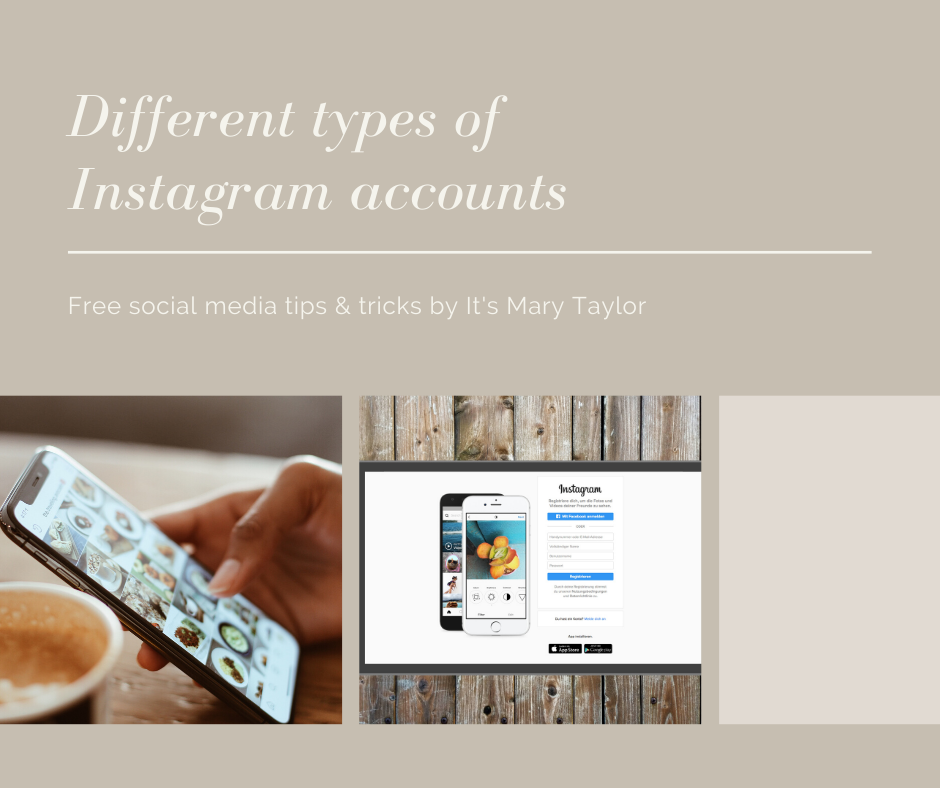
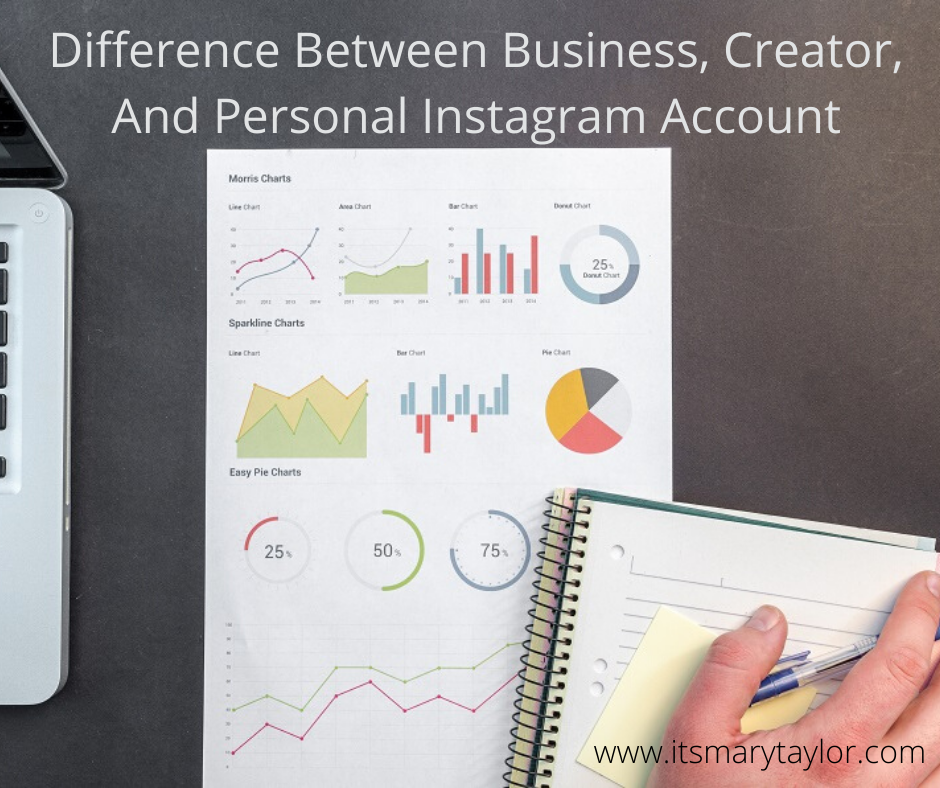
Why is an Instagram business account important and how do I make the switch? What’s the difference between a creator account and a business account?
First, let’s identify the differences between these three Instagram account types.
Instagram says, “With a business account, you’ll be able to access business features and Instagram Insights. These tools can help you understand who is engaging with your business on Instagram.” This means you have access to special analytics which gives you information about your followers such as their age range, gender, location, and when they’re online. All of this information is extremely helpful in identifying when to post and who your current audience is.
With a business account you also have the ability to change some profile settings such as displaying or hiding your business category and contact information on your profile. You can also add a specialized button for contacting, booking an appointment, or making a reservation.
Instagram says, “The Creator Account on Instagram gives you a set of tools that makes it easier to control your online presence, understand your growth and manage your messages.” Creator accounts are “best for public figures, content producers, artists, and influencers.” Nowadays, creators accounts are very similar to business accounts but business accounts have extra added features which is why I recommend switching to a business account.
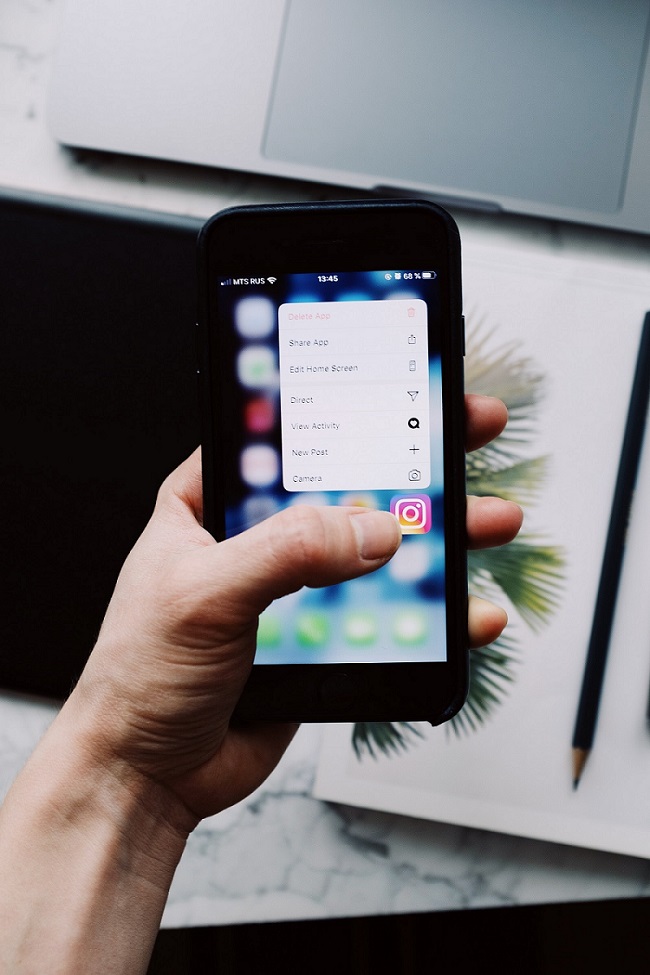
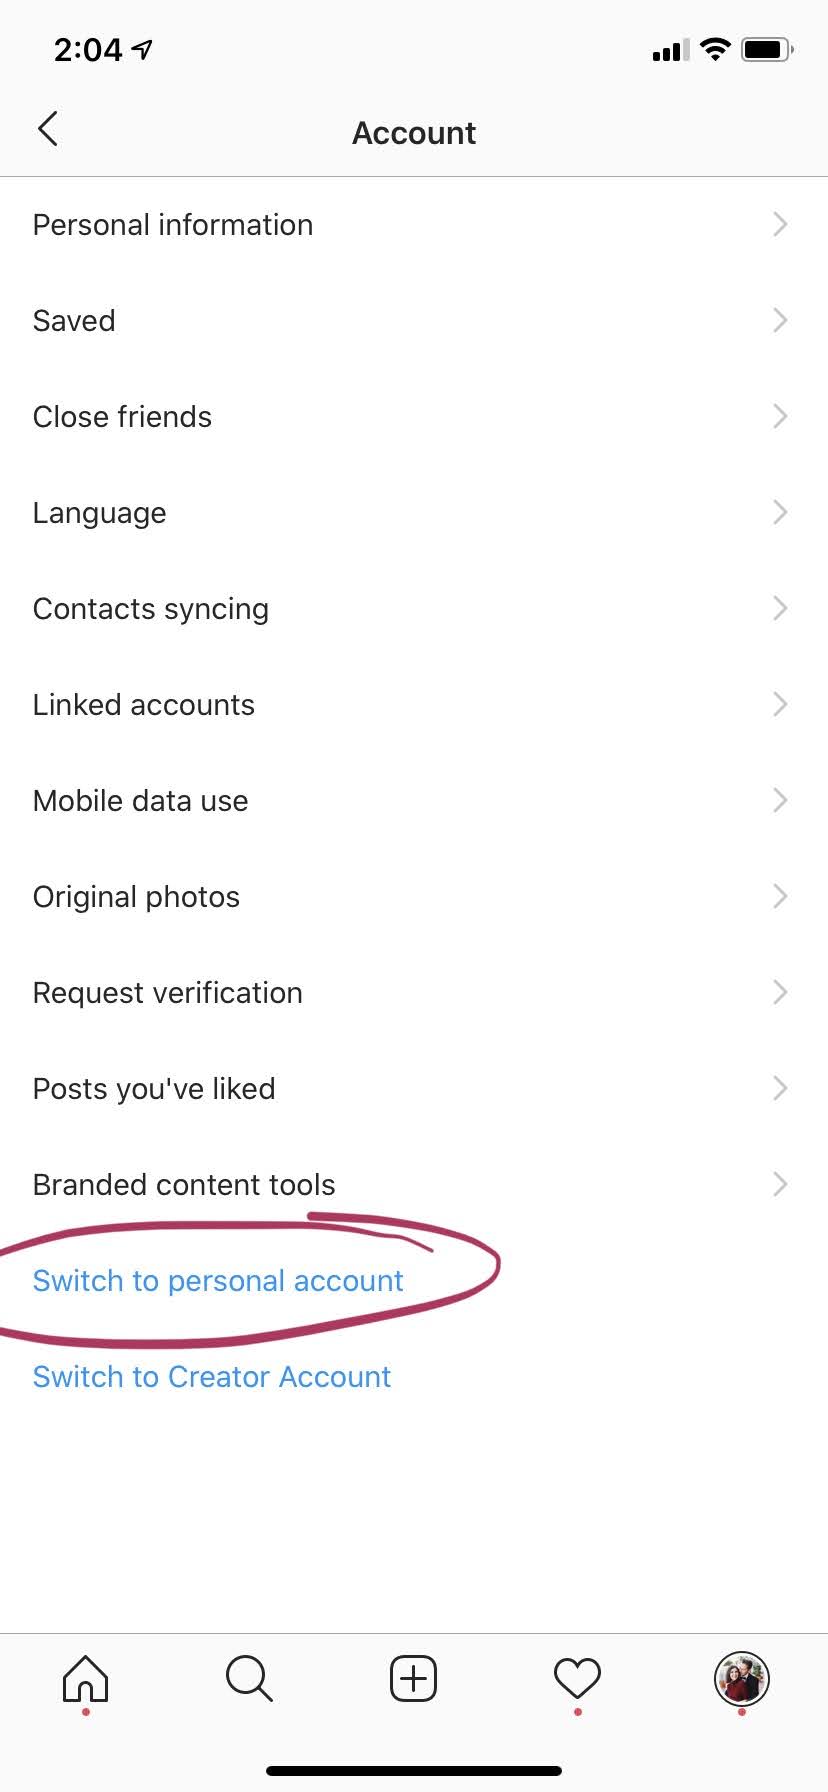
To change your personal Instagram account to a business account on Instagram, go to your profile, click the burger menu (the three lines in the top right-hand corner) if you’re on a mobile device. Then, click settings.
Next, click account, and then at the bottom you’ll see “switch to professional account,” then choose business. Since I already have a business account, it says “switch to personal account” but this will be replaced with “professional account” if you have a personal account.
Instagram says, “If you’d like, you can follow the steps to connect your business account to a Facebook Page associated with your business. This step is optional, and will make it easier to use all of the features available for businesses across the Facebook family of apps. At this time, only one Facebook Page can be connected to your business account.”
I hope this helped you learn more about the differences between a creator account and a business account on Instagram and how you can get your business account set up. If you’re not already subscribed to our mailing list, be sure to sign-up for more free social media tips and tricks delivered directly to your inbox each month. You can sign up using the form below.
If you enjoyed reading this and would like more information on home, lifestyle, advice, tips, tricks, and more, follow me on Instagram @Its.Mary.Taylor and on Facebook at Mary Taylor! I can’t wait to see you there!
Hello fellow adventure seeker, inspired entrepreneur, and lover of life! I am so glad you found your way here. I’m Mary – a social media manager, blogger, and content creator (that means I get to do fun things like photography, retouching, graphic creations, and so much more). If it has to do with business, I want to talk about it! I love helping other entrepreneurs to learn more about networking and social media. I have this deep rooted belief that everyone should be doing what they love. I love helping other entrepreneurs experience that by eliminating the things they don’t enjoy doing (which I actually DO enjoy doing).
6. Sign up to our email list for FREE monthly social media tips and tricks AND a free monthly content calendar with post ideas & hashtags!
Receive FREE social media tips & content calendars each month!
If you enjoyed reading this and would like more information on home, lifestyle, advice, tips, tricks, and more, follow me on Instagram @Its.Mary.Taylor and on Facebook at Mary Taylor! I can’t wait to see you there!
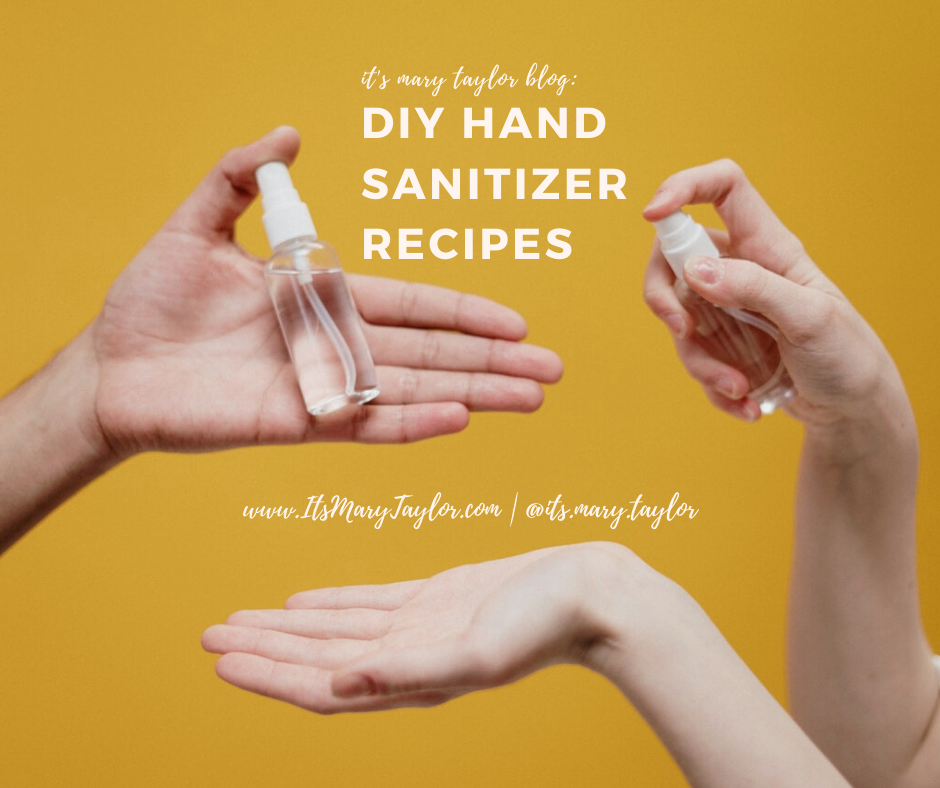
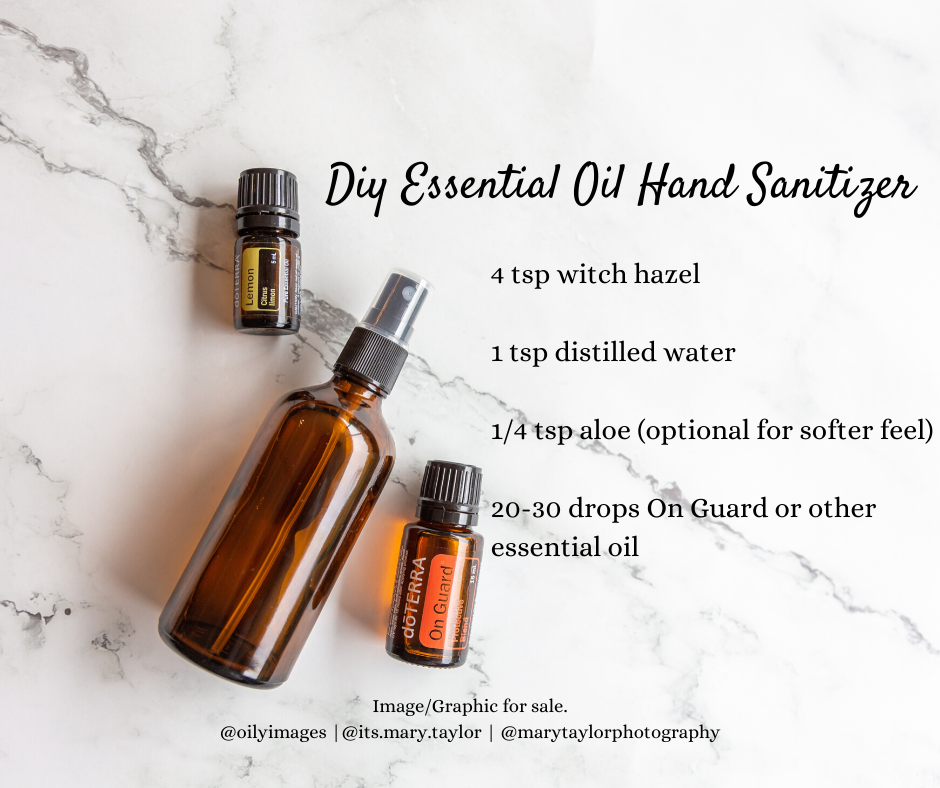
As grocery stores are running out of hand sanitizers, disinfectant sprays, and anti-bacterial wipes, more and more people are making their own! Here’s a few simple recipes that you can use to make your own DIY hand sanitizer! Let us know on Facebook if you make your own. We would love to see your pictures.
‘Just the basics’ gel hand sanitizer:
2/3 cups rubbing alcohol (99.9% isopropyl alcohol) 1/3 cup aloe vera gel
Pros: Super easy. Least expensive.
Cons: Strong smell of alcohol with nothing to mask the smell or provide additional benefits.
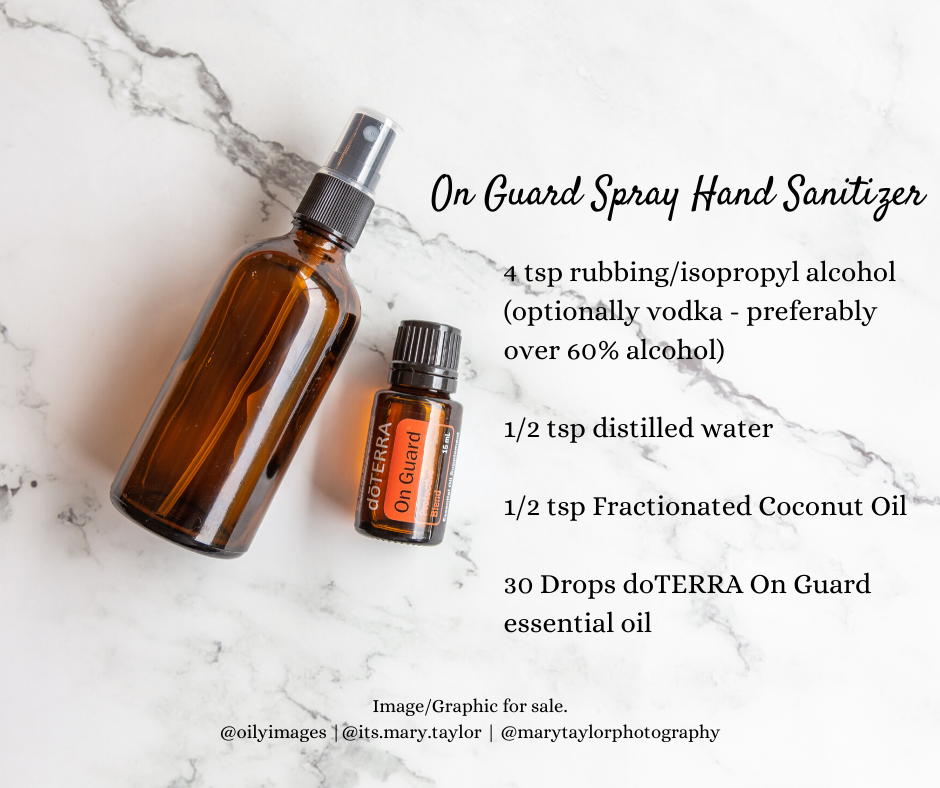
Easy essential oil hand sanitizer spray with alcohol:
4 tsp rubbing/isopropyl alcohol (optionally vodka – preferably over 60% alcohol) 1/2 tsp distilled water 1/2 tsp Fractionated Coconut Oil (FCO) 30 Drops doTERRA On Guard essential oil – you can also use lemon or lavender essential oil if you prefer. On Guard is great for immune support which is why this is my preference.
Pros: Some people really want to have it 65% plus alcohol. So this will do that. This will also give you that dry hand effect. Cons: Strong smell alcohol & alcohol is not good for our skin or our gut biome / good bacteria.
Essential oil hand sanitizer without alcohol:
4 tsp witch hazel 1 tsp distilled water 1/4 tsp aloe (optional for softer feel) 20-30 drops On Guard or other essential oil Pros: No alcohol. Smells great. Skin feels nourished. Also slight drying effect (and if you do use witch hazel WITH alcohol then even more so – but without smell of isoprop alcohol). Cons: Very slight wet/sticky feel. But hardly noticeable IMO.
If you enjoyed reading this and would like more information on home, lifestyle, advice, tips, tricks, and more, follow me on Instagram @Its.Mary.Taylor and on Facebook at Mary Taylor! I can’t wait to see you there!
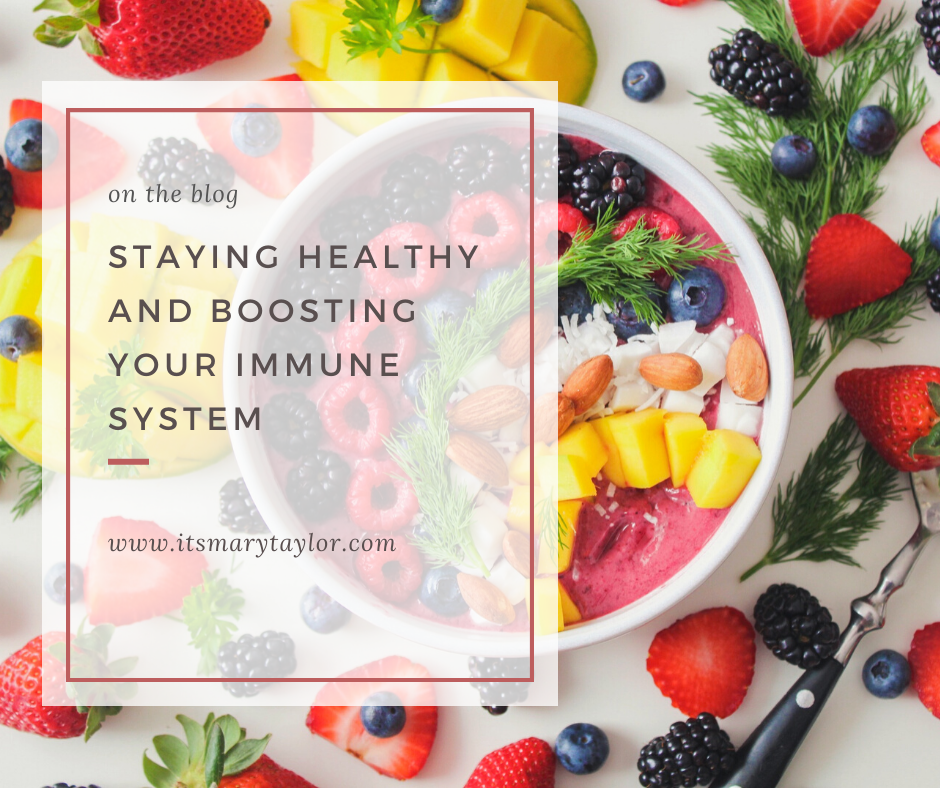
There are so many ways for individuals to stay healthy! I am by no means a health professional so please consult with your doctor if you are feeling ill or if you’re not sure about any of these tips or tricks that I use. Every body is different.
Here are some things that I use to help boost my immune system, stay healthy, and recover quickly.
Some of the links in this blog are commissioned links. This means I may earn a small commission when you use these links. It doesn’t cost you anything and I cannot see who purchases what.
Lypo-spheric Vitamin C
This specific kind of Vitamin C is better than your standard Vitamin C (you know those chewables you might of had as a kid – or even as an adult) because it absorbs better in your body. Often times less than 20% of traditional tablets Vitamin C actually get absorbed into your body unlike Lypo-spheric Vitamin C which has about a 98% absorption rate. You can read more about Lypo-spheric Vitamin C here. Keep in mind that some Lypo-spheric Vitamin C doesn’t taste very pleasant. Don’t say I didn’t warn you! Haha. Here’s a commissioned link to our favorite Lypo-spheric Vitamin C (we have tried three different kinds – this is the easiest to take and definitely the most popular worldwide).
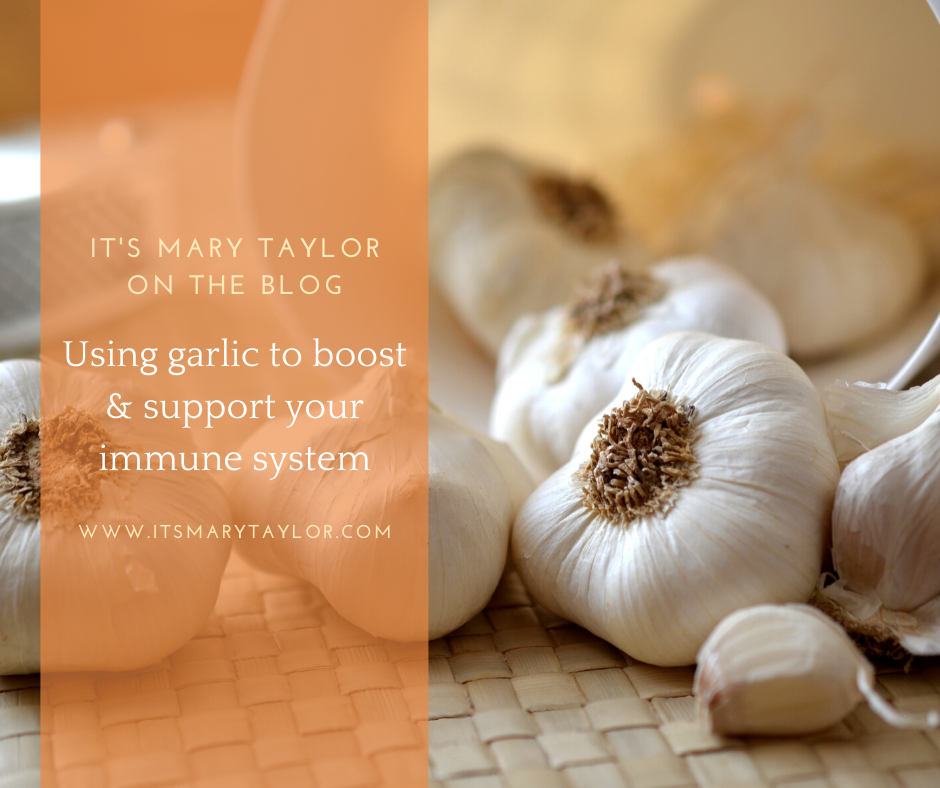
Raw garlic
Growing up my mom teased that I “didn’t even know how to blow [my] nose” because I never got sick. Whenever I would feel something coming on, I was spoon fed pressed garlic and given some Emergen-c to wash it down after holding it on the back of my tongue for as long as I could. It does burn slightly if you’re not used to it, but it’s definitely worth it. We do this two to three times a day at the first sign of sickness and continue until we feel better. Garlic contains maganese, Vitamin B6, Vitamin C, selenium, fiber, and more. It is antibacterial and antiviral. If you can’t stand taking raw garlic, they have several options of odorless garlic supplements such as these. We take a supplement that includes garlic, vitamin C, zinc, echinacea, and olive leaf but I can’t find them online. This one and this one are quite similar in the fact that they include a lot of different important immune boosters.
Colloidal silver
Colloidal silver is a liquid which contains pure silver. It is antibacterial and great for a DIY hand or surface spray. You can also take it internally.
You can read more about colloidal silver here and purchase your own here.
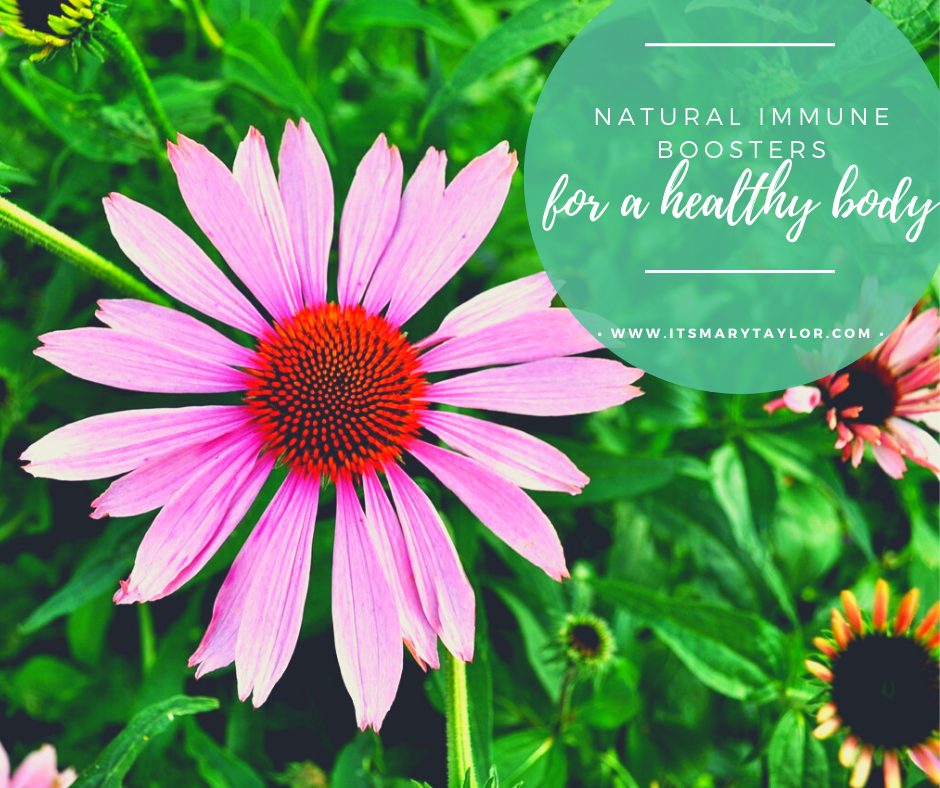
Echinacea
Echinacea is a flowering plant that can be taken to strengthen the immune system. Research shows that Echinacea increases the number of white blood cells, which fight infections. When we are feeling sick, we take immune boosting supplements that have Echinacea in them. You can purchase your own here on Amazon!
Zinc
Zinc keeps the immune system strong, helps heal wounds, and supports normal growth. Zinc can help shorten the length of a cold especially when taken within 24 hours of becoming sick. Many natural common cold multi-vitamins have Zinc included! That’s personally what I do but if you would like to purchase zinc on it’s own, you can do so here.
Olive Leaf
Olive leaf naturally supports a healthy immune system. It can also be found in several of the mixed vitamin supplements. Olive leaf extract is known for it’s ability to boost your immune system rather than manipulating your system just to mask your symptoms.
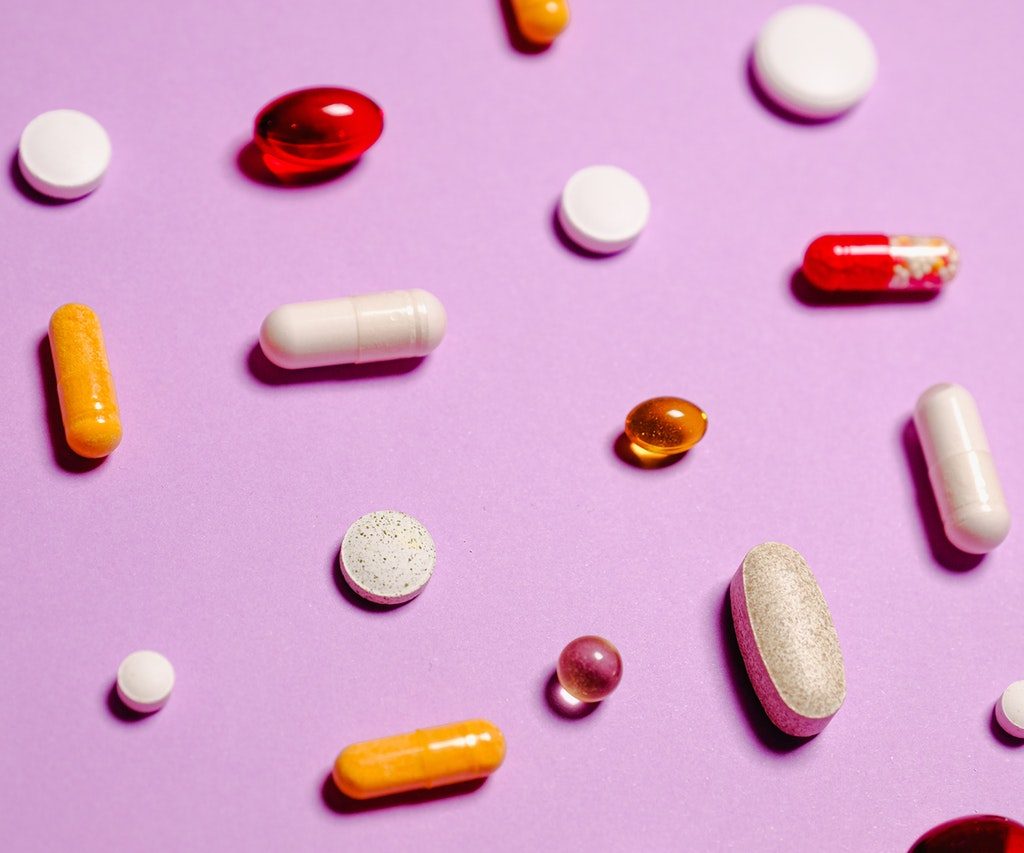
Multi-vitamins
Multivitamins are supplements that contain many different vitamins and minerals. They can help with brain function, eye health, and heart health. These are great for every day health especially for those that may be lacking nutriets. This is the one that both my husband and I take!
Probiotics
Probiotics are beneficial bacteria that promote a healthy gut. They help with digestion, immune support, weight loss, and more. You can find probiotics naturally in foods/drinks such as yogurt, kombucha, sauerkraut, miso, pickles, and so much more! Many people believe that all disease begins in the gut so improving your gut health is vital to your overall health and immunity.
To learn more about the health benefits of probiotics click here. To learn more about your gut health click here.
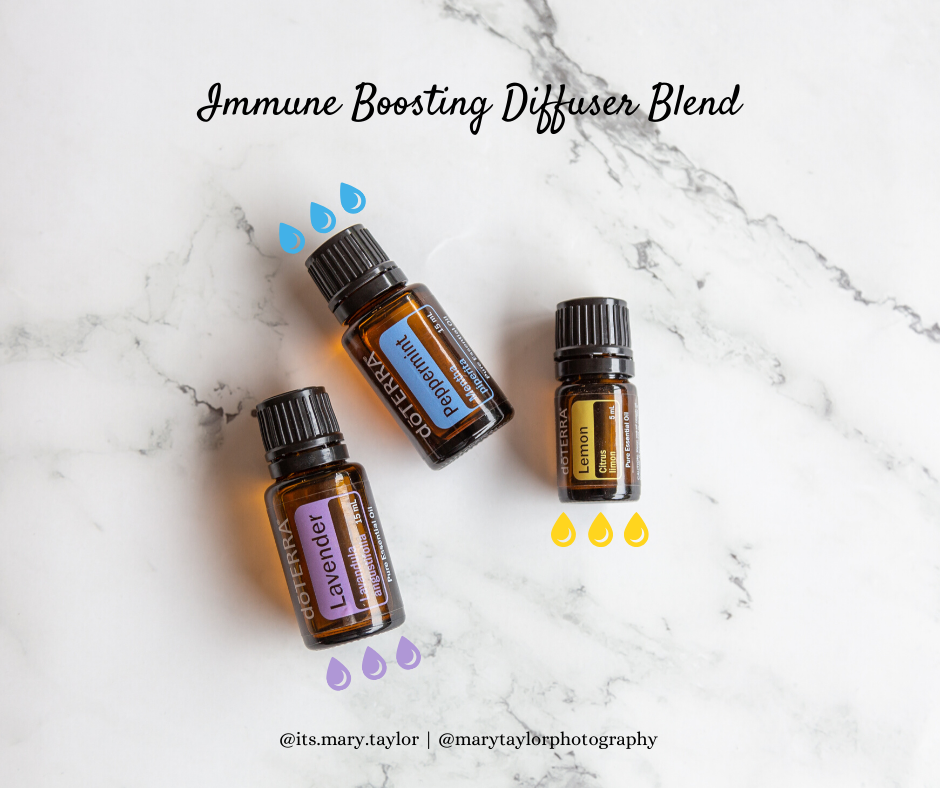
Essential oils:
On Guard, Thieves, oregano, rosemary, cinnamon/clove, and tea tree oils are some that come to mind when talking about immune supporting essential oils. Much like how we use other natural products (garlic, probiotics, olive leaf, echinacea, zinc, and vitamin c) to improve and support our health, we can use essential oils as well. Essential oils are, “a natural oil typically obtained by distillation and having the characteristic odour of the plant or other source from which it is extracted,” (Google seach). It’s important to note that you should be using pure 100% essential oils. Many brands of oils are actually contamined with fillers which are not safe for your skin when applied or your body when taken internally.
You can use most, if not all, of these oils internally and externally through diffusing, applying to the skin (with a carrier oil), or even used in cooking/drinks/pill capsules. There will be a seperate blog here for how you can use essential oils in your immune support routine.
Daily exercise
It’s no secret that our bodies are meant to be active. It’s hard to want to be active when sick so keeping up with exercise on the daily is even more important. To learn more about how exercise can help improve your health, check out this article.
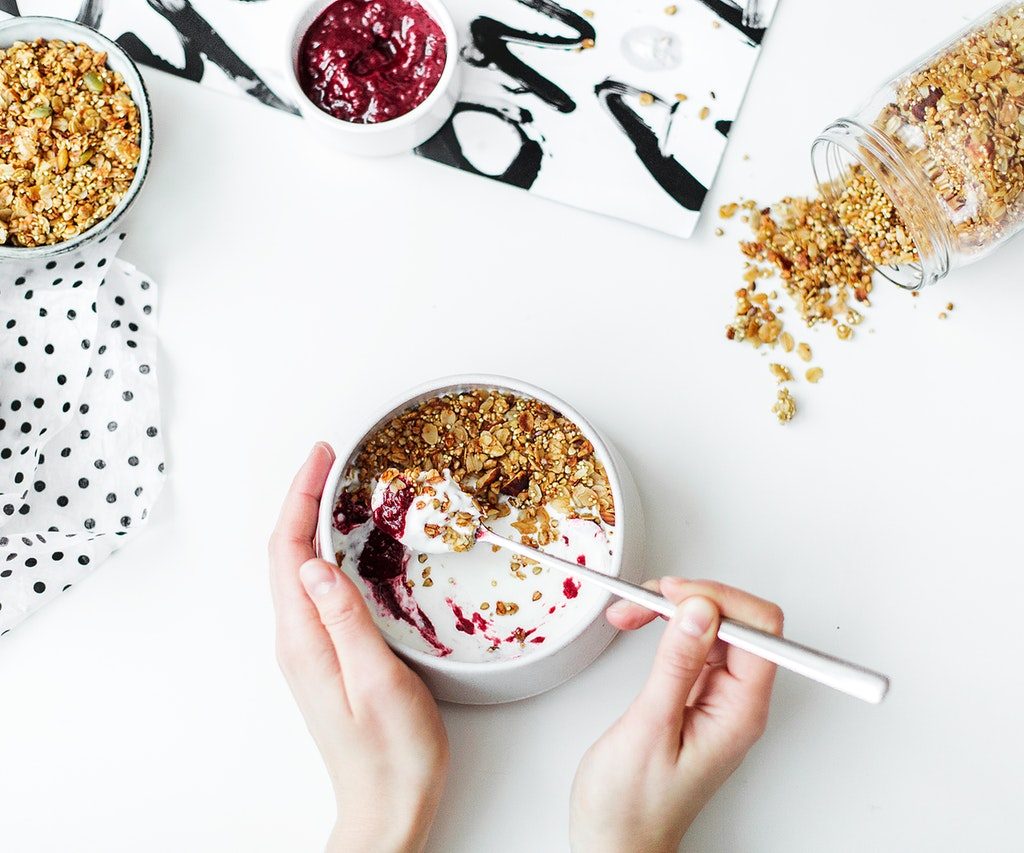
Eat healthy/immune boosting foods
Just as we talked about above with using oils and other natural medicinal plants for your health, eating healthy food is extremely important. You can check out this blog with some ideas of immune boosting foods (you might be surprised)! If you have an immune boosting recipe you would like to share with us, feel free to come to my Facebook page and let me know!
Little to no alcohol or sugar if possible
Have you ever gotten sick after a big night out? It might have been because drinking excessive alcohol can weaken your immune system. Especially when you’re already sick you should refrain from drinking alcohol and from consuming sugar. You can read more about the affect that alcohol has on your immune system here. You can read a recent article about how sugar weakens your immune system here.
Wash and sanitize your hands
This one is quite obvious but of course, I had to include it! Wash your hands for 20 seconds with soap in warm running water for the best clean. Use sanitizer only when you need to and keep in mind that the alcohol in hand saniziter can be very drying for your hands so don’t forget to moisturize. I will be linking a bunch of fun and easy DIY hand sanitizer recipes here.
I hope you learned a lot about how to maintain and boost your immune system! If you’d like to contribute more tips and tricks or you learned something and want to keep learning more, join me on Facebook and Instagram to stay up to date with new information and blogs! You can also follow me on Pinterest! I can’t wait to see you there.